Scanned is an insane rated machine on HackTheBox created by clubby789. For the user part we will escape a chroot jail to read the database file of a web server giving us ssh access because of reused credentials. To obtain root we will again fiddle with the chroot jail binary to call a suid binary using a backdored library and thus getting code execution as the root user.
User
As usual we start our enumeration with a nmap scan against all ports followed by a script and version detection scan against the open ones to get an initial overview of the attack surface.
All Ports
1 |
|
Script and version
1 |
|
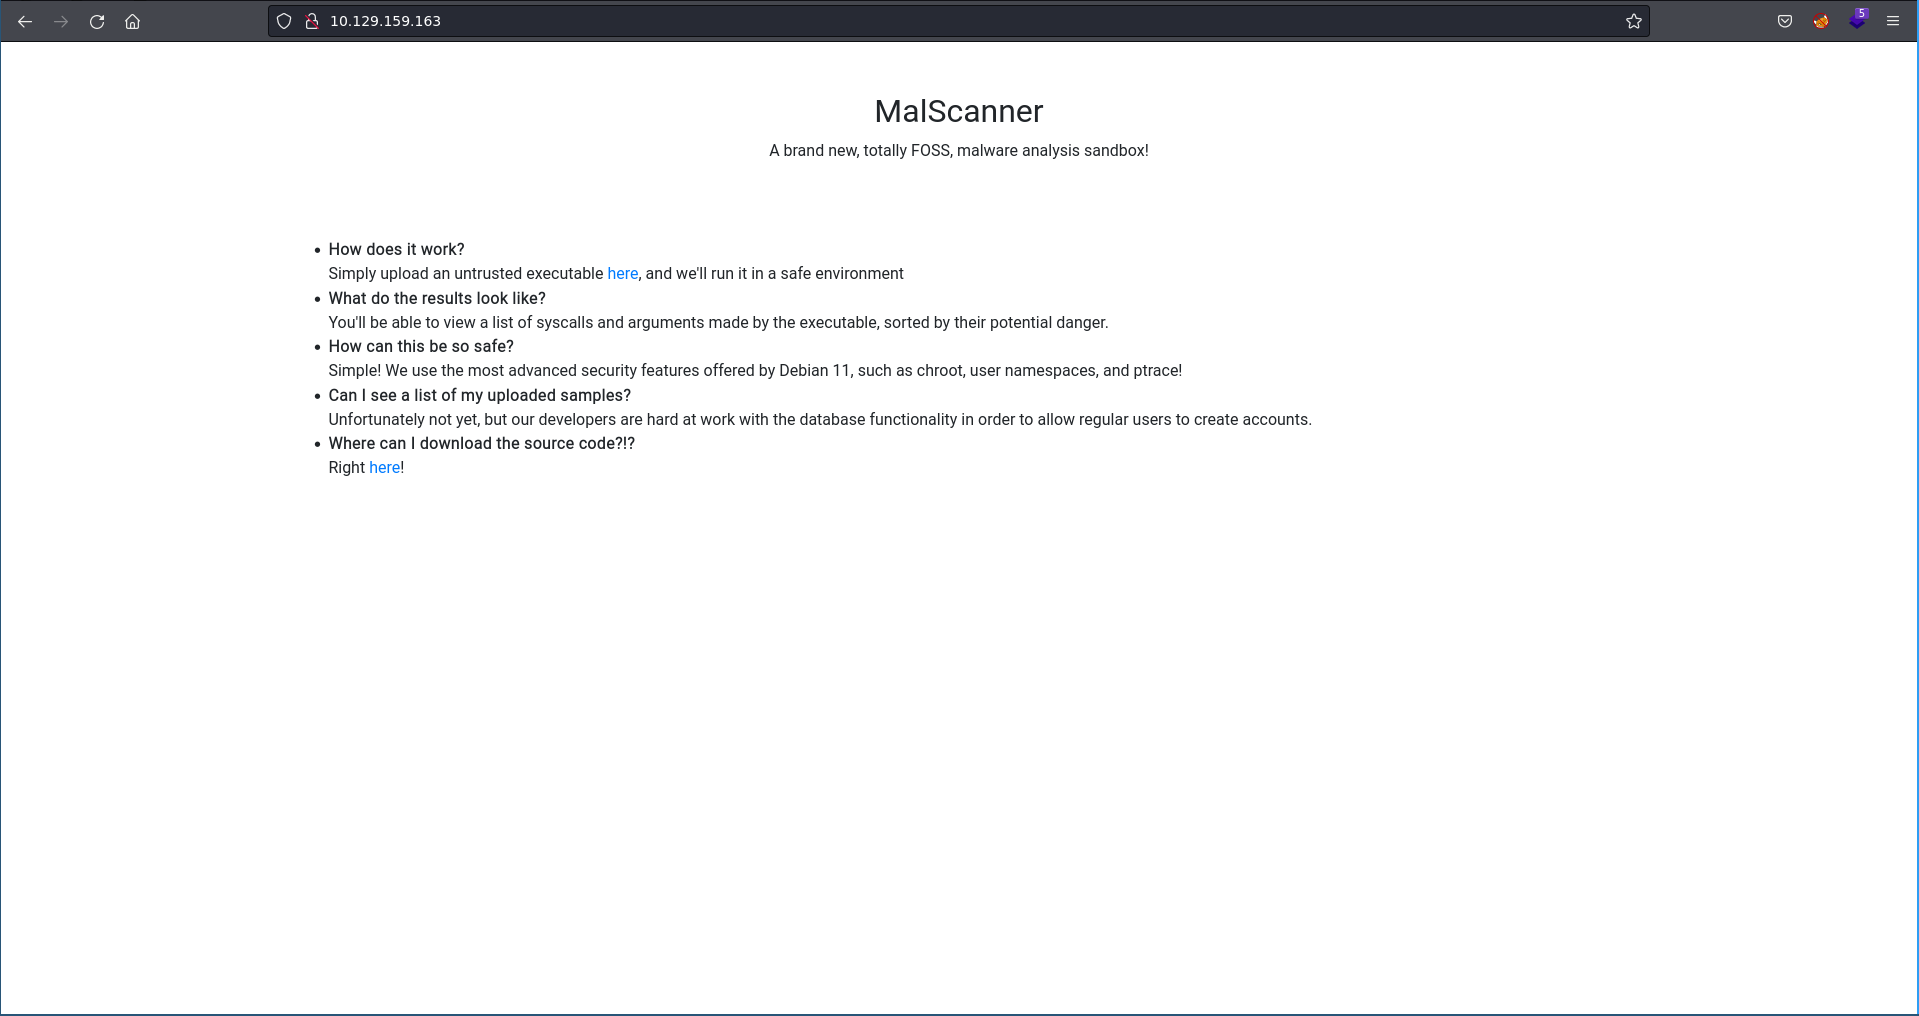
There are only two ports open on the machine with nginx running on port 80 seeming most promising for initial access. Opening the page in our browser we see an application that offers to scan malware in a chroot jail.
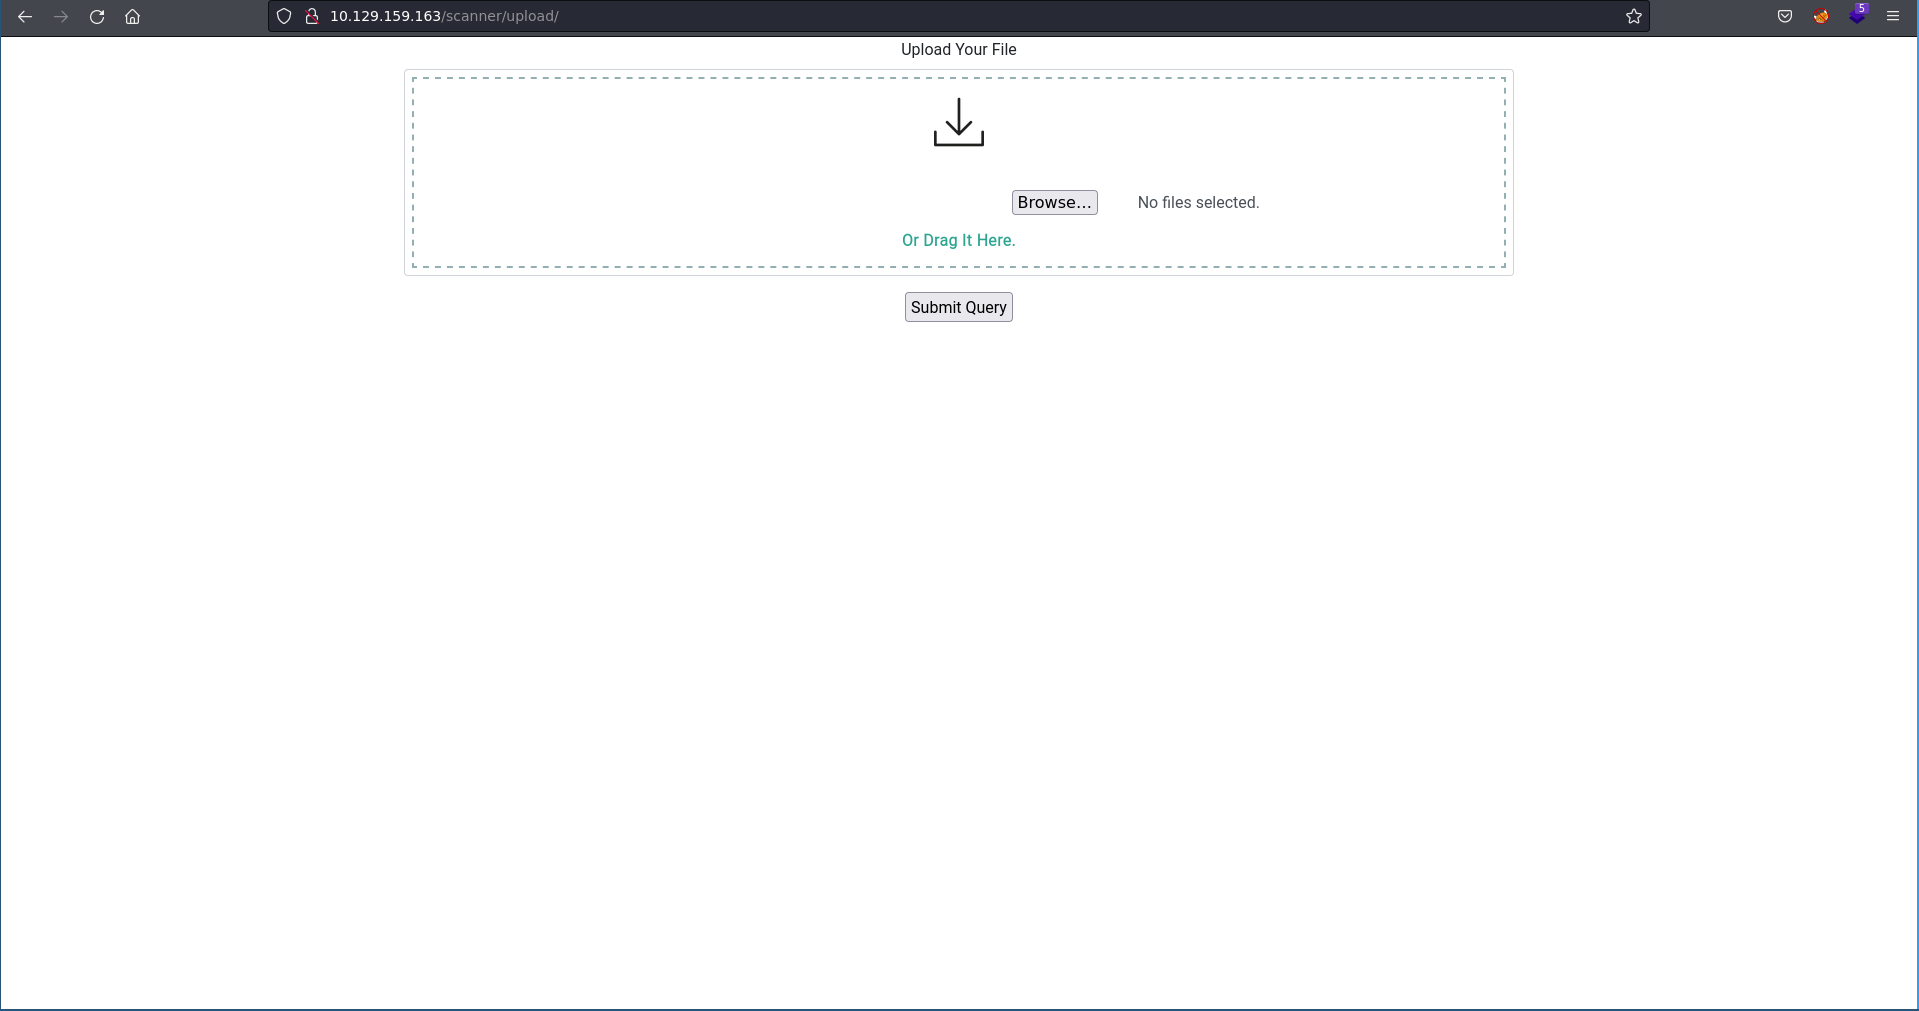
The first link on the page http://10.129.159.163/scanner/upload leads to the upload form where we can submit a binary for scanning.
The other link http://10.129.159.163/static/source.tar.gz let’s us download a source tar archive.
The archive looks interesting so let’s download and unpack it.
1 |
|
Looking at the source code of the upload form we see what happens with our uploaded binary. First it generates a md5 hash of our uploaded file writes it to disk and runs it with a sandbox executable.
malscanner/scanner/views.py
1 |
|
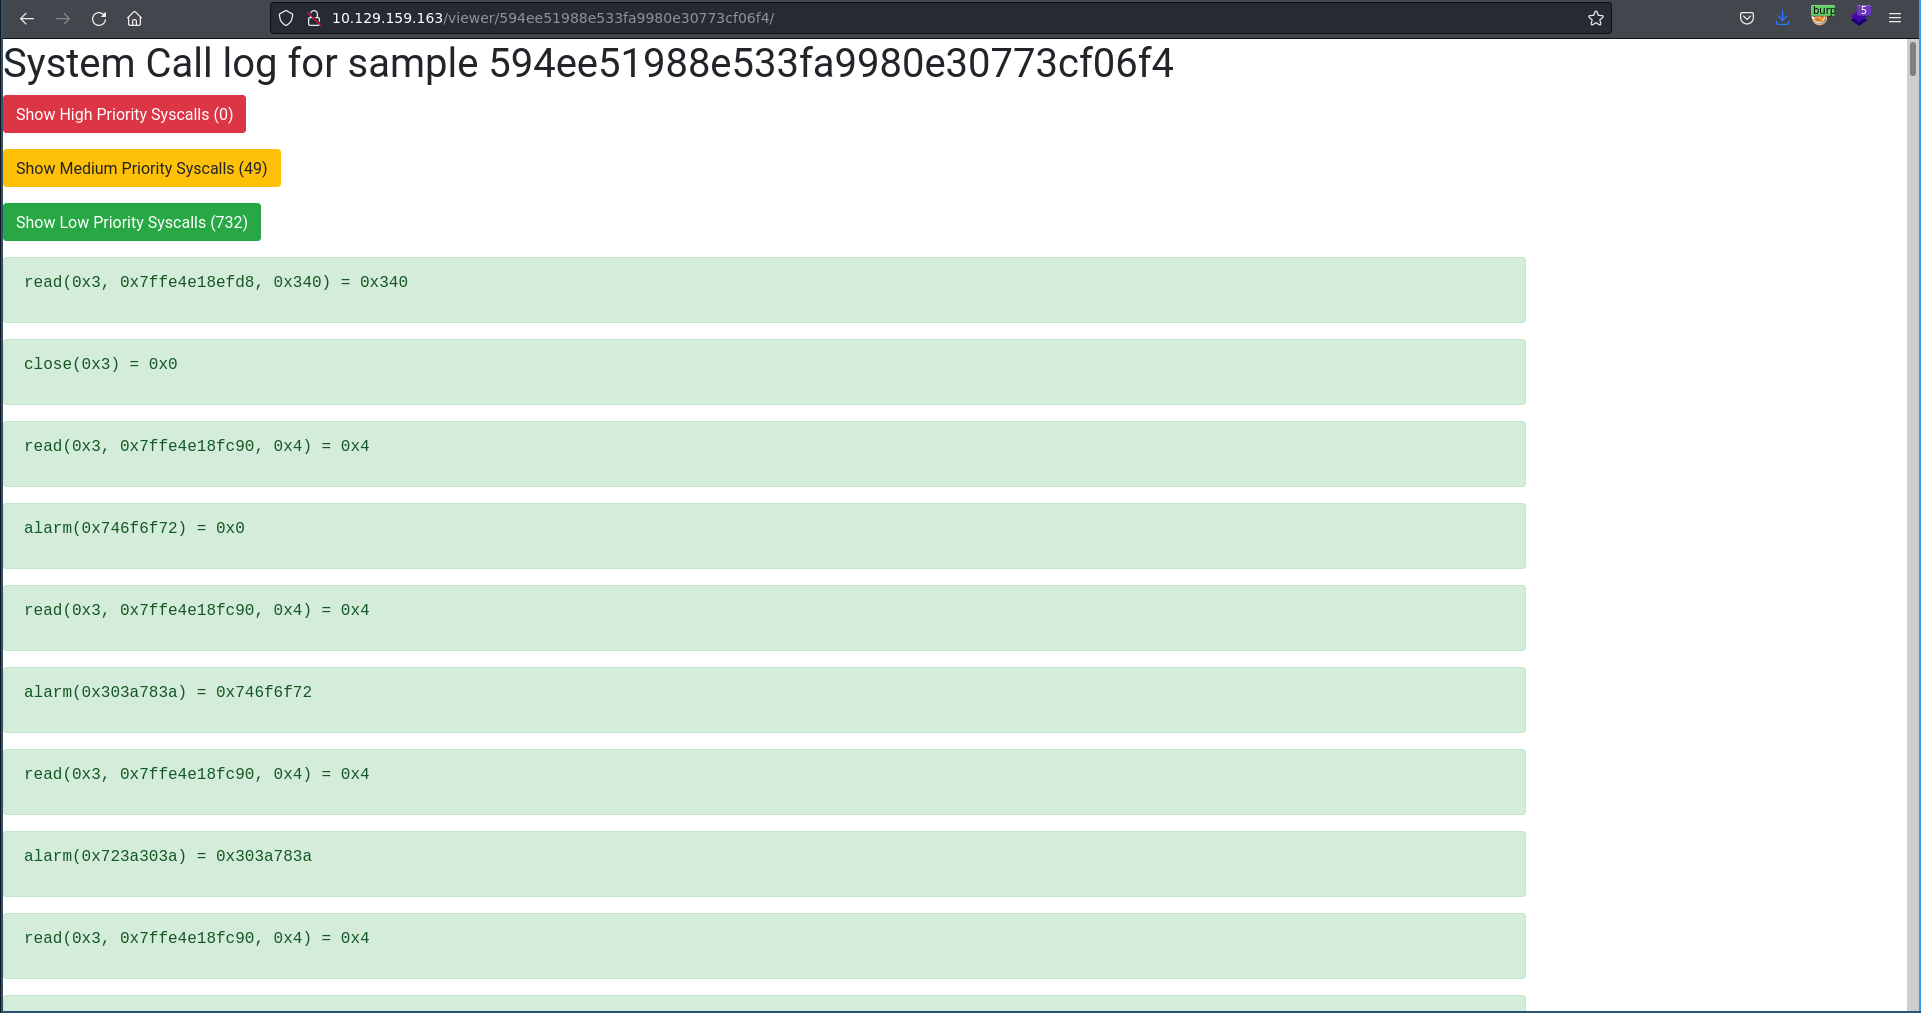
The viewer seems to return some syscalls that happened during execution.
malscanner/viewer/views.py
1 |
|
malscanner/viewer/syscalls.py
In the source.tar.gz the code for sandbox is also included.
1 |
|
Looking at the Makefile we see it creates the jails directory upon building. Furthermore the finished binary get’s the cap_setuid capability set which looks very promising in a successful exploit scenario.
Makefile
.PHONY: all clean

all: sandbox

jails:
	mkdir jails; chmod 0771 jails


sandbox: jails sandbox.c copy.c tracing.c
	gcc sandbox.c copy.c tracing.c -static -o sandbox
	sudo setcap 'cap_setpcap,cap_sys_admin,cap_setuid,cap_setgid,cap_sys_chroot=+eip' ./sandbox

clean:
	for i in $(shell find jails -maxdepth 2 -name proc); do sudo umount $$i; done
	rm -rf sandbox jails/*
Going through the source code we start in the main function of the program. The binary expects at least one argument else it exits and the argument has to start with /. The flow continues by calling the check_cap() function.
sandbox.c/main
1 |
|
Inside the function the current capabilities of the process are retrieved and if they aren’t sufficient to pass the check the program exits. Since we cannot change the capabilities on the remote binary unless we have root access this check is irrelevant for us unless building the binary ourselves.
sandbox.c/check_caps
1 |
|
Next up in main a uuid is generated if no second argument is passed which would in turn take the place of the uuid.
sandbox.c/generate_uuid
1 |
|
Before the program ends the make_jail function is called in main. First it checks if a file with the name of the uuid already exists in the jails directory, exits if it does and elses create a directory with the uuid as name. Afterwards it switches to the dirctory and calls copy_libs.
sandbox.c/make_jail
1 |
|
Here a bin , usr/lib/x86_64-linux-gnu and usr/lib64 directory get created. Next copy gets called to copy the the library and afterwards two symlinks are created for lib64 and lib respectively.
sandbox.c/copy_libs
1 |
|
Inside copy the actual copying of the library happens.
copy.c
1 |
|
Continuing with the execution flow in make_jail, do_namespaces is called next. This function creates a new namespace and unshares the pid and network space from the original namespace. Furthermore here a timer get’s set for the parent to exit after 6 seconds. Afterwards a /proc dirctory is created in ./jails/[uuid] and the actual /proc directory is mounted on top of it.
sandbox.c/do_namespaces
1 |
|
After do_namespaces copy is called again to move the uploaded binary inside the chroot jail and the uid’s are set to 1001. Last up in make_jail, do_trace gets called. This function first drops the effective and permitted capabilities. Afterwards a child process is started which is killed after 5 seconds by another forked process which exits itself afterwards.
sandbox.c/do_trace
1 |
|
Inside do_child the jailsfd is closed to lock the forked process inside ./jails/[uuid]. The interesting thing here is though that /proc is mounted inside the chroot jail and still provides means of accessing the rest of the filesystem.
sandbox.c/do_child
1 |
|
After do_child a “killer” process is forked in do_killer which sleeps for 5 seconds, kills the do_child process and then exits.
sandbox.c/do_killer
1 |
|
In do_log all the syscalls and their results are traced and passed to log_syscall.
sandbox.c/do_log
1 |
|
log_syscall now writes the traced syscalls to a log file /log.
sandbox.c/log_syscall
1 |
|
The log file now get’s rendered on the viewer route in django. Looking at malscanner/viewer/syscalls.py we can see a list of supported syscalls.
malscanner/viewer/syscalls.py
1 |
|
Since we are in a chroot jail and the PID + NET namepspace is unshared we have to think of another way to exploit the situation. One way to do this is the mounted /proc filesystem. Using PID 1, FD 3 and the ../ sequence we can traverse back outside of the chroot jail. Next we need a way to exfiltrate data from the system, which we can do using syscalls that in turn get logged and output on the website. To test our exfiltration we can first compile a small test binary with a string to exfiltrate. Multiple syscalls for this cause would be possible but we will use alarm in this case. Alarm takes an unsigned integer as input so we have to convert our char array. Since an unsigned integer is the size of 4 on linux systems the string test is just right for the first attempt. We convert the char pointer to an unsigned int pointer and run a syscall on the value (37 representing the alarm syscall).
test.c
1 |
|
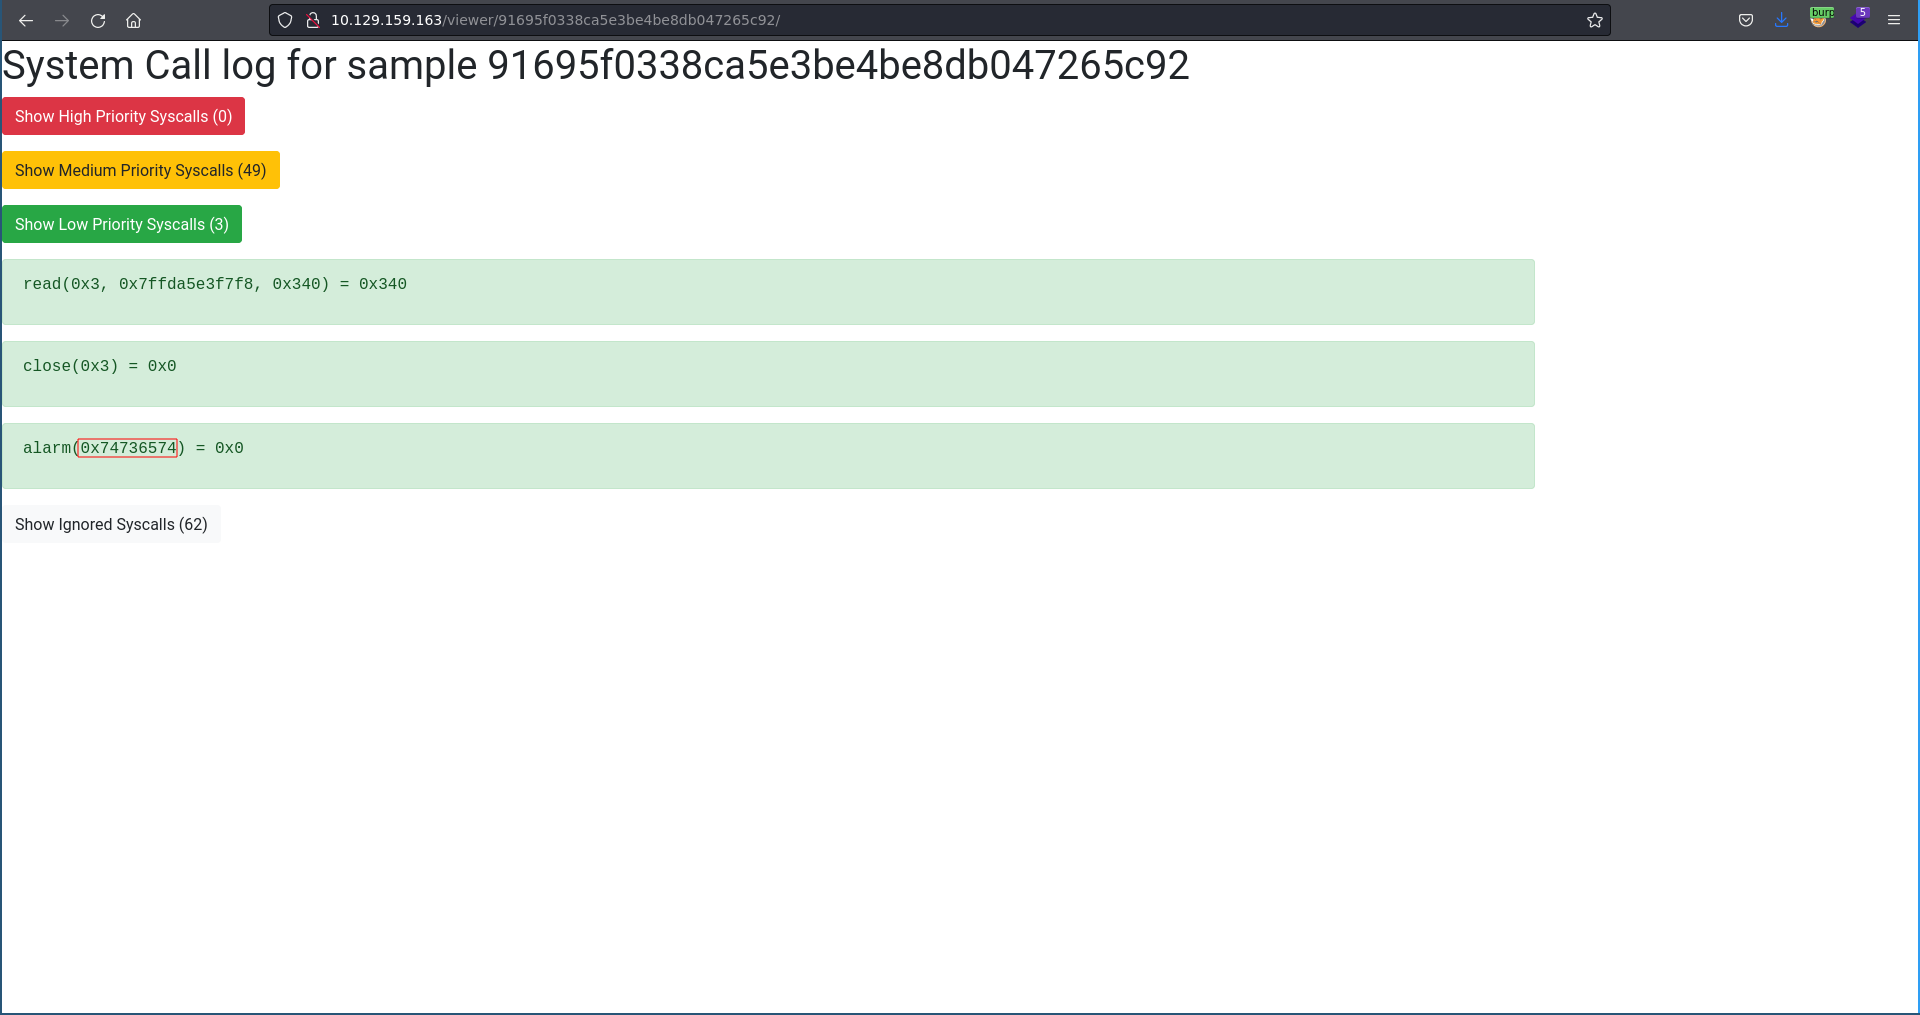
After compiling the binary we upload it and after the sleep we get a result.
1 |
|
Converting the hex back to ascii we see our exfiltration technique is working and we are getting back the string tset. The order here is reversed because it is a little endian system.
1 |
|
Since we got exfiltration working we can next try to exfiltrate an actual file. Because we are running under the uid of 1001 we first choose a world readable one which also gives more information about the system like /etc/passwd
exfil_passwd.c
1 |
|
Checking the first alarm it looks like it is working with toor being root in reverse.
1 |
|
We are now able to read files on the system but converting them manually and recompiling the binary would be very time consuming. This short python script will do the work for us here. it first fills in the file we want to read into C source code and compiles it. Then it uploads the binary to the malscanner, retrieves the response, parses it and saves the exfiltrated file on our system.
1 |
|
Testing it with the /etc/passwd file again we can now comfortably retrieve it.
1 |
|
1 |
|
Looking for possible interesting files on the system there is a malscanner.db in the webroot of the source code.
1 |
|
The end of the settings.py django configuration file leaks the root of the web application so we know where to look for the database.
1 |
|
Using our script we can retrieve the database and opening it there is a hash for the user clarence inside which also is a user on the os.
1 |
|
1 |
|
Using hashcat and rockyou we are able to crack it quite quickly.
1 |
|
Testing the credentials clarence:onedayyoufeellikecrying with ssh we are able to log into the machine and grab the user flag.
1 |
|
Root
We noticed earlier that sandbox gets the cap_setuid set when compiling. This is also the case on this system. Furthermore there seemed to be interesting file permission on the copied libraries and on the whole jail directory itself.
1 |
|
Checking on the system the directory is world readable. This means we can copy anything inside while we run a binary with sandbox. Since we are also able to access the rest of the filesystem through /proc/1/fd/3 we can run another binary from inside the sandbox. These two things mean we are able to make a binary on the host run with a backdoored library version.
1 |
|
Doing this with a suid binary we should be able to achieve code execution as root so the first step is to look at the suid binaries available on the system.
1 |
|
In this case we choose mount as our target. Using ldd we can see all the libraries it imports.
1 |
|
To choose the one we want to backdoor we can run mount from within the sandbox and look at the error message to get the first library missing. To have an interactive process from where we can call mount one way is to run sandbox with /bin/sh
1 |
|
Having identified the library to backdoor we now need to know all the functions inside it. To have better access to it we use scp to copy the library over to our machine.
1 |
|
Using objdump we can retrieve all the functions and with awk we can create a C source file calling each one of them. For the function call we will simply output which function got called so we know what to backdoor.
1 |
|
Finally we also add the necessary header files at the top of the source code and compile it to a shared library.
evillib.c
1 |
|
1 |
|
Next we transfer it over to the machine and prepare the command to execute in sh to just paste it later since we are dealing with a limited timeframe.
1 |
|
For the execution we open up another ssh session where we will prepare the copying of the bad library. First we create a variable to hold the uuid for our jail. We do this to keep track which jail names are already blocked currently. Next is a sleep command so we can start the sandbox during the sleep and then the backdoored library gets copied into the created jail.
1 |
|
After we start the command with the sleep we run /bin/sh inside sandbox on our other ssh session specifying the same uuid.
1 |
|
Once the copy command finishes we run our prepared mount command inside the sandbox’s /bin/sh. There are some errors about no version information being available but at the end of the output we see that mnt_init_debug and mnt_new_context got called by mount.
1 |
|
Since mnt_init_debug got called first we will choose this function to run our code. All it does is set the uid to 0, confirms it got set and the gives bash the suid bit on the system.
1 |
|
Now all we have to do is perform the steps from before. First we compile the library again and transfer it over to the target.
1 |
|
1 |
|
We increment our uuid value so sandbox does not exit because the jail name exits. Then we run the sleep command first again and start /bin/sh in the sandbox with the incremented uuid.
1 |
|
Like before we run our prepared mount statement inside the sandbox again after the copy command finished. In the output we can see that the uid of the process running our function is now 0, indicating our backdoored code got executed successfully.
1 |
|
Now we can simply drop into a root bash shell and add the root flag to our collection.
1 |
|
