Unobtainium is a hard rated machine on HackTheBox by felamos. It involves exploiting object prototype pollution in an older lodash library chained together with a CVE in the google-cloudstorage-commands library to gain foothold on a container running a custom electron app. To gain root we will pivot around a kubernetes cluster and abuse misconfigured permissions to escalate to cluster admin and finally mount the host file system in a pod where we write an ssh key for the root user.
User
Nmap
As usual we start off with an initial scan against the machine and see 8 ports being open against which we run a script and version detection scan.
All Ports
1 | |
Script and version
1 | |
App
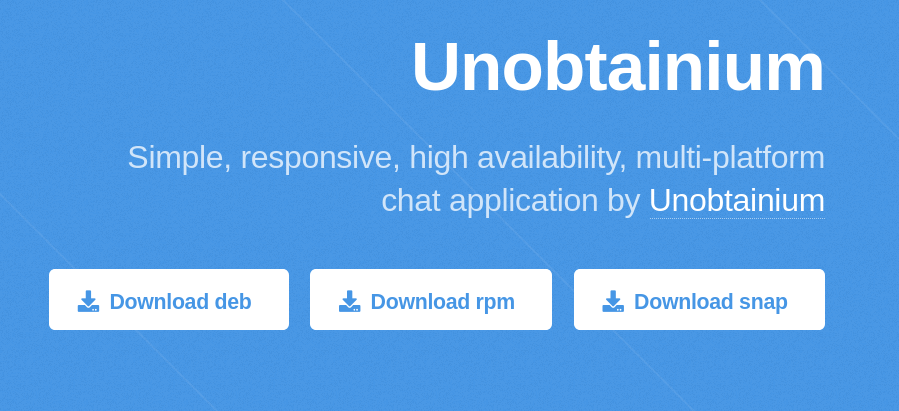
On the webiste we are greeted with a download menu for a chat application called Unobtainium. Since i use parrot i opted for the deb package and install it. This step is however not needed to complete the machine but usefull for further understanding the application.
Source and functionality
Installing it with dpkg you might encounter missing dependencies which you can install using apt.
1 | |
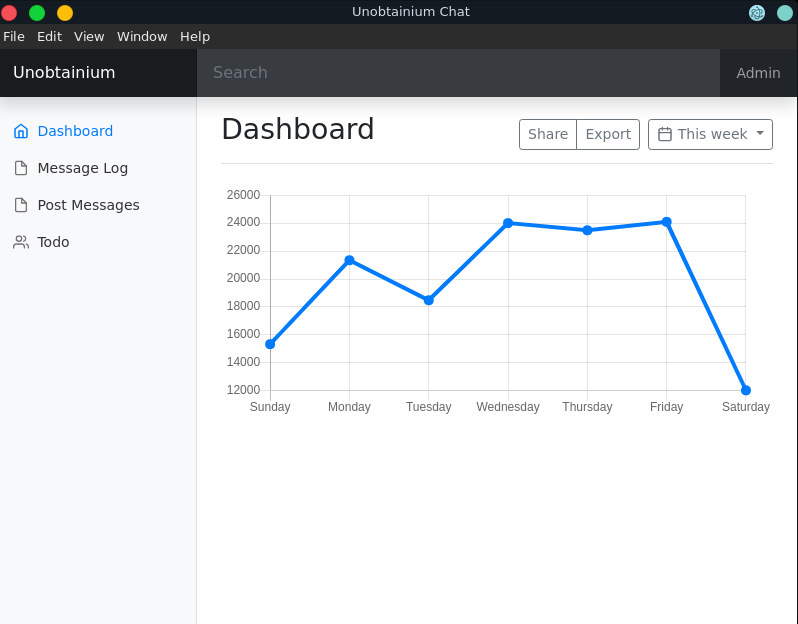
Opening the application the Post Messages and the Todo functionality seem particularily interesting.
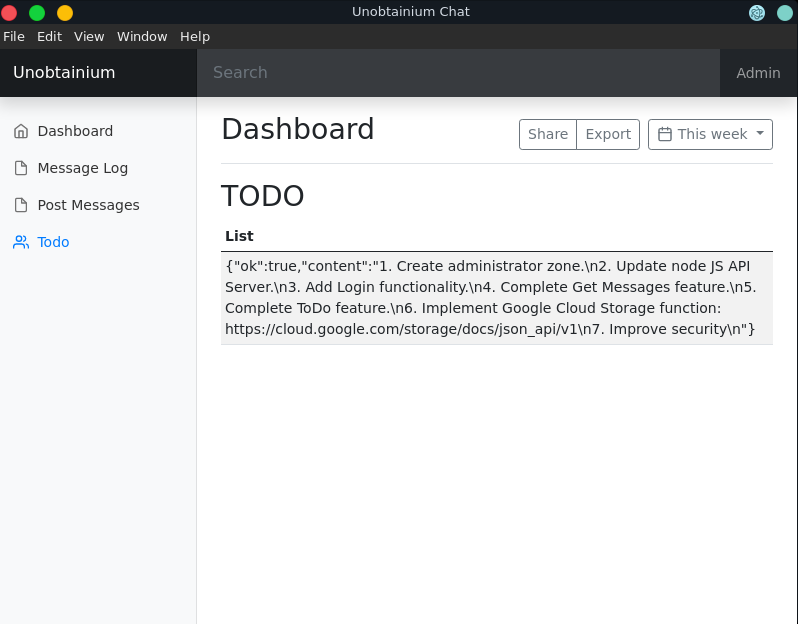
With Post Messages we can send a message to the application server and the Todo reveals an interesting list.
Not finding any obvious vulnerabilities except client side xss we can analyze the app.asar of the application at /opt/unobtainium/resources/app.asar. We do this by using npx to unpack the asar file for more convenience.
1 | |
In the src directory are multiple javascript files. Some of them seem to handle the interaction with the api server of the application.
The app.js contains the Post Message functionality and some credentials.
app.js
1 | |
The message log seems to be covered with the get.js file.
get.js
1 | |
The todo.js handles the Todo functionality and we can see it retrieves a todo.txt. We can also see that the application is running on the earlier discovered port 31337.
todo.js
1 | |
Manually executing the Todo functionality in burp we can also retrieve the todo.txt from the server.
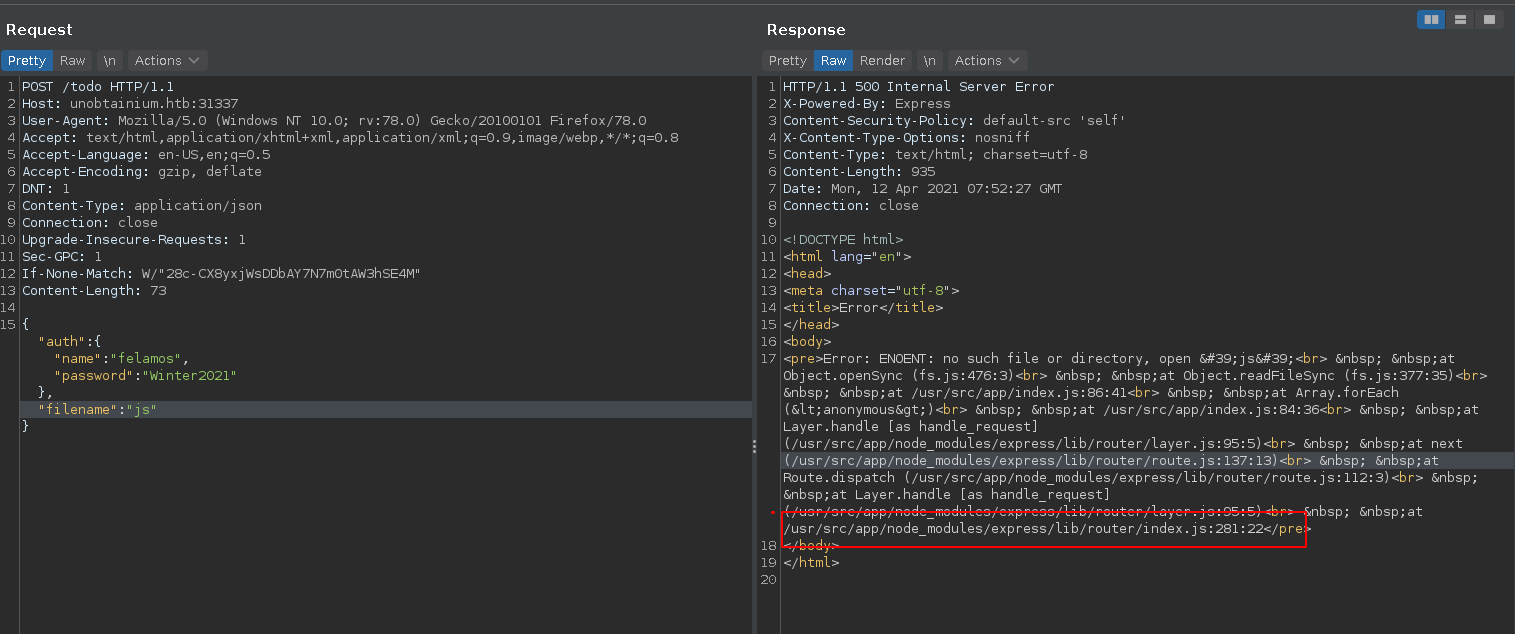
Entering an empty filename results in an error revealing the existence of an index.js file, which we can retrieve in the next request.
Looking at the todo.txt we can identify that the application may run on older software, since it is stated it should be updated. Looking at the index.js file we can identify two possible vulnerabilities in older javascript libraries which we might be able to exploit.
Contents of index.js
1 | |
Object prototype pollution into RCE
The google-cloudstorage-commands library has a RCE vulnerability CVE-2020-28436 in the second paramter which, is under our control. So if we can interact with the upload functionality we might be able to get code execution on the server.
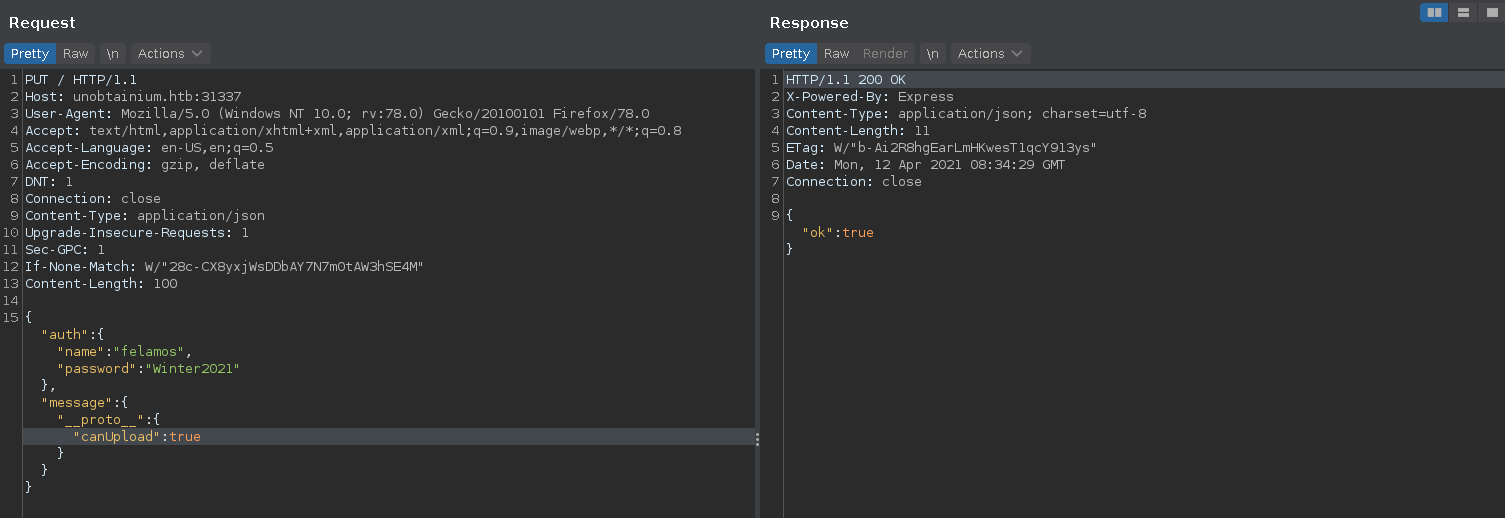
Looking at the code the function checks if the user has the canUpload property set to true. Luckily for us, there is another vulnerability in an older lodash version within the merge function it uses in the app.put function, which is the Post Message functionality (CVE-2018-3721).
Using this vulnerability we can pollute the object prototype properties, effectivly setting the canUpload property to true on every object. This let’s us bypass the authorization check for the upload function.
There seem to be multiple instances of the service running, so sending the exploit several times makes it more reliable in the second stage.
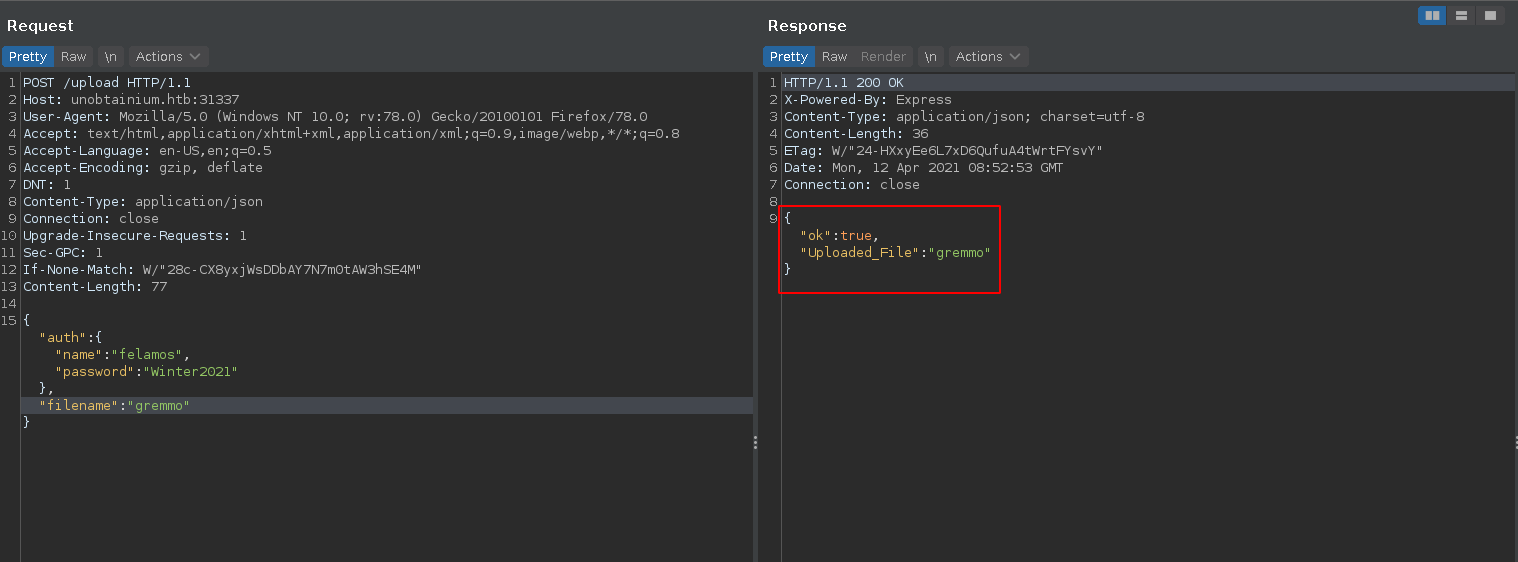
Making a POST request to /upload should result in an ok response now.
In the next step we abuse the command injection vulnerability in the filename parameter and curl a reverse shell from our machine piping it to bash.
grem.sh
1 | |
This results in a shell in what seems to be a container and we can pick up the user flag.
1 | |
Root
Webapp => Devpods
There is a cronjob running on the machine removing all files named kubectl from the system every minute and there is a token + cert for a kubernetes service account.
1 | |
1 | |
Transfering kubectl over to the machine, renaming it so it does not get removed we can enumerate the namespaces in a first step.
1 | |
There are a total of 5 different namespaces and we can enumerate the pods in the dev namespace in a second command.
1 | |
Looking at the environment variables we can see a service that might be running on port 3000.
1 | |
Trying port 3000 on one of the dev-pods, we see that the port is indeed open and poking at it gives familiar results to the previous application.
1 | |
To have better access to the port we forward it to our local machine using chisel.
1 | |
1 | |
Putting the previous exploit into a bash script using curl we can repeat the same exploit we used to get on the first container to get a shell on a dev pod.
1 | |
1 | |
1 | |
Devpod => Clusteradmin
Admin token
This pod seems to be almost identical to the web pods and the 2 other dev pods are the same. However there is a different token we can use to interact with the kubernetes cluster. There is also a cronjob removing kubectl files on the system so we repeat the same steps we did on the first pod. Listing the permissions for the new service account on the earlier identified namespaces we can see something interesting in the kube-system namespace.
1 | |
This means we can retrieve secrets from the kubesystem namespace with our service account.
Listing the secrets, the c-admin-token-tfmp2 looks particularily interesting.
1 | |
Retrieving it gives us another token to work with.
1 | |
Decoding the base64 we export the token to be an environment variable to use it to interact with the cluster. With the new token we now have administrative access on the kubernetes cluster and can list all pods.
1 | |
Mounting the host filesystem
The plan here is to create a new container with full permissions, mount the host filesystem in it and write a ssh key into the root’s ssh directory.
For this we first identify an image we can access and which we can use to build our container.
1 | |
Then we modify the yaml file from this github repository to fit our needs, create and start a new container using it.
1 | |
grem.yaml
1 | |
This writes our ssh public key into roots authorized keys and we can ssh into the host as root
1 | |
