CrossFitTwo is an insane rated machine on HackTheBox created by MinatoTW & polarbearer. For the user part we will first discover a websocket connecting to a vhost. This websocket application is vulnerable to SQLI, which let’s us retrieve email addresses from users and files on the target system. Using the file read to retrieve the public and private keys necessary to interact with the open unbound dns control service we can spoof the ip for a password reset for the user david. Password reset is sadly disabled but we discover another vhost along the way where we can interact with a chat abusing the control over davids request. Faking the administrator connecting to the chat , we retrieve ssh credentials for the machine. Once on the target, there is a node chatbot application running, where we can inject into the path to load our own module, which results in a reverse shell as another user. This user is in the staff group which can run a custom suid binary log. With log we can read any file in the /var directory and retrieve the backup of root’s ssh key. There is however 2FA with yubikey enabled, but we are able to generate the necessary OTP by also using LogReader to retrieve the yubikey files for root and log in as the root user.
Kudos to my friend TheCyberGeek for helping me along with some difficulties i had throughout the machine.
User
Nmap
As usual we start our enumeration off with a nmap scan against all ports, followed by a script and version detection scan against the open ones.
All ports
1 |
|
Script and version
1 |
|
SQLI
There are 3 open ports on the machine, from which http and unbound dns control sound the most interesting. Lacking the necessary information to interact with unbound we start with the webserver.
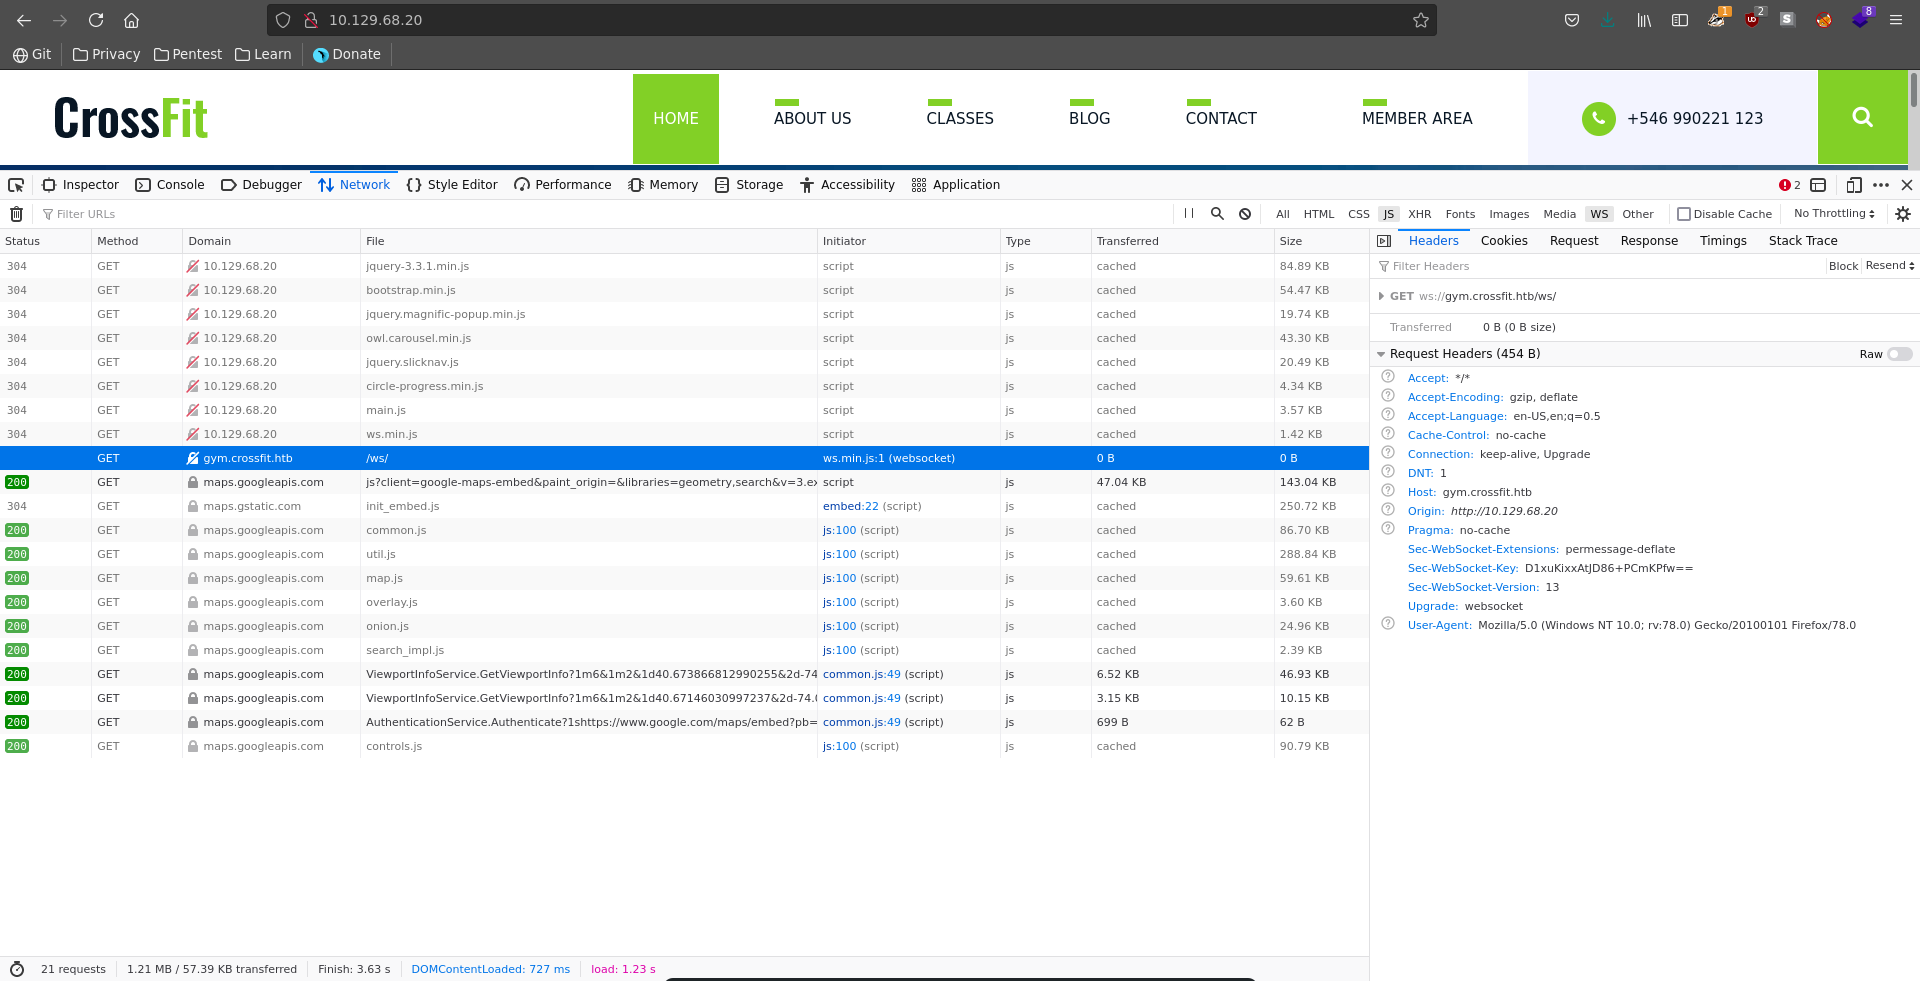
Opening it up in our browser we see a website for a crossfit club.
Clicking on the member area it seems we are missing another host in our /etc/hosts file.
And looking at the network tab in firefox we see a websocket connection also failing because of a missing host, so we add employees.crossfit.htb, gym.crossfit.htb and crossfit.htb to our hosts file.
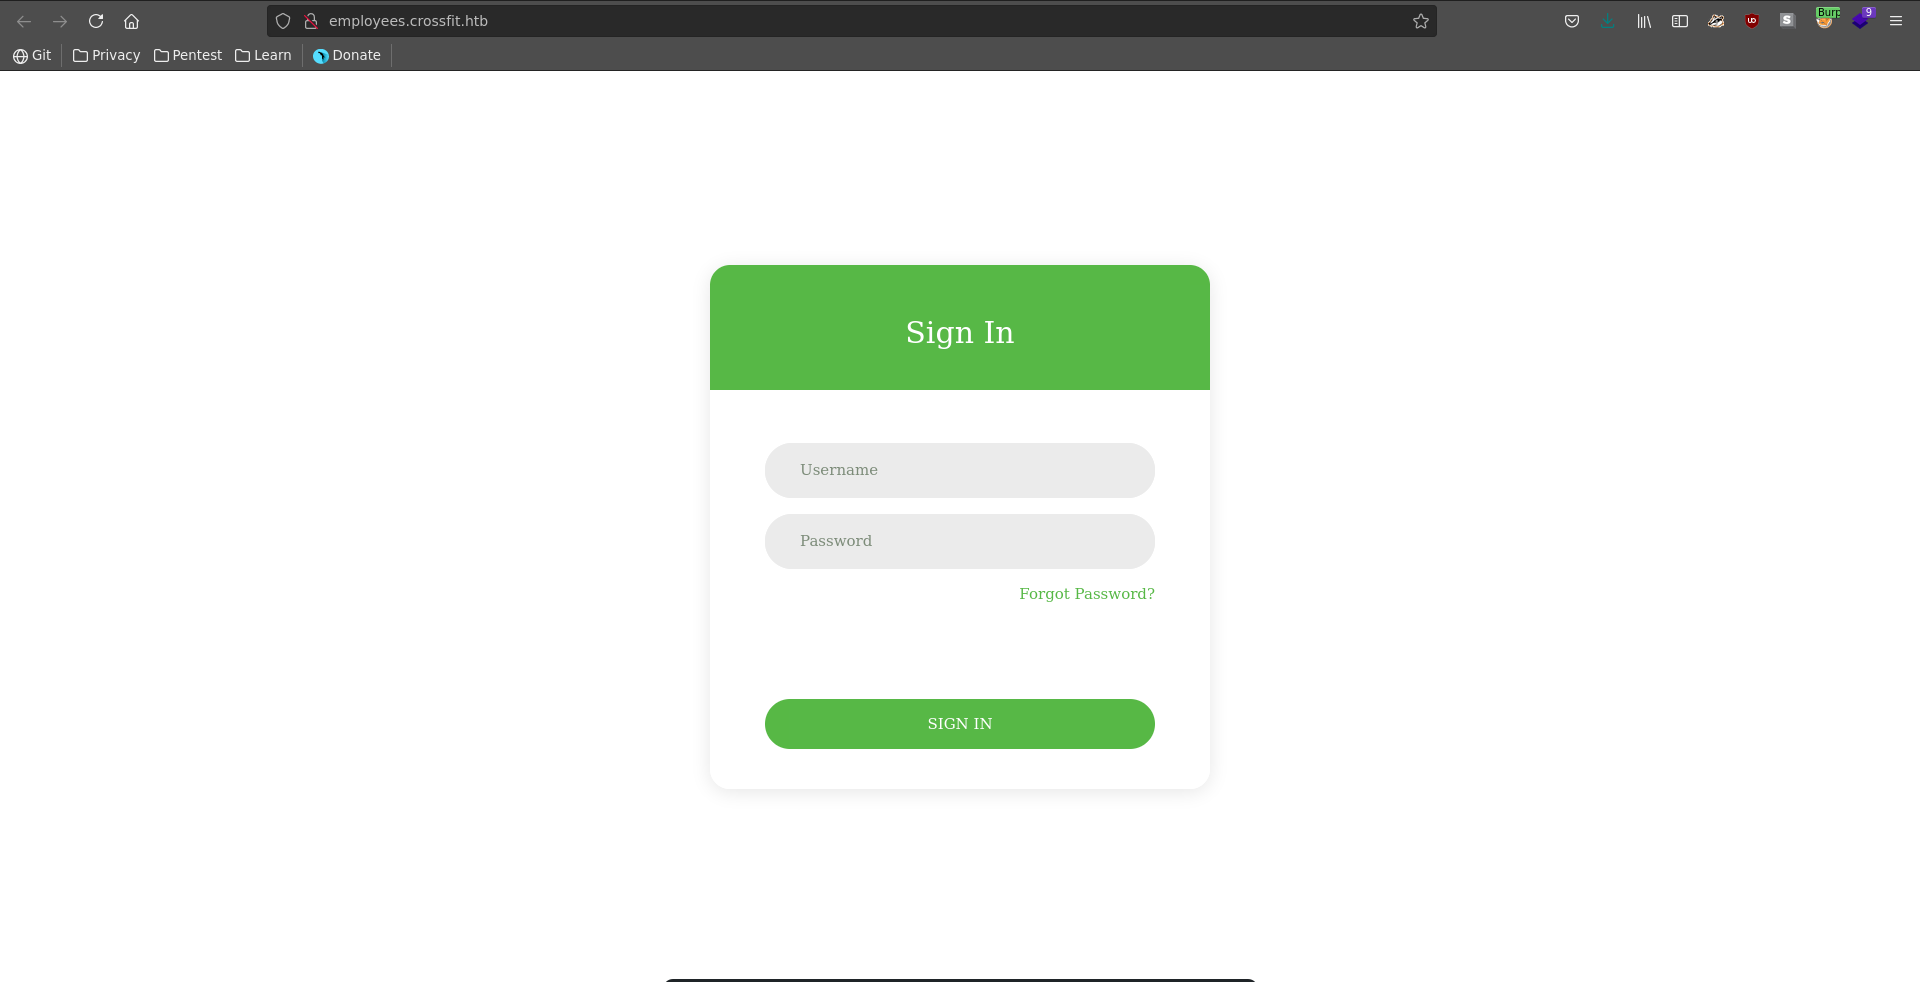
Browsing back to the member area we get greeted with a login window, which also has a password reset feature.
Adding the websocket, there now is a chatbot on the home page with which we can interact.
We proxy the traffic through burp to later examine it and click through the chatbot functionality. Entering help we get a list of possible commands.
Entering memberships we get a list of membership plans for the crossfit club, where we can also check for the availability of this plan.
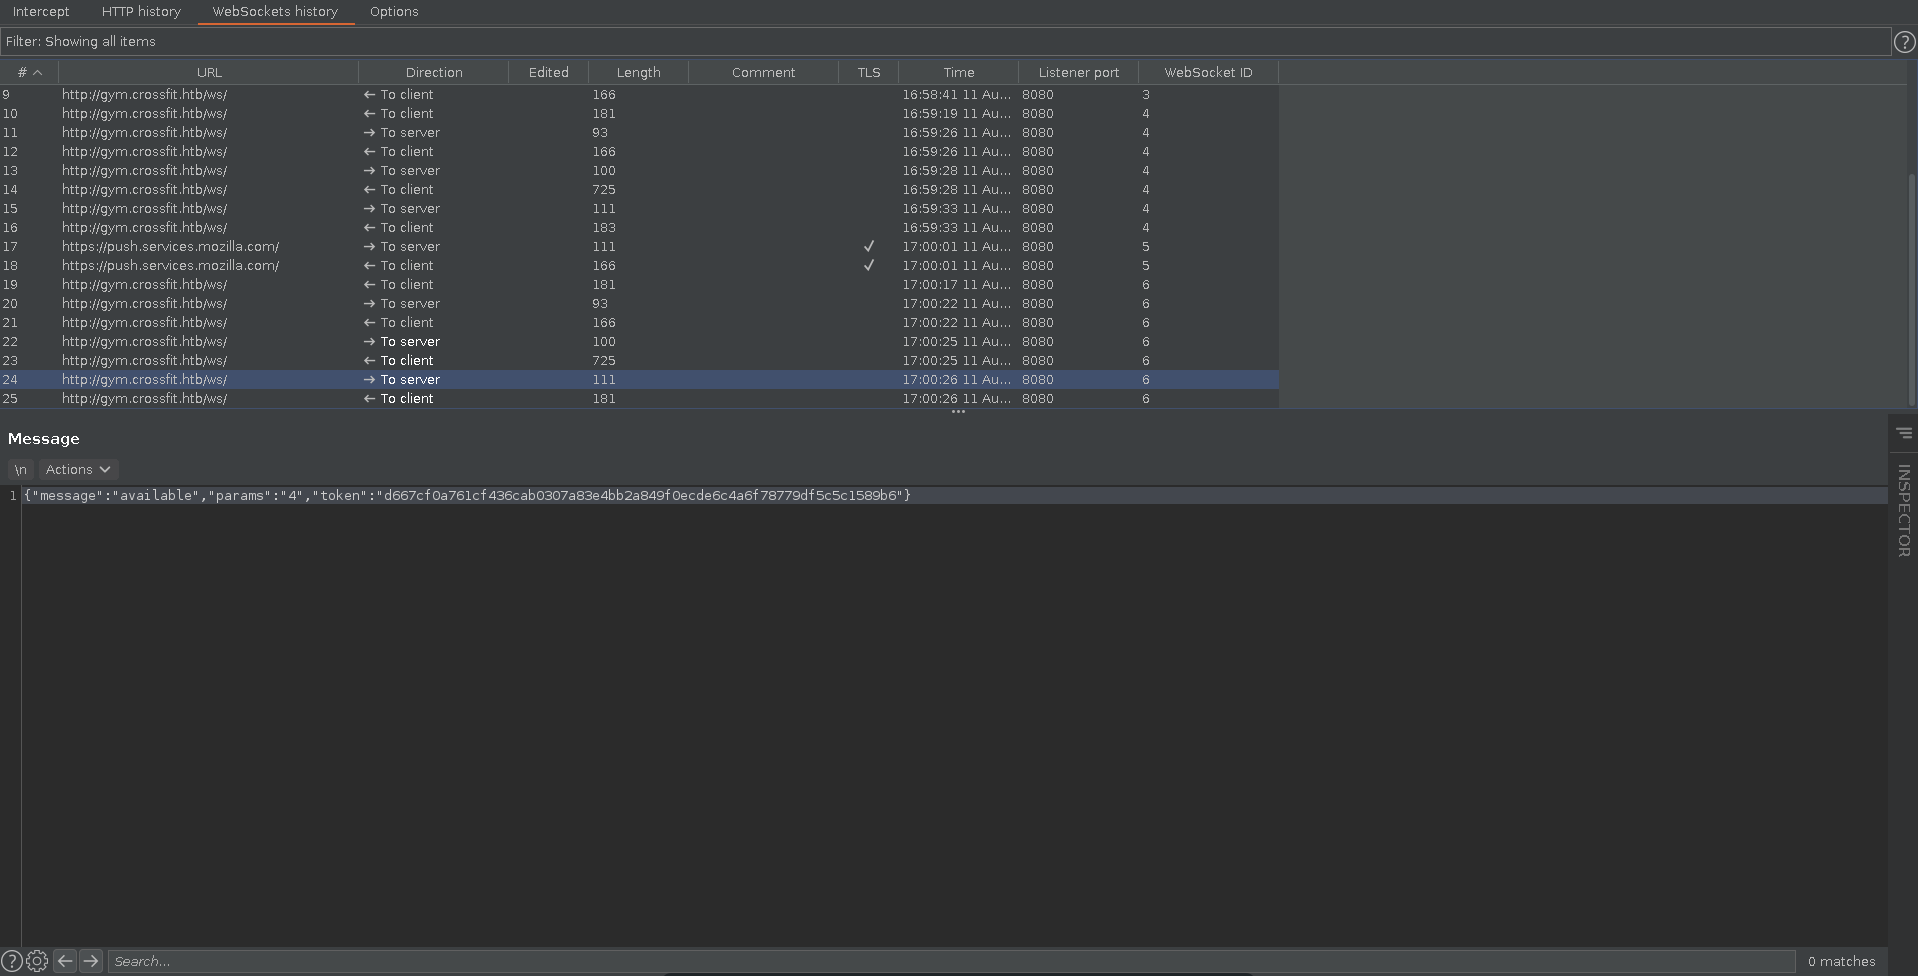
Looking through burp we select the request for the availability, which should be the last one we sent in the WebSockets history and send it to repeater.
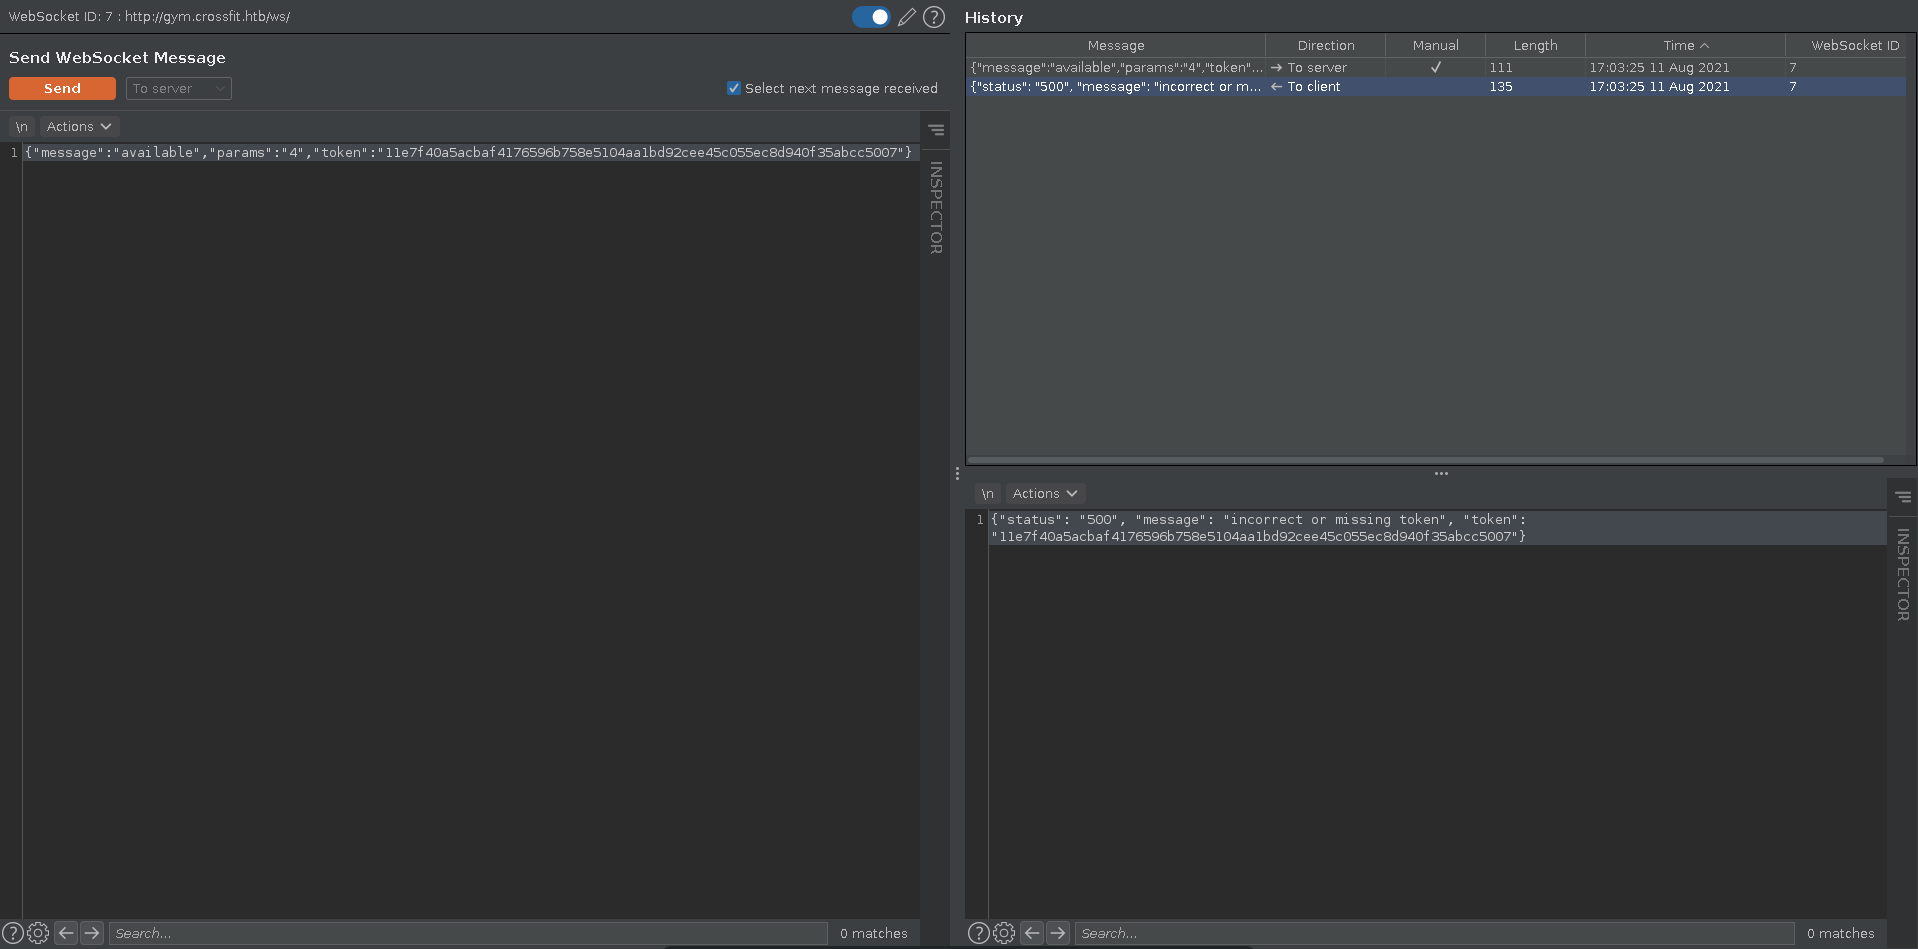
For interacting with it in burp repeater we have to take the token from the last server answer and send it with our request.
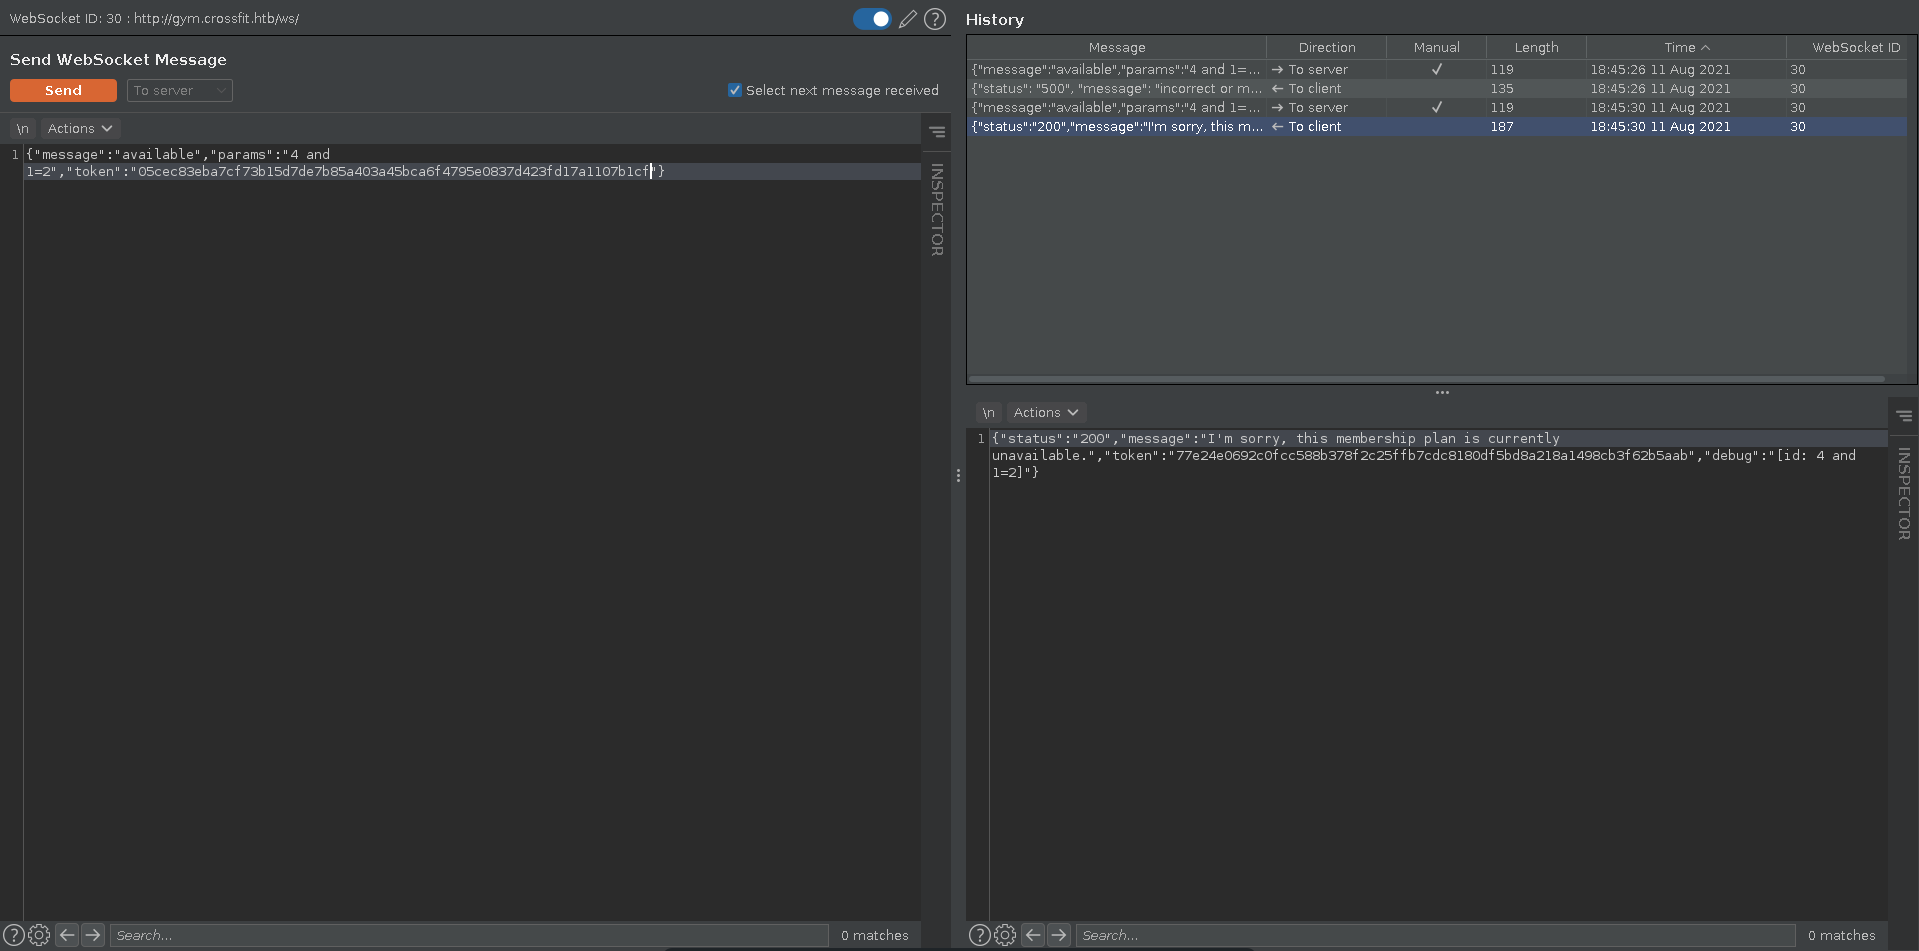
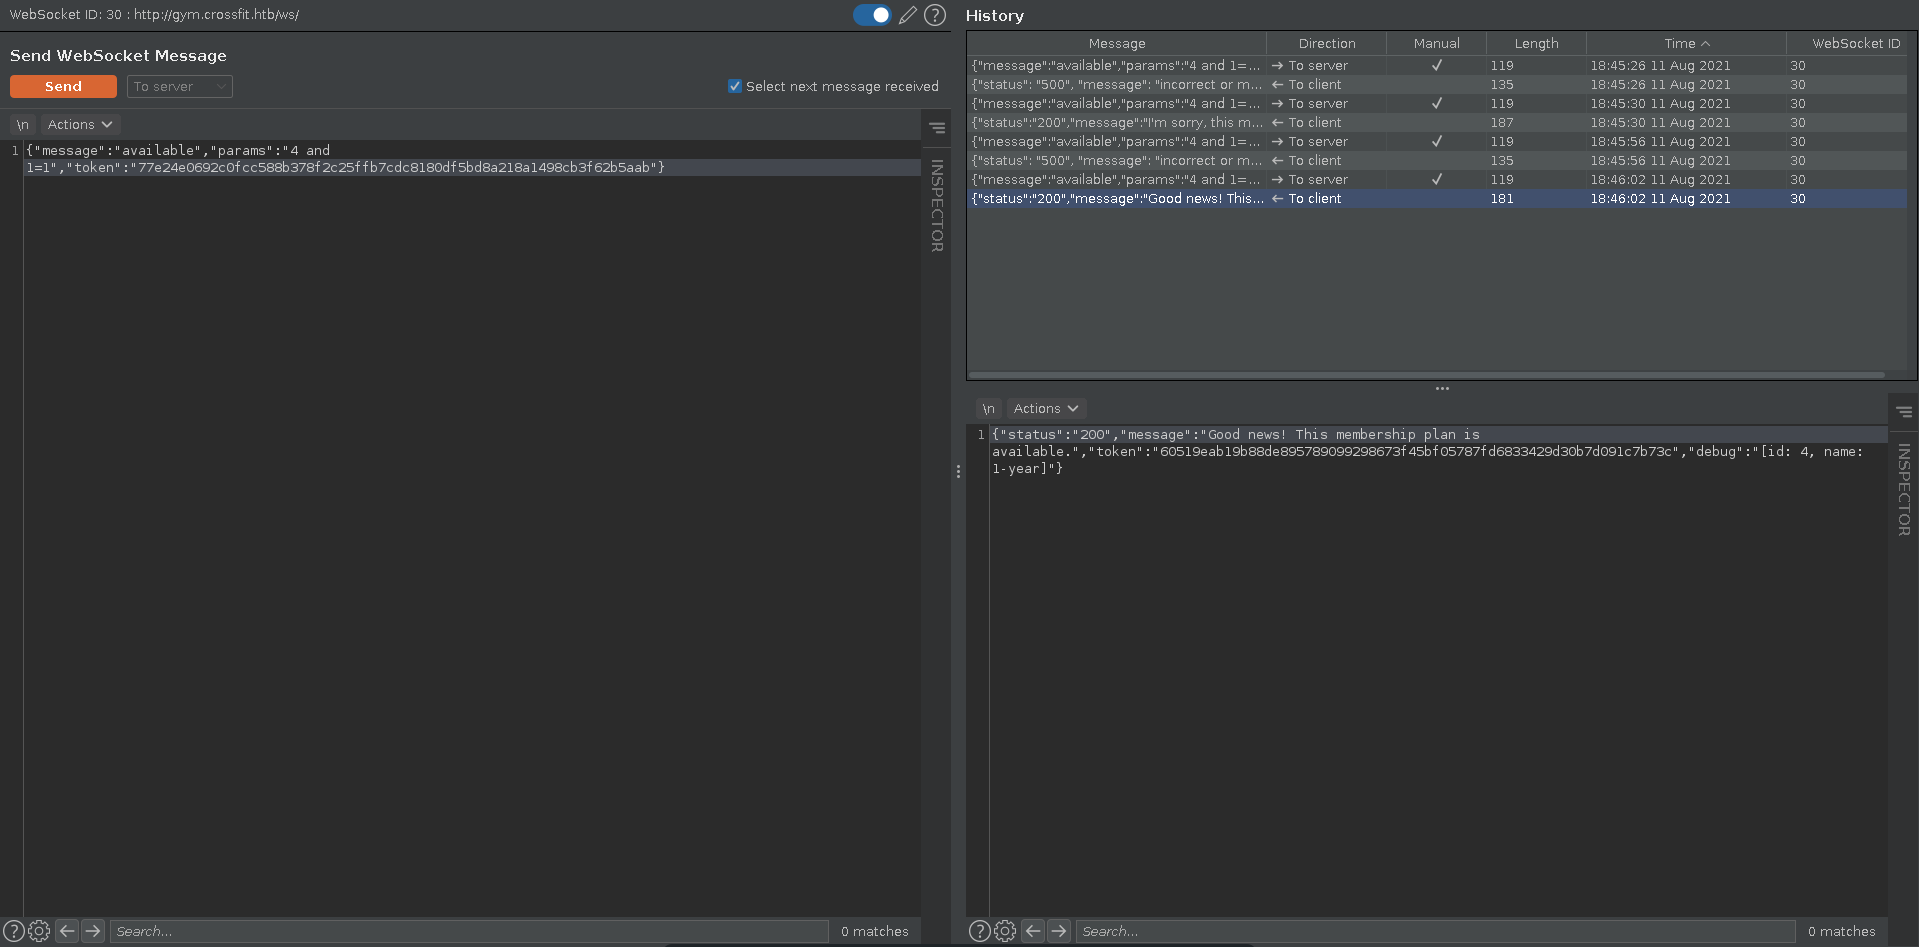
Checking for SQLI in the params value we can see that it displays no available membership plan if we enter a query that evaluates to false, but displays an availabe membership plan if we change the query to evaluate to true. This proofs we have code execution in the SQL query.
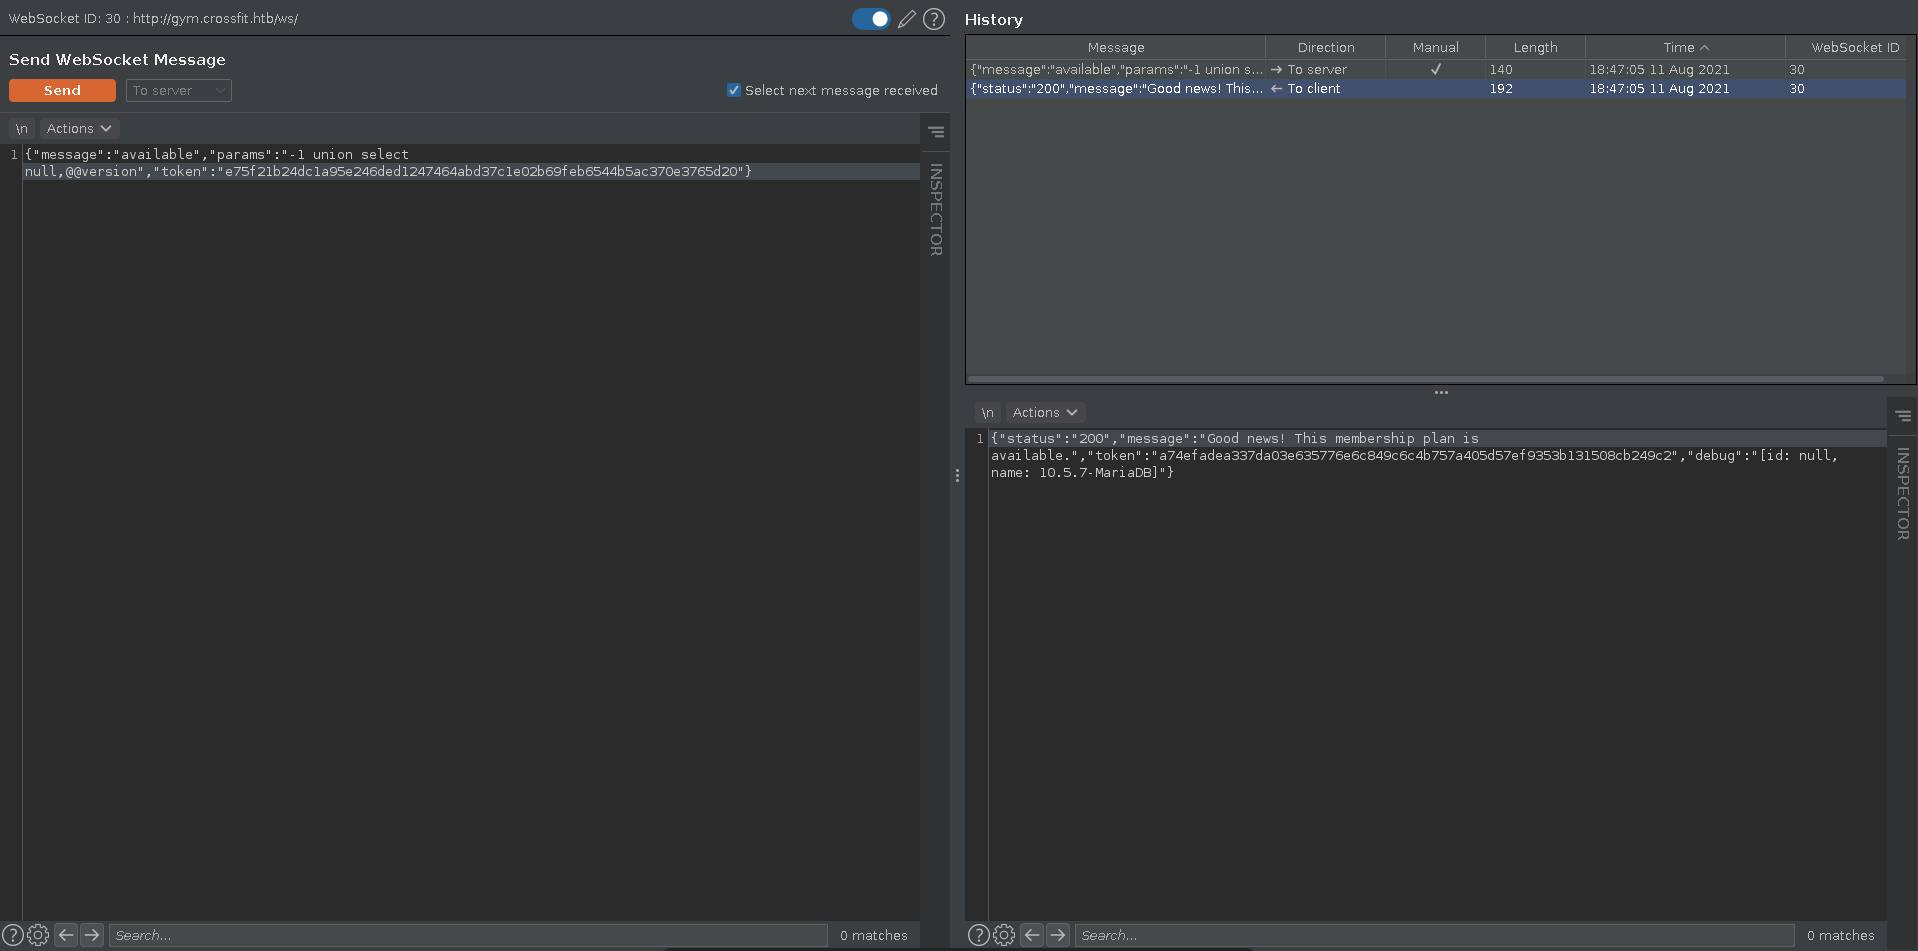
We can determine the correct amount of columns with union extension and retrieve the output in the debug field if we enter an invalid number for the membership. Selecting @@version we can retrieve the version of the backend database.
To make it more comfortable we can write a short python script to interact with the websocket using the cmd module. Since the websocket connection often closes after a certain idle time, we open a new connection for each query and set the current token to the server response. After sending our query we recieve the output and print it to the screen.
inject.py
1 |
|
With this we can now easily query the databases and also have a command history. First we look for all available databases.
1 |
|
The crossfit db only contains the membership plans, which aren’t of much use to us. However the employees database contains an employees table and a password_reset table.
1 |
|
After querying the column names from the employees table we can retrieve all email addresses and password hashes.
1 |
|
1 |
|
Doing the same for the password_reset table, we see that it is currently empty.
1 |
|
1 |
|
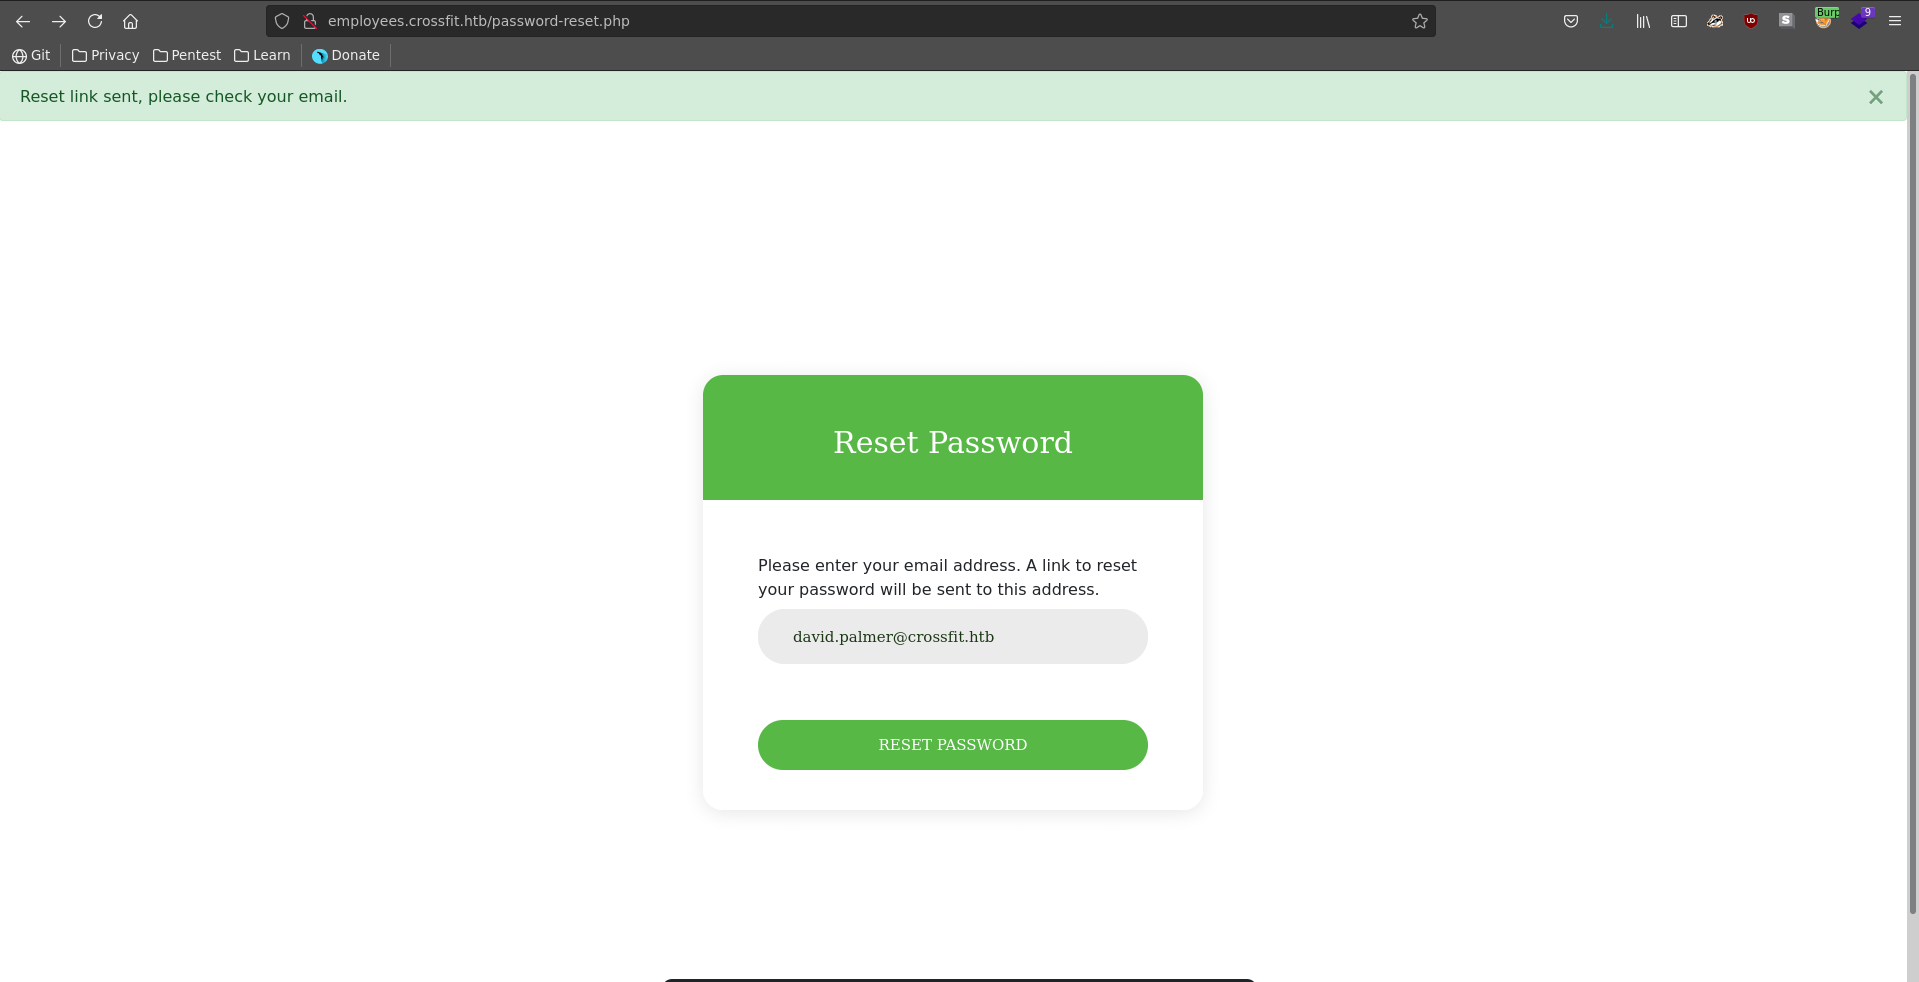
Sending a password reset request on http://employees.crossfit.htb/password-reset.php for the administrator’s account with the email david.palmer@crossfit.htb and querying it again we can retrieve his token.
1 |
|
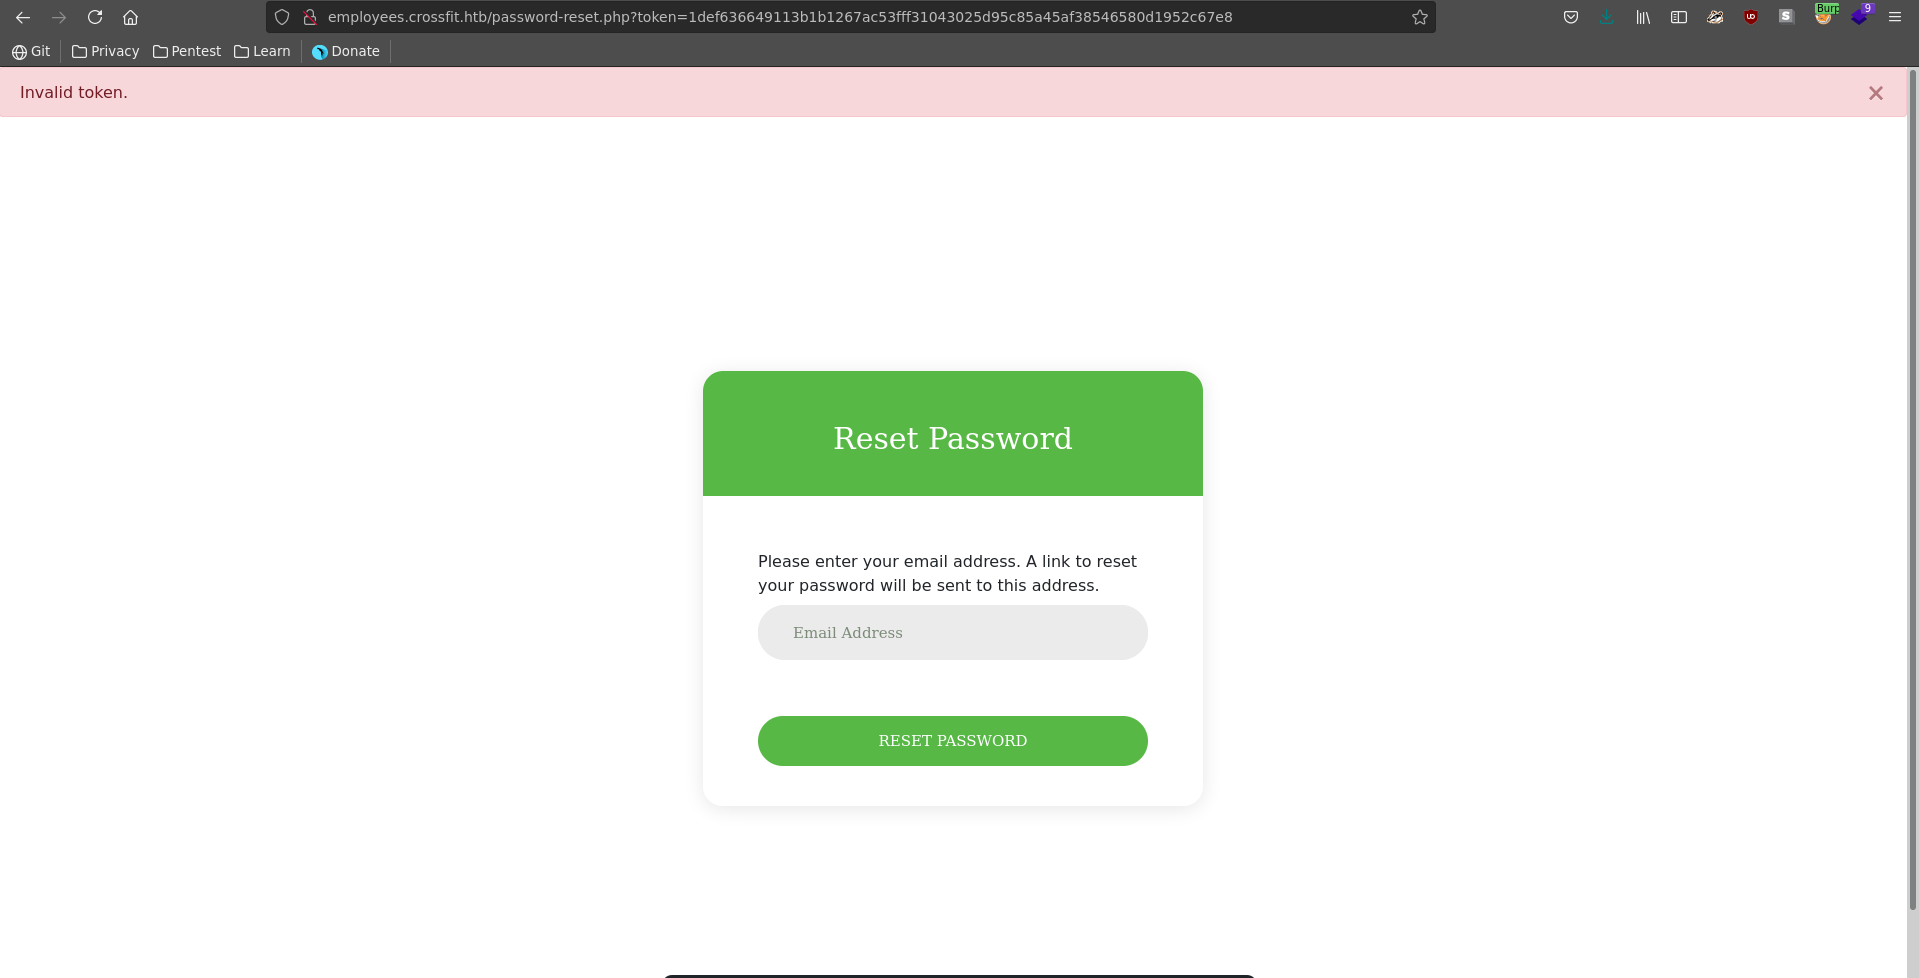
Passing this token as token parameter it turns out to be invalid sadly.
Looking for another way to get into the machine, we see that we can also read files with our discovered SQLI.
1 |
|
Adding a read_file function to our script we can now easily read files by prepending read_file in our pseudo-shell.
inject.py
1 |
|
Since we know that unbound dns is running on the machine the /etc/resolv.conf might have some interesting information. Retrieving it we see the machine is looking up dns locally.
1 |
|
Looking up the /etc/relayd.conf we can also retrieve the specific rules for dns-lookup. Interestingly here are the wildcards being used. This means if we send a request with a host header of {random}employees.crossfit.htb to the server it will try to look it up with unbound dns. To abuse this the resolving has to happen on our machine, which means we have to interact with the unbound-control on port 8953.
1 |
|
To do this we first have to retrieve the configuration file and look for authentication methods. Luckily for us this is in the default place on openbsd.
1 |
|
We see that authentication happens with a public and private key, so we retrieve all the necessary files to set up unbound-control on our machine.
1 |
|
1 |
|
1 |
|
Unbound dns spoof
First we need to install unbound with apt and stop the service because we will need port 53 udp later to spoof dns.
1 |
|
We then copy all these keys to /etc/unbound/unbound_server.pem /etc/unbound/unbound_control.pem /etc/unbound/unbound_control.key respectivly.
Now we are able to add a forward lookup zone to the target to query every unknown subdomain of crossfit.htb from our machine. We pack the unbound command with a curl request to reset the password for david in a small bash script, since both need to happen after one another anyways and the server seems to reset the forward zones again after some time.
forward_and_reset.sh
1 |
|
Starting wireshark and listening on our vpn interface filtering traffic for dns we execute the script with sudo.
1 |
|
Looking at wireshark we can see the target is indeed sending a dns request to us which obviously fails right now.
The output from the curl command has also some interesting information, mentioning that the reset has to happen from localhost. This means we need to spoof the first request to point to 127.0.0.1.
1 |
|
Modifying this python dns server, to send the first lookup request containing “employee” to 127.0.0.1 and the next one to our vpn ip, we try the same from above again, but this time listening on port 80 to possibly capture david clicking on the password reset.
dns_spoof.py
1 |
|
For this we first set up a ncat listenser on port 80 and start the dns server on port 53 udp.
1 |
|
1 |
|
With all set up we run our bash script again and look at the output.
1 |
|
On the dns server the request arrived and got resolved to 127.0.0.1. However there was another request in quick succession which got resolved to 10.10.14.65 as we specified it in the server.
1 |
|
Looking at the output from the curl request it seems like we also have to forward the second request to localhost aswell to bypass the filtering.
1 |
|
Modyfing our dns_spoof.py script we change it to resolve the first two requests to 127.0.0.1 and the third request to our ip.
dns_spoof.py
1 |
|
Running it again and looking at the curl output there is no error this time and all seems to have went well.
1 |
|
After about a minute we see another dns request in wireshark which seems to come from the user clicking on the reset link. This request now gets resolved to our ip.
Since the host points to our ip, we now capture the password reset on our ncat listener.
1 |
|
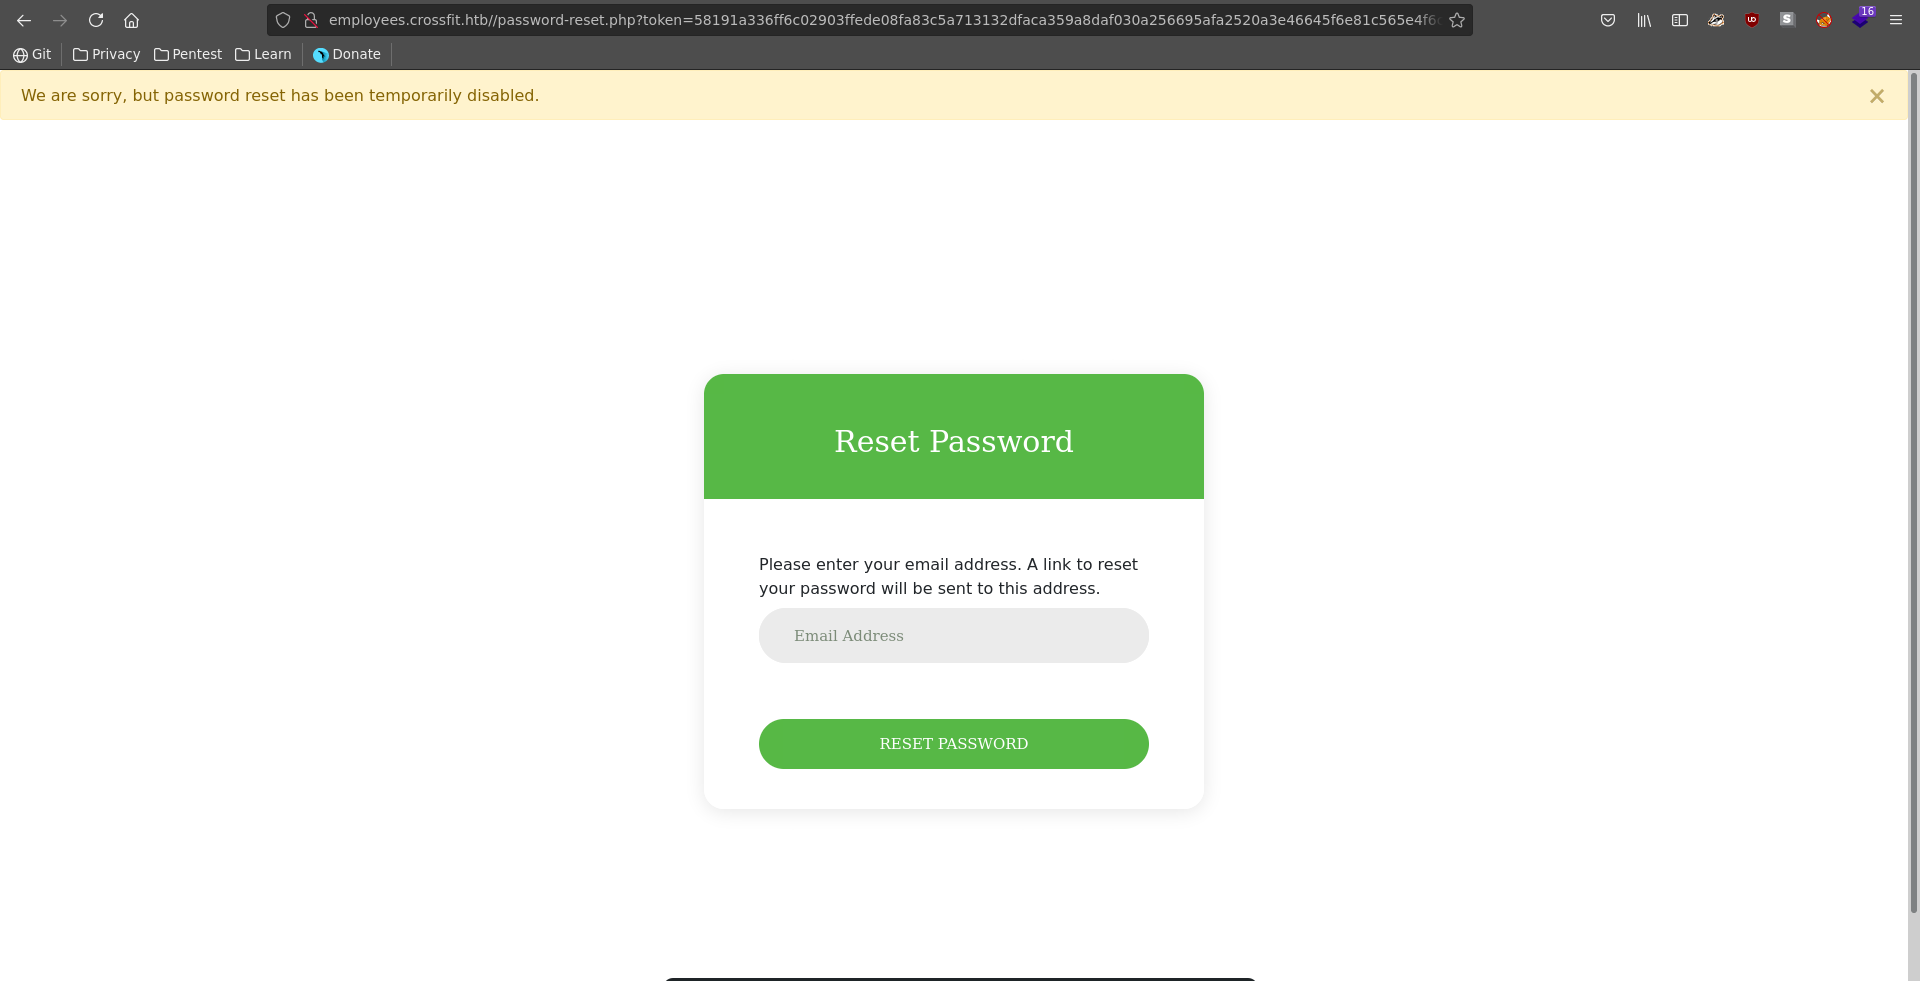
Trying the password reset this time, it tells us that password reset is disabled currently and we have to look for another way in.
Socket.IO
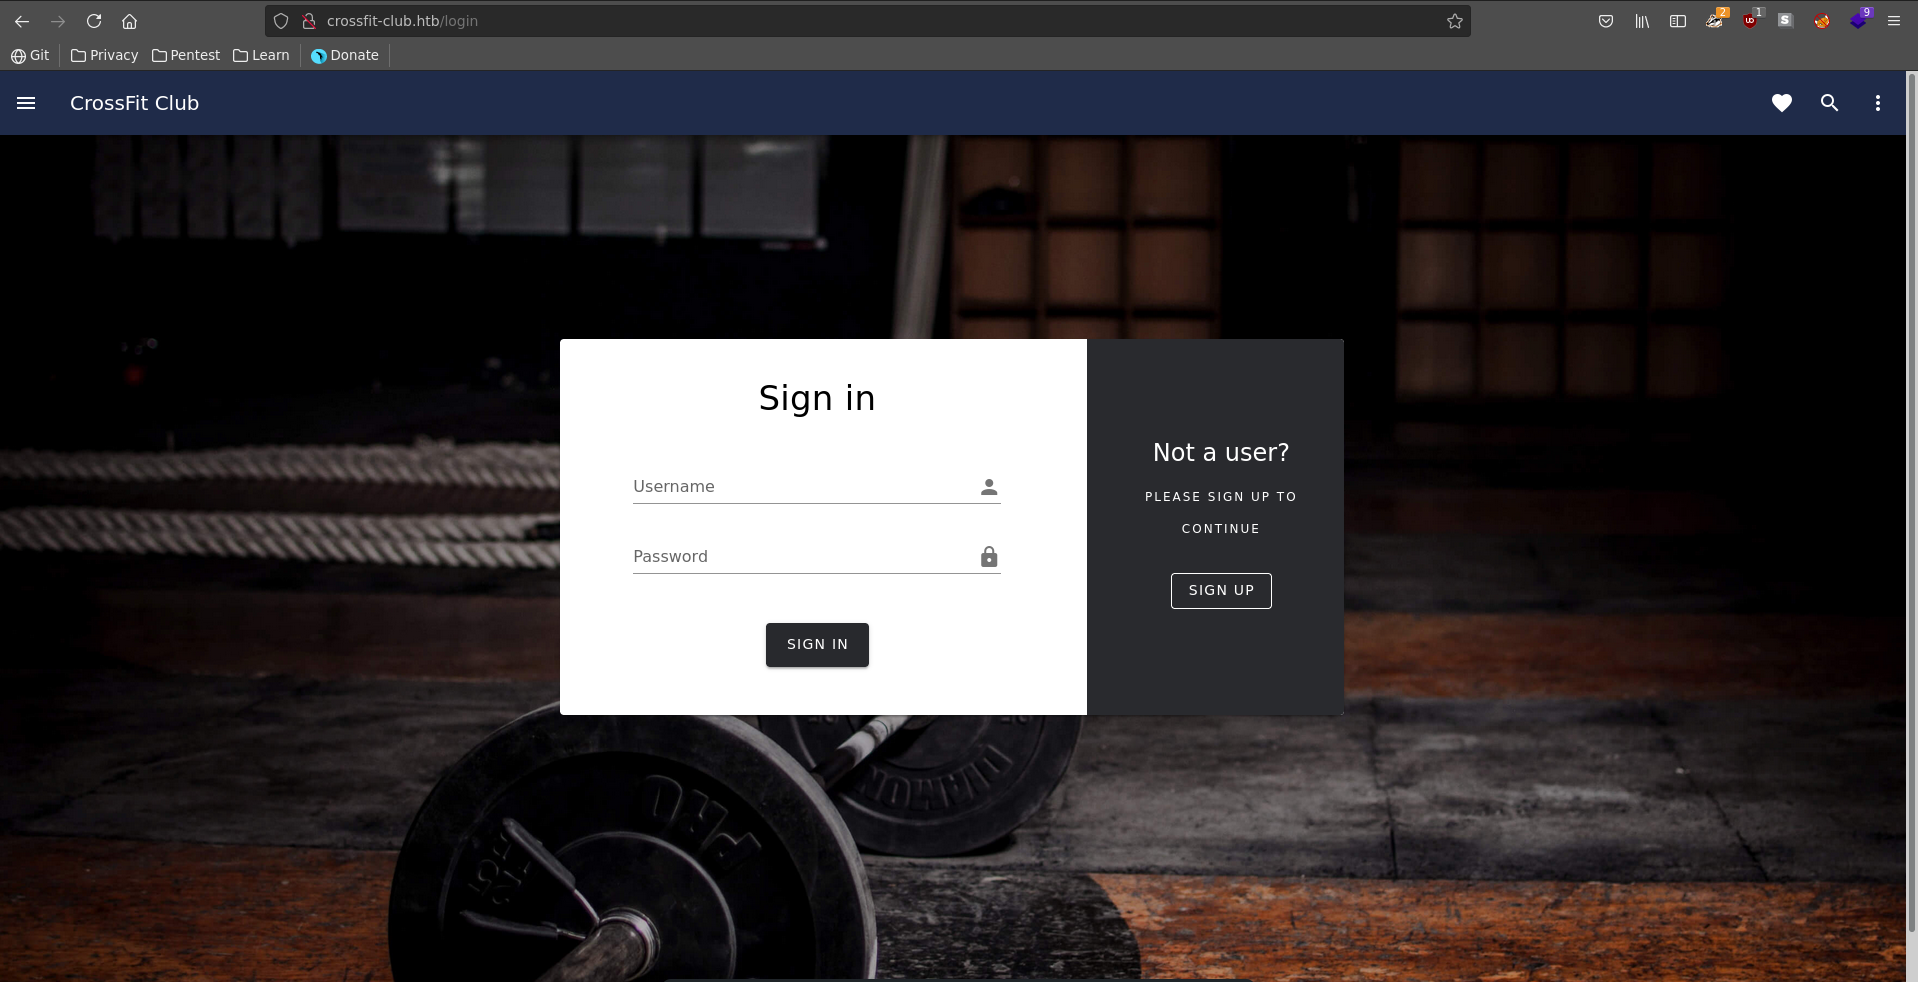
Looking closely at the request we see that it is comming from http://crossfit-club.htb/. Browsing there we can neither register nor create an account, but it is likely that the request getting sent to us is currently in an authenticated session.
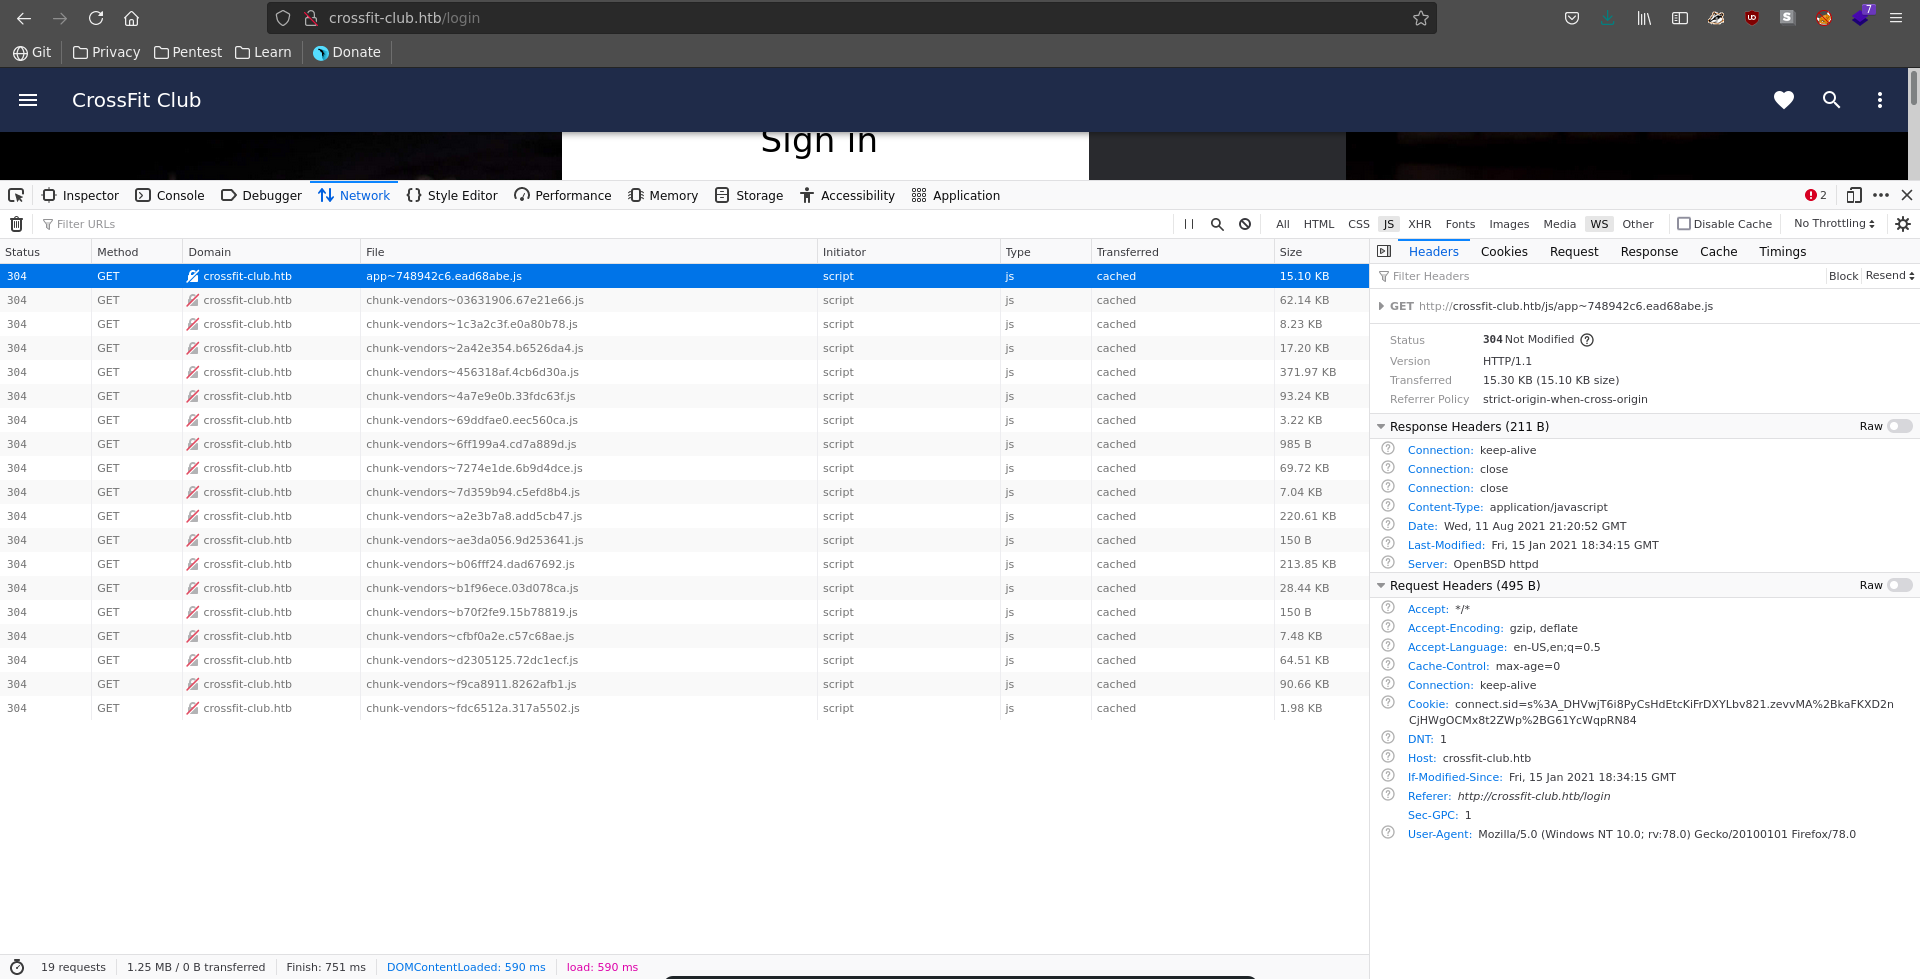
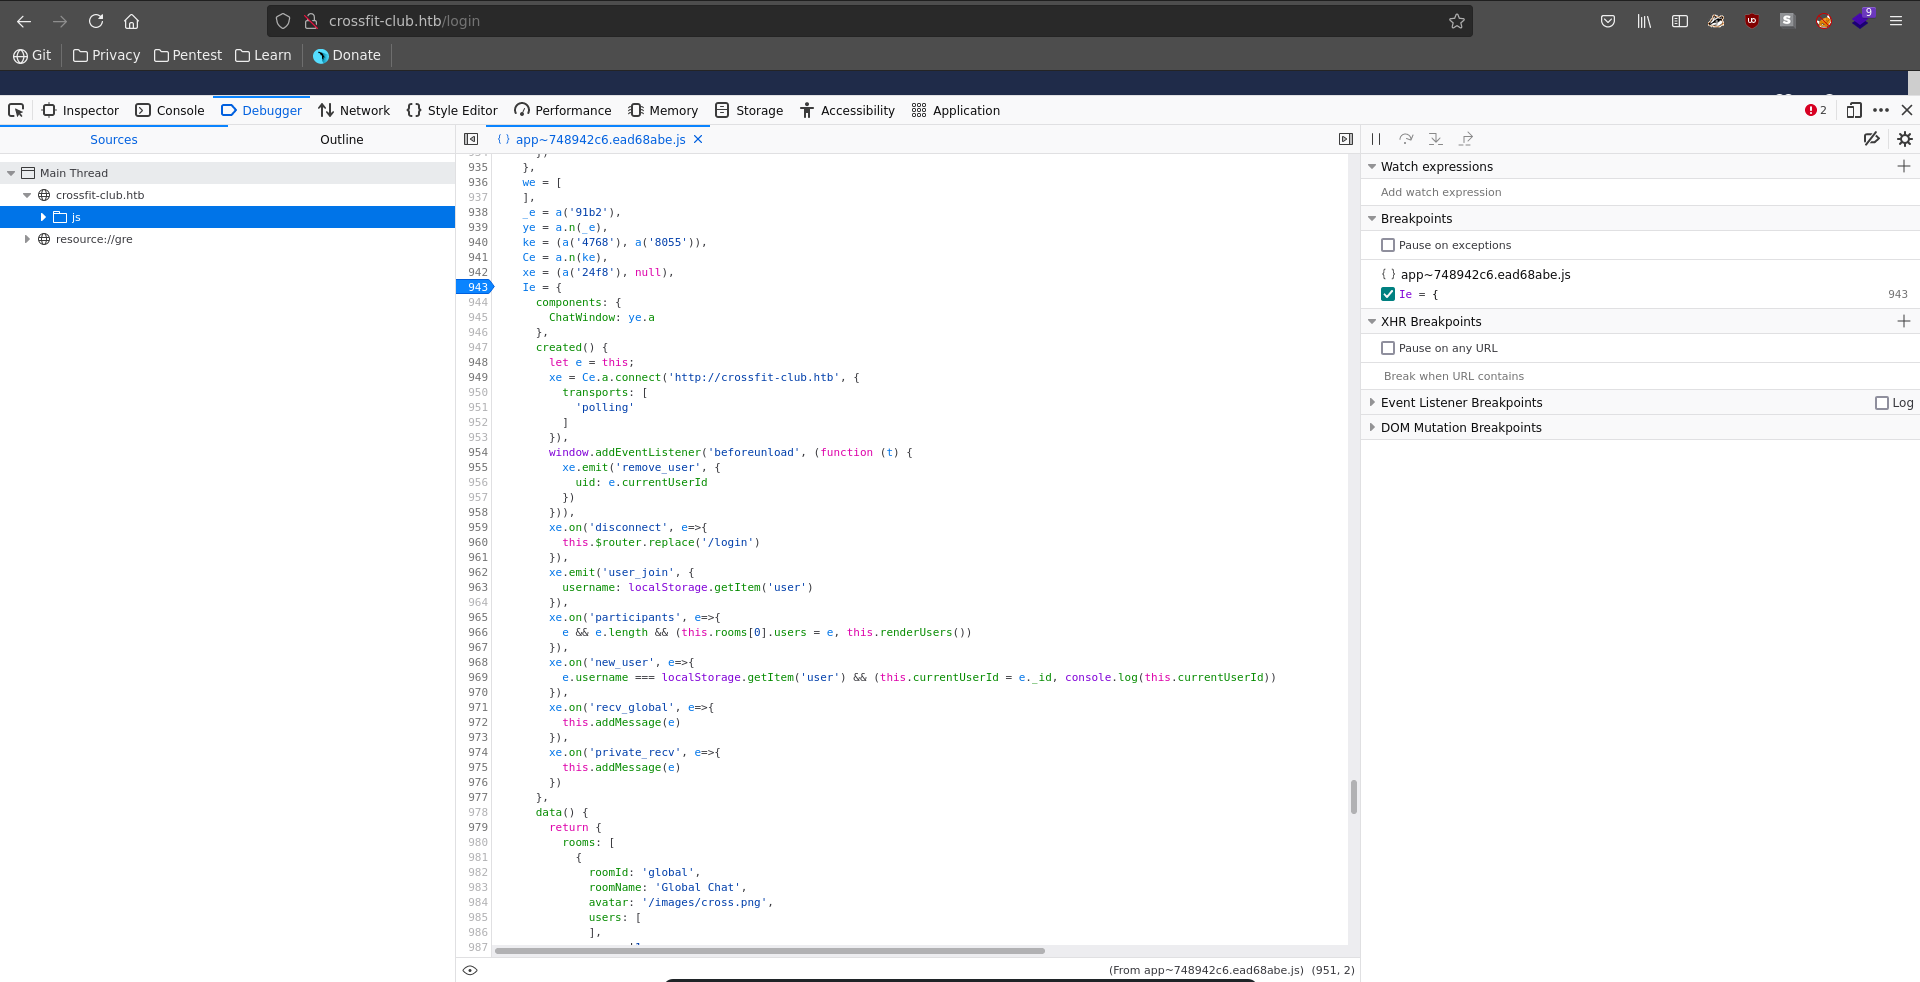
To find out more about this vhost we take a closer look at the javascript that is being used by the website. One resource stands out by naming convention so we take a closer look at it.
The source code reveals that it seems to contain another chat functionality.
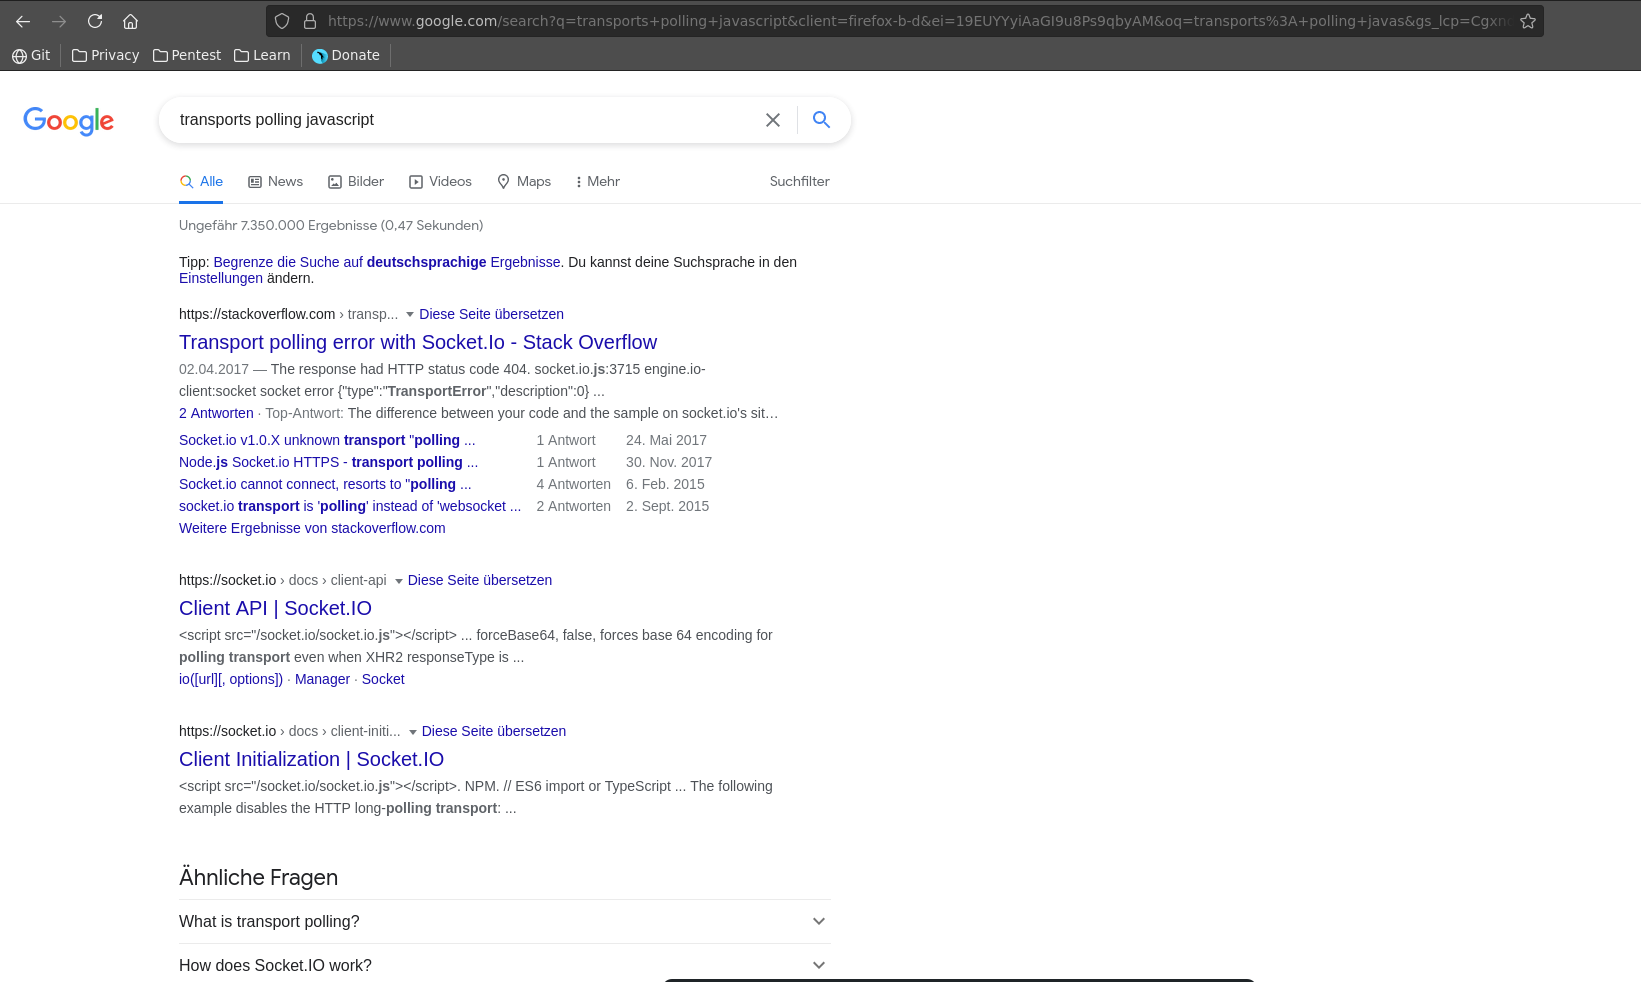
Looking up a part of the code transports polling javascript from the connect part on google, the chat functionality seems to use the socket.io module.
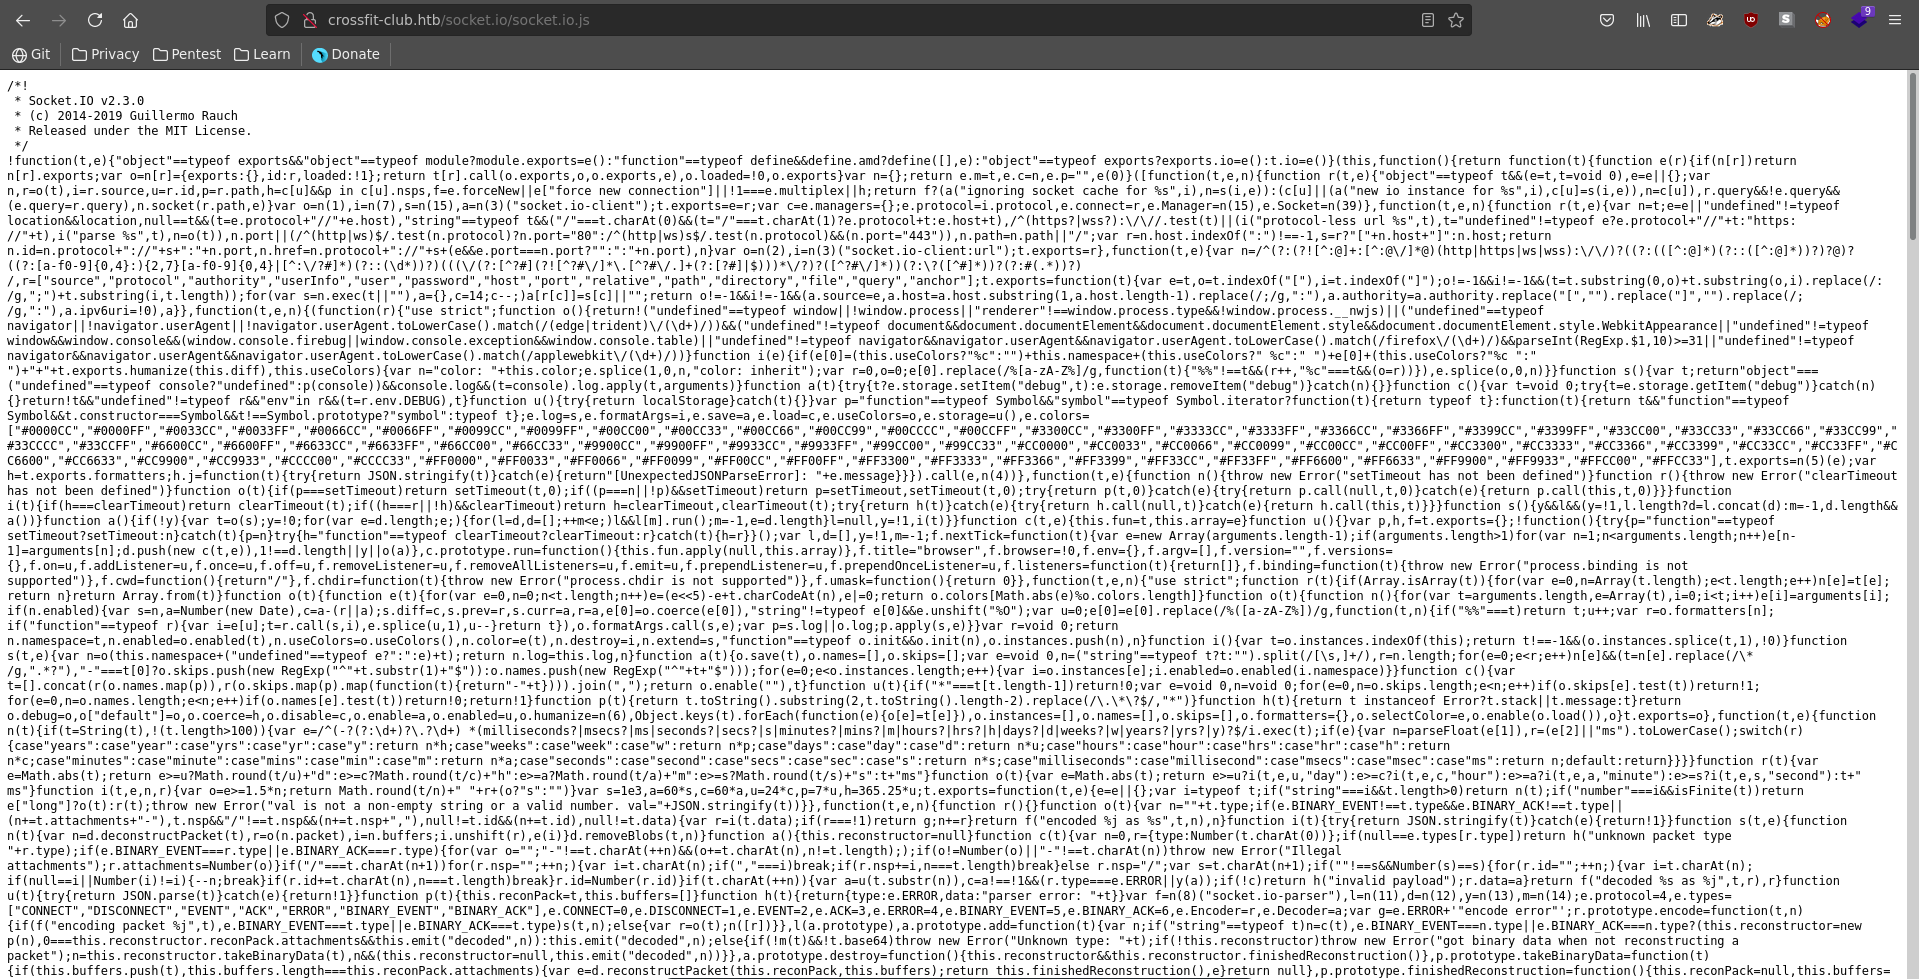
Checking for this module on the webserver we can retrieve the full source code of it.
The plan now is to make it seem the admin user joined the chat and listen on the message channels if we get some other user messaging us. We embed this functionality in the password-reset.php file, since this is where david get’s redirected to. We also base64 encode the response to avoid possible bad characters.
password-reset.php
1 |
|
With all preparations met we set up our dns server again and also a php webserver, serving our custom password-reset.php
1 |
|
1 |
|
Now we execute our bash script again and wait for a connection.
1 |
|
After some time we get multiple messages back on our webserver.
1 |
|
Decoding them, one contains the password for the user david in a private message.
1 |
|
We are now able to log in as david over ssh and grab the user flag.
1 |
|
Root
Hijack node module
Looking at the groups we see that david is in the sysadmins group.
1 |
|
For a more familiar shell we switch to sh.
1 |
|
Then we look for all the files owned by the sysadmins group on the system. This only returns a folder in opt.
1 |
|
Going deeper down the directory structure we find a javascript file statbot.js
1 |
|
Looking at the log file it generates, it seems to be executed every minute.
1 |
|
The script imports 3 modules which is interesting because we can write in the path above it. The way node searches for modules is the following. First it looks if the module is a core module. If it is not it looks in the current directory and THEN traverses back up the directory structure to look for a node_modules directory. Since we have the right to write in the /opt/sysadmin/ directory we can hijack a module that is being importet to execute a reverse shell.
We first set up our ncat listener again.
1 |
|
Then we create a /opt/sysadmin/node_modules directory and a /opt/sysadmin/node_modules/ws.js file which contains our reverse shell. The next time the statbot.js is now executed our reverse shell get’s imported and executed.
1 |
|
ws.js
1 |
|
After about a minute we get a shell on our listener as john which we upgrade using python.
1 |
|
LogReader
john is in the staff group and looking for files belonging to this group we find the /usr/local/bin/log binary.
1 |
|
Taking a closer look at it we see it has the suid bit set which makes it very interesting.
1 |
|
For further examination we transfer the file over to our local machine using ncat and check the file hashes once the transfer is completed to ensure nothing got corrupted.
1 |
|
1 |
|
1 |
|
1 |
|
1 |
|
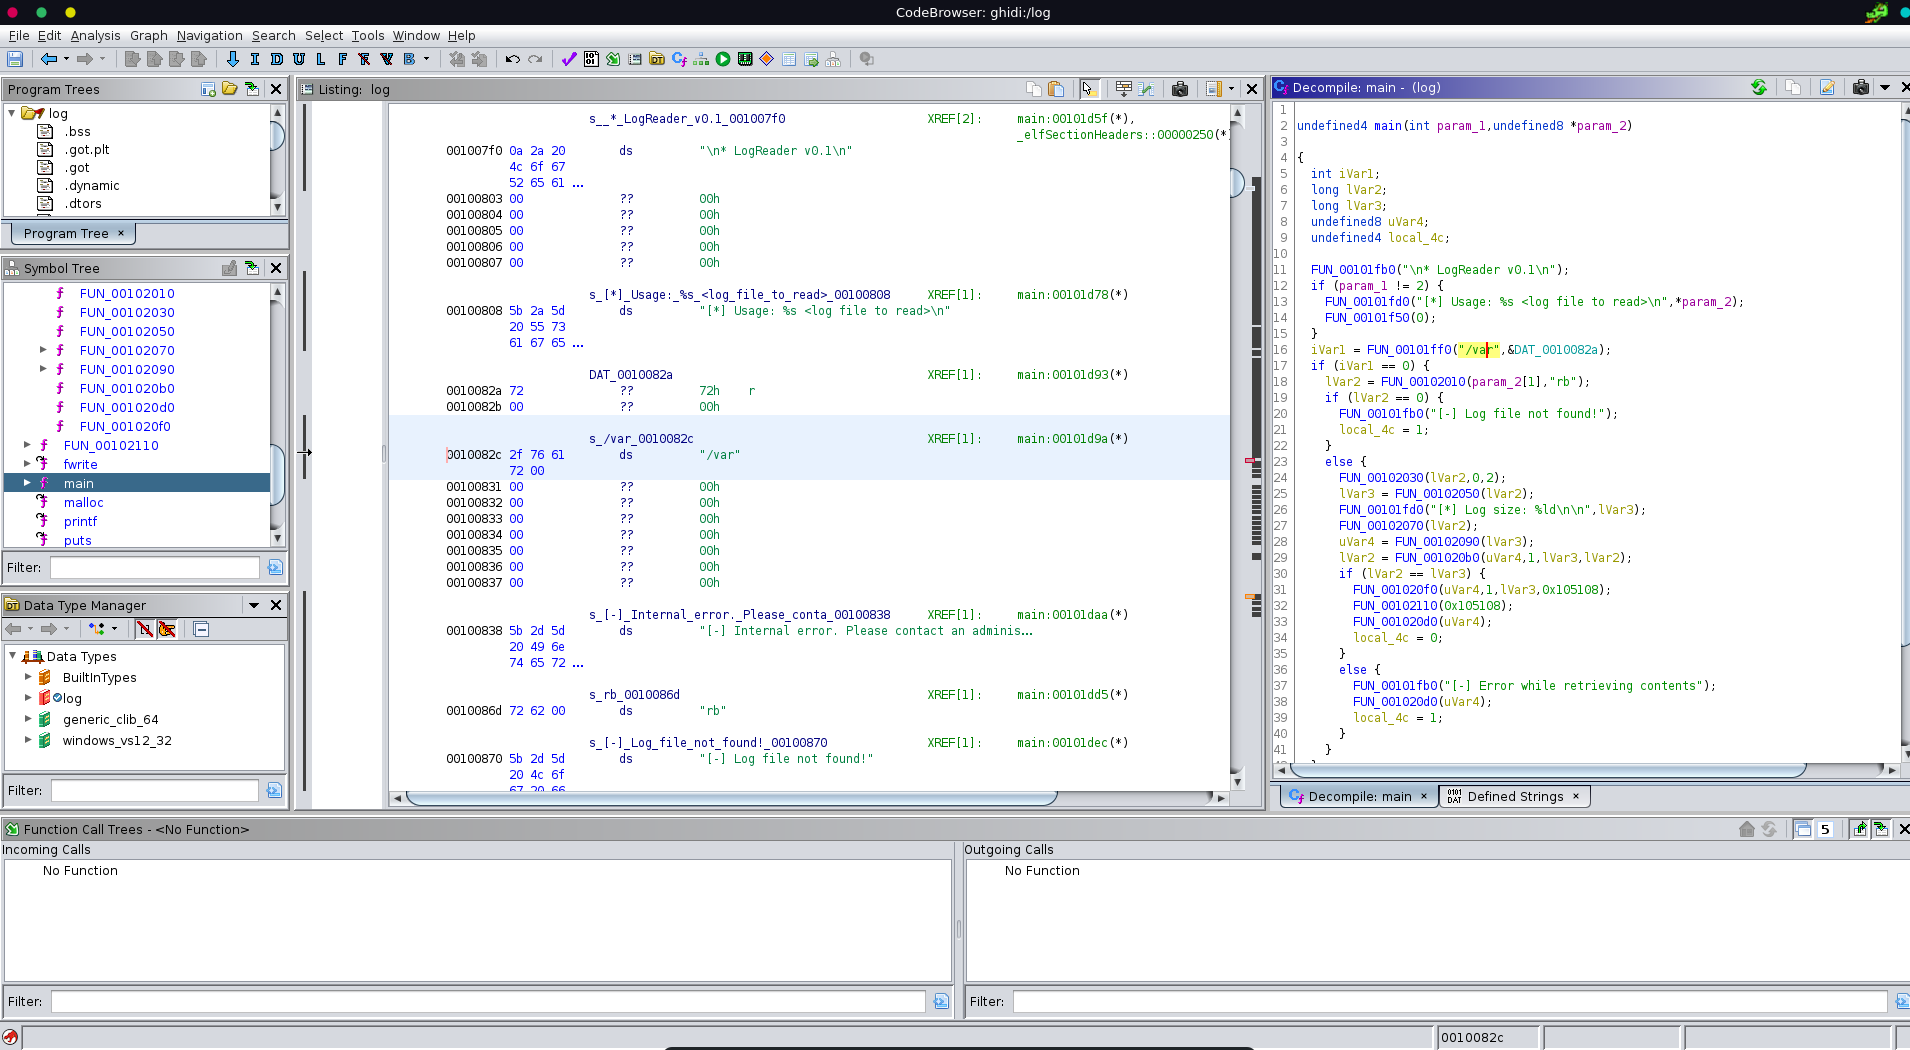
Opening it up in ghidra and looking at the main function we see a comparison being done right at the beginning. Changing the data type of the left value to string we see it is comparing to /var and exits if the check fails.
Testing it on a log file in /var we see it indeed retrieves the file.
1 |
|
But using it on a file outside of /var it fails.
1 |
|
Looking for interesting files in the backup directory under /var we can retrieve the backed up root ssh key using the naming convention of replacing / with _ and adding a .current.
1 |
|
Trying to use this key to ssh in fails however. Checking the verbose output we see the authentication had partial success, which means 2FA is enabled.
1 |
|
Looking for the 2FA method in the /var folder we find an interesting yubikey folder under db.
1 |
|
With the default naming scheme for yubikey files we can retrieve all the files we need to generate our own OTP’s.
1 |
|
1 |
|
1 |
|
Installing yubikey on our local machine and following the documentation we can generate our own key. The counter is too long according to the documentation, but only using the last 2 bytes works just fine to generate the OTP.
1 |
|
Using the ssh key in combination with the OTP, we can now finally log into the machine as the root user and add the root flag to our collection.
1 |
|


